Introduction

The official guide has been updated and can be found here. This guide is archived for historical purposes.

This guide has one prerequisite since the display needs to be removed.

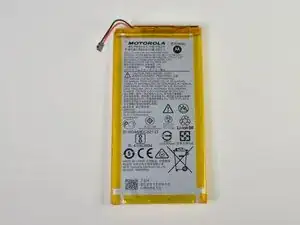
If your battery is swollen, take appropriate precautions.

  1. ST1bkck4SmStGPVq
    ST1bkck4SmStGPVq
    C2BFVnSlYGQQuGDV
    OFjDgGxPNgg6CSKt
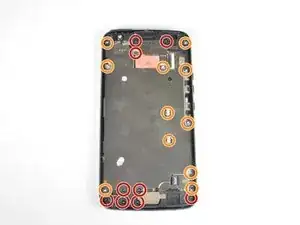
    • Remove the nine 3mm T4 Torx screws securing the silver plate to the device.

    • Remove the eleven 2mm T3 Torx screws securing the plate to the device.

    • Incorrect placement of these screws during reassembly will cause permanent damage to your device's motherboard.

  2. 3kesNTcfKMKmCeR4
    3kesNTcfKMKmCeR4
    O1JZKIrSPQ2WhknT
    IqlkUMFe5HNU2Ak3
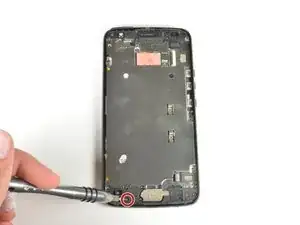
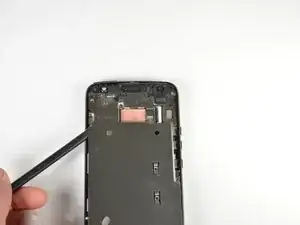
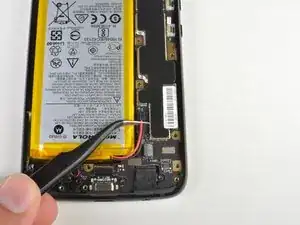
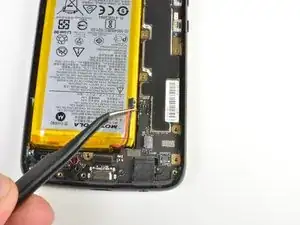
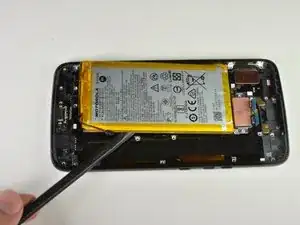
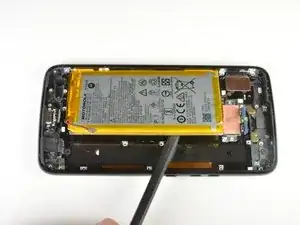
    • Use the flat end of a spudger to pry up the silver plate from both sides.

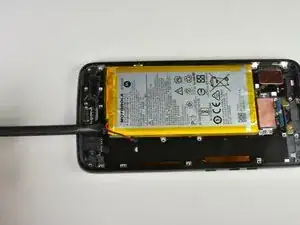
    • Remove the plate from the device.

    • Several clips hold the plate in place so there may be a clicking sound.

  3. NWxceRMrQQovCDwO
    NWxceRMrQQovCDwO
    sOjPaLHmncRBZLdw
    • Use a pair of tweezers to gently lift the battery connector wire.

  4. jN5NLITxMEbxeZZW
    jN5NLITxMEbxeZZW
    25scJ636qcG2Sqc6
    DVRS2PpAFxnEpIGC
    • Use the flat end of the spudger to gently pry the battery from all sides from its casing.

    • The battery is secured to the motherboard with a mild adhesive. Peel slowly; be careful to not puncture or twist the battery.

Conclusion

To reassemble your device, follow these instructions in reverse order.

After completing this guide, calibrate your newly-installed battery.

Brian Buchanan

Member since: 24/01/18

1047 Reputation

0 comments