Introduction
If your Motorola Rival’s keyboard is unresponsive or certain keys stop working, replacing it can restore its functionality. A working keyboard is essential for texting, dialing, and navigating your phone.
This repair is rated as moderate. While it doesn’t require advanced technical skills, it does call for attention to detail and patience. The process involves removing various screws, buttons, and panels to access the keyboard, which is secured beneath the motherboard.
Before you begin, ensure the phone is powered off and disconnected from any external power sources. Be sure to have the necessary tools, including the iFixit Opening Tool and the Phillips #00 screwdriver from the 64 Bit Driver Kit, ready to go.
-
-
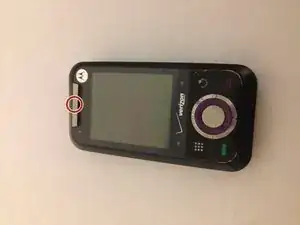
Locate the release tab on the top front edge of the device.
-
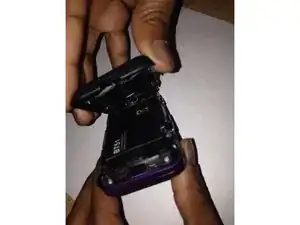
Push down on the release tab and pull the back cover away from the device, exposing the battery.
-
-
-
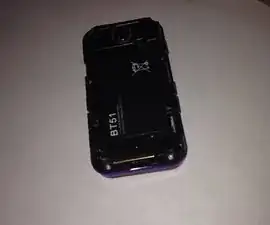
Locate the battery on the back of the device.
-
Lift the battery from its compartment to remove it.
-
-
-
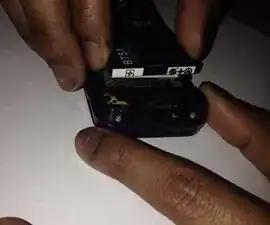
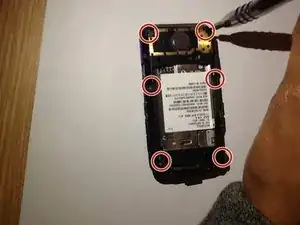
Locate the six screws that hold the front and back panels together, they are positioned evenly around the edge of the device.
-
Use the Phillips #00 screwdriver from the 64 Bit Driver Kit to remove the six screws.
-
-
-
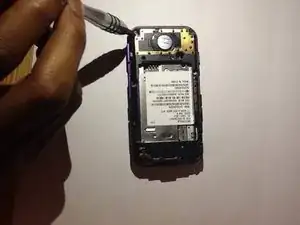
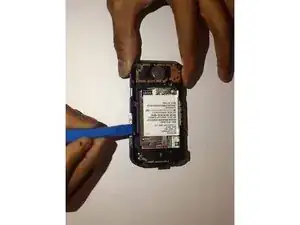
Locate the seam where the front and back panels meet.
-
Insert the iFixit Opening Tool into the seam and work your way around the perimeter to separate the two panels.
-
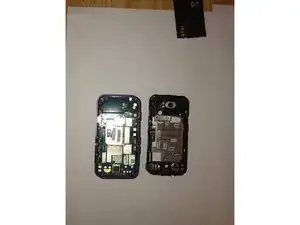
Once the two panels are separated, set the front panel to the side. You will be working with the back panel to access the keyboard.
-
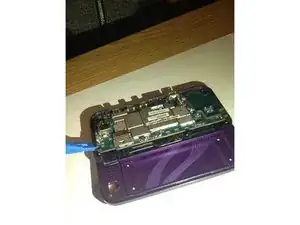
The motherboard is now exposed on the back panel.
-
-
-
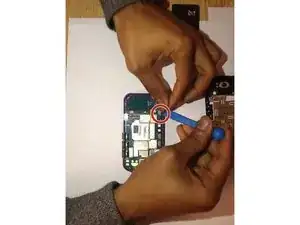
Locate the camera button on the right side of the motherboard.
-
Use the iFixit Opening Tool to lift the camera button and remove it from its position.
-
-
-
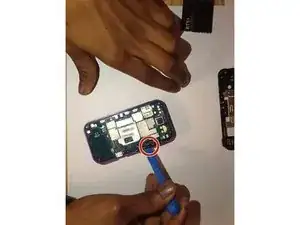
Locate the lock/mute button on the top right side of the motherboard.
-
Use the iFixit Opening Tool to lift the lock/mute button and remove it from its position.
-
-
-
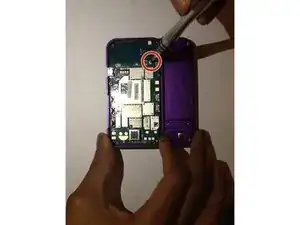
Locate the volume buttons on the left side of the motherboard.
-
Use the iFixit Opening Tool to lift the volume buttons and remove them from their position.
-
-
-
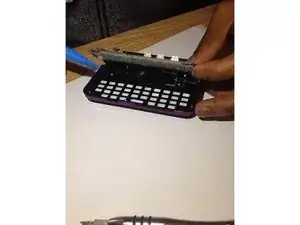
Slide the keyboard out.
-
Locate the screws around the edge of the motherboard that secure it to the back panel.
-
Use the Phillips #00 screwdriver from the 64 Bit Driver Kit to remove all of the screws.
-
-
-
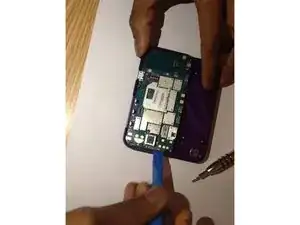
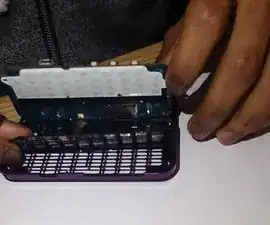
Insert the iFixit Opening Tool under the edges of the motherboard to lift it out of the back panel and expose the keyboard.
-
-
-
Remove the old keyboard from the frame.
-
Place the new keyboard into the frame and align the buttons into their respective openings.
-


To reassemble your device, follow these steps in reverse order.