Introduction

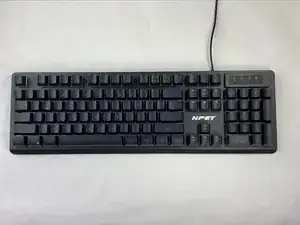
On the NPET K10V3, if some keys are not working or lights are not responding to user commands, follow these steps to solve this issue. This could be an issue with your keyboard membrane as it may have been damaged or has a bad connection. The membrane has multiple routed connections to allow for each function of the keyboard's lighting or digital input.

Hazards:

  • Electrostatic shock
  • Sharp objects
  • Exposed circuits

Special Requirements:

  • Remove keyboard from power source
  • Clean & organized workstation
  • Careful removal of delicate parts
  1. KDFgQ26QIHELlJjC
    • Remove the keyboard from its power source.

  2. 6HpOJQtrUpYFnEwP
    6HpOJQtrUpYFnEwP
    RjMTTgsYpHk5T4DD
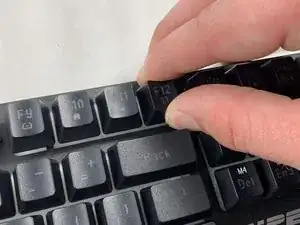
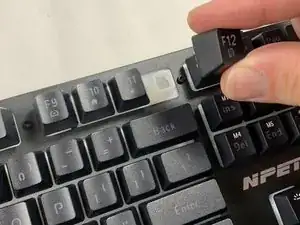
    • Firmly grasp the key that will be removed.

    • Remove the keycap by pulling directly upward.

    • Not pulling straight upward or securely will cause damage to the device.

    • If your fingers cannot get a good grip the key cap, use a key cap puller in the same orientation as with fingers.

  3. a4JjjBFI1felIoRB
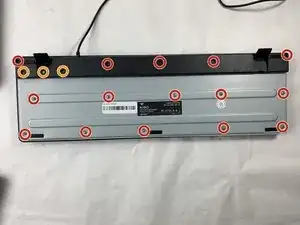
    • Flip the keyboard over so the bottom is facing upwards.

    • Remove fifteen 4.5 mm screws using a Phillips #2 screwdriver.

    • Remove three 9 mm screws using a Phillips #2 screwdriver.

    • Remove the screws from the kickstand plate first followed by the remaining screws for removal of the backplate.

  4. xfNeUOhFqn2JGLc1
    xfNeUOhFqn2JGLc1
    BTFaSOXbvpCCVtUG
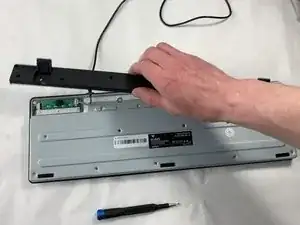
    • Remove the kickstand.

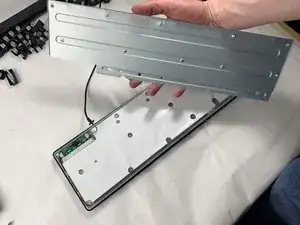
    • Remove the back plate.

    • Keep in mind the location of the USB cable to ensure it is not damaged when re-assembling.

  5. 6sjsSC1CQIDGfDBm
    6sjsSC1CQIDGfDBm
    trWDBBhg2mqXdDss
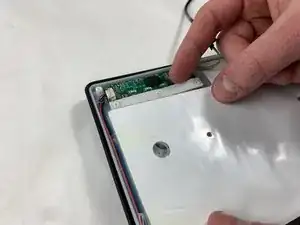
    • Remove the rubber gasket that compresses the connections.

    • When removing the gasket, lift straight upward to avoid damage and snagging.

    • Clean the gasket if there is any dirt or debris.

    • Do not use chemicals or liquids when cleaning to avoid damage.

  6. nynaBIMTnWs1e1A1
    nynaBIMTnWs1e1A1
    fgK6Y1otUYhGNvPF
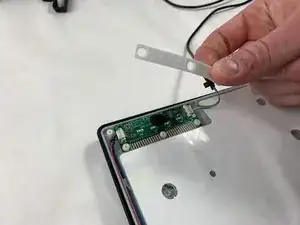
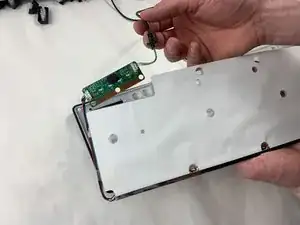
    • Remove the membrane gently to reveal the copper connections for both motherboard and membrane.

    • Remove the motherboard from the membrane.

    • Remove the membrane out with the motherboard.

    • When removing both parts, lift straight upward to avoid damage and snagging.

  7. tPFqfJI61SNNBEcb
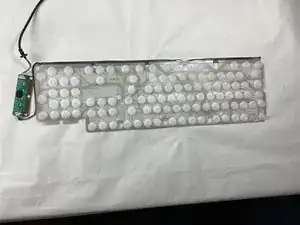
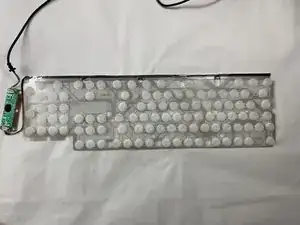
    • Place the membrane with the motherboard on a clean surface.

    • If the membrane is dirty around the key gaskets, clean gently without chemicals or liquids.

Conclusion

To reassemble your device, follow these instructions in reverse order.
Matthew Costa

Member since: 18/03/24

343 Reputation

0 comments