Introduction
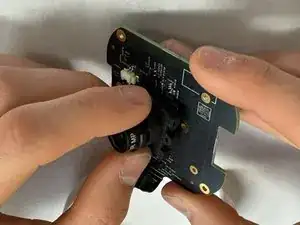
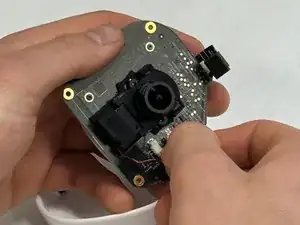
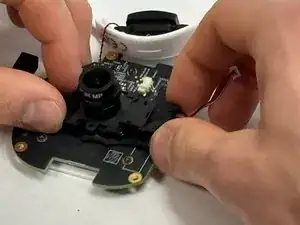
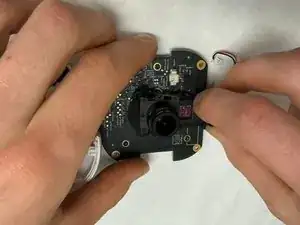
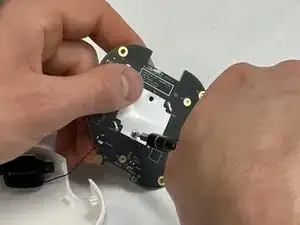
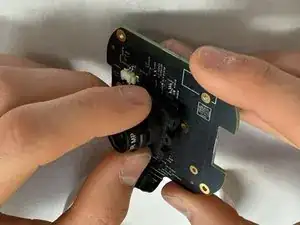
If your Nanit Pro N301 is not producing a clear image or any image at all, use this guide to replace the camera lens. Some of the pieces are very small so make sure you have a tool that can grab tiny materials if you are unable to do so with your fingers. Make your device is not plugged in and connected to a power source during the repair.
Tools
-
-
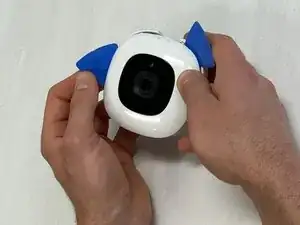
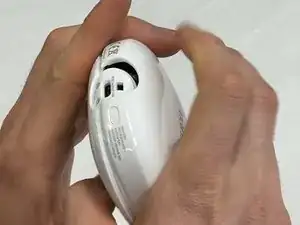
Insert an opening pick into the seam between the front and rear case.
-
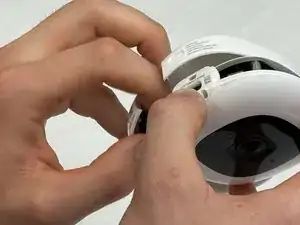
Slide the opening pick around the perimeter of the camera until all of the retaining clips are released.
-
Separate the front and rear case.
-
-
-
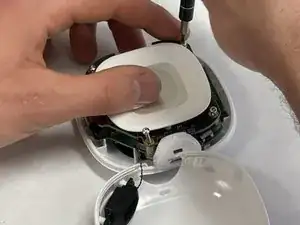
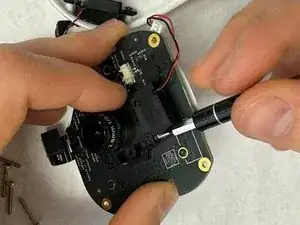
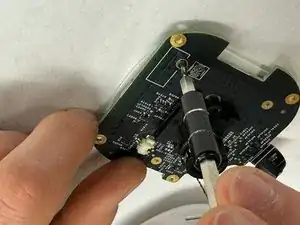
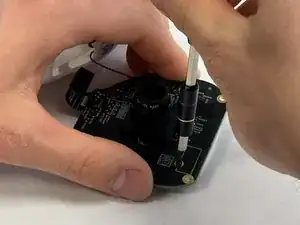
Remove the four 4 mm T6 Torx screws from each corner of the circuit board.
-
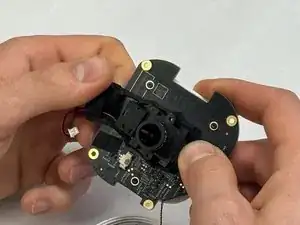
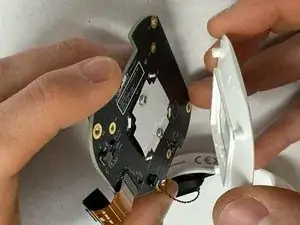
Lift the circuit board out of the chassis.
-
-
-
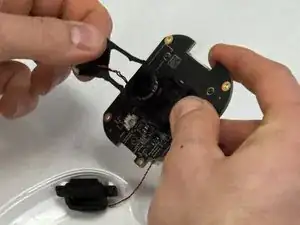
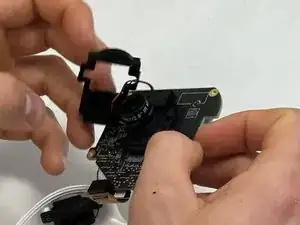
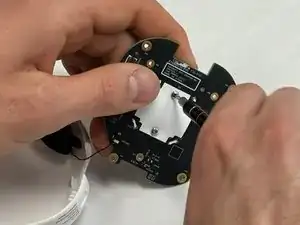
Use a T4 Torx screwdriver to remove the screws that secure the computer chip to the white plastic bracket.
-
To reassemble your device, follow these instructions in reverse order.
