Introduction
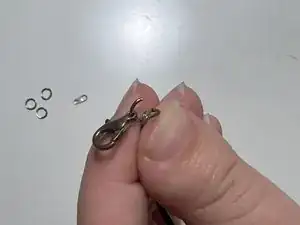
Rather than taking time and extra money to have your jewelry fixed, this guide will show you how to repair and replace the jump rings and clasps on your necklace or bracelet in a few easy steps. No prior jewelry experience is required to complete this easy fix.
The materials needed will be a new clasp, new jump rings (circular chain piece)/backing piece, and a needle nose pliers.
Tools
Parts
-
-
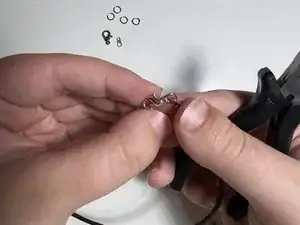
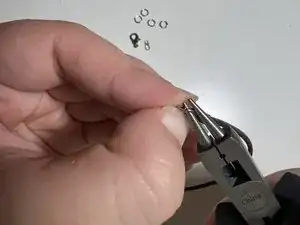
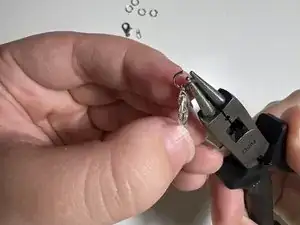
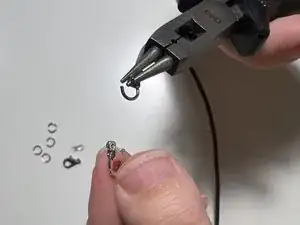
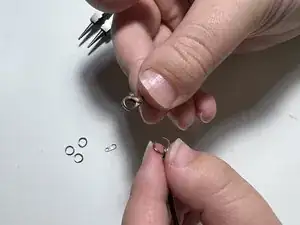
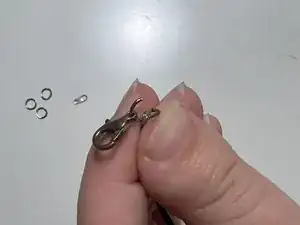
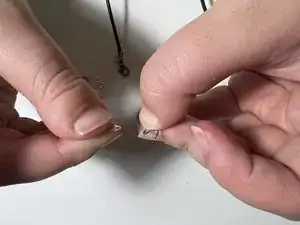
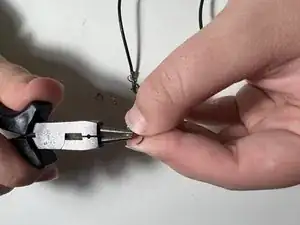
Using either a pair of needle nose pliers or a pair of round nose pliers, open the jump ring attached to the jewelry clasp by twisting the ring apart.
-
-
-
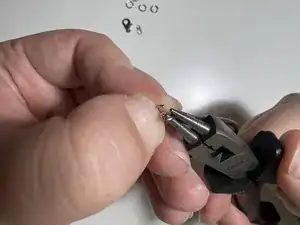
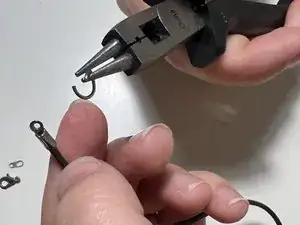
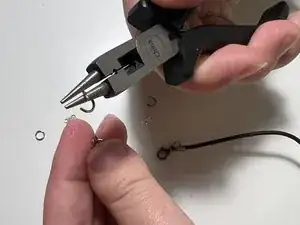
Using a new jump ring, open it with the pliers and slide it into the necklace using the same pull-apart method.
-
-
-
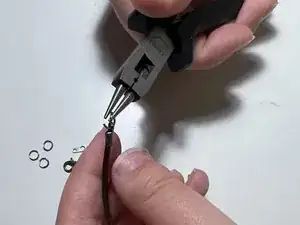
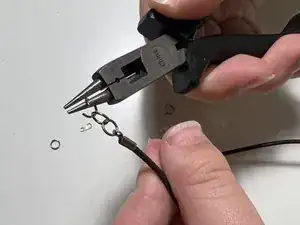
If you need to extend your necklace/bracelet, take the new jump rings, and open them with the pliers. Linking them one at a time with the same open/close procedure as previously demonstrated, add them to the opposite side of the new clasp.
-
-
-
Add on the non-clasp back piece to the new jump ring chain using same open/close process as previously demonstrated.
-
