Introduction
The LCD screen is an essential component of a camera. If the LCD screen stops working, the camera can no longer be used. In this repair guide, you will learn how to replace the LCD screen on the Nikon Coolpix L820 camera.
-
-
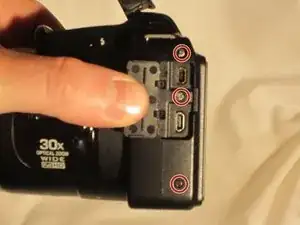
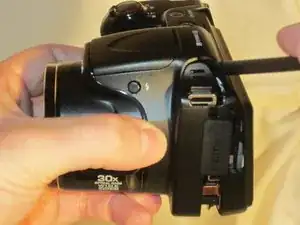
Use a Phillips #0 screwdriver to remove the screws on the front casing. There are 10 screws around the casing. 3 are located on the left side of the camera, 6 are located on the bottom near the product label, and 1 is located on the right side of the camera.
-
-
-
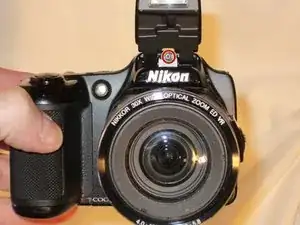
Next, remove the screw held on top of the camera above the Nikon logo.
-
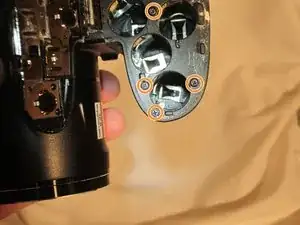
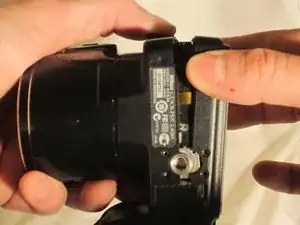
Moving to the bottom of the camera, open the empty battery slot, and locate the 4 screws in the compartment. Begin removing the 4 screws located within.
-
-
-
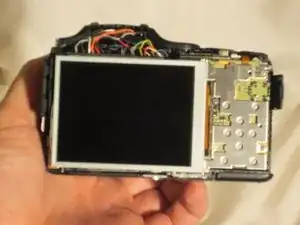
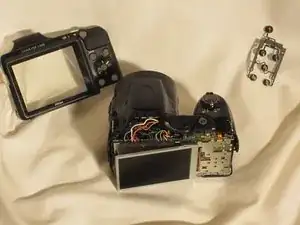
Using the spudger, begin prying the case from the device, carefully separating the rear housing from the camera assembly. Once the rear housing is separated, the camera's physical buttons will be accessible for replacement.
-
-
-
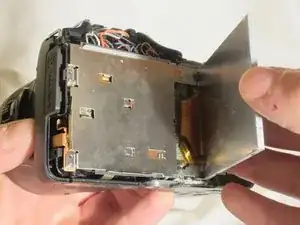
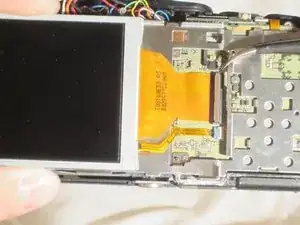
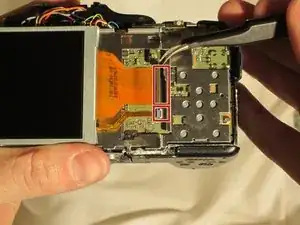
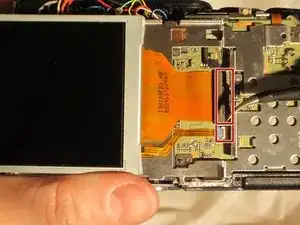
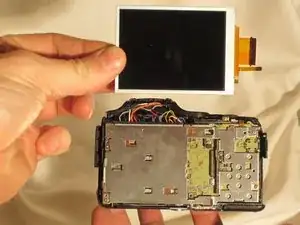
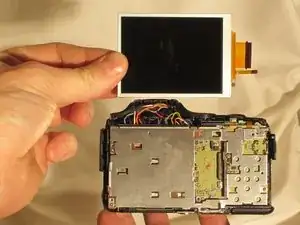
Once the ribbon wires are disconnected, remove the LCD screen from the camera.
-
Safely store the LCD for reinstallation.
-


To reassemble your device, follow these instructions in reverse order.