Introduction
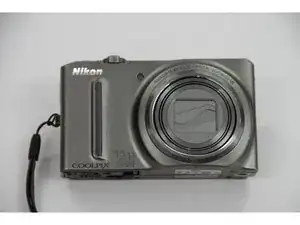
The Coolpix S9050 was introduced in 2012 and discontinued in 2013
Parts
-
-
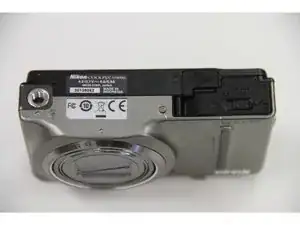
Flip the camera upside down.
-
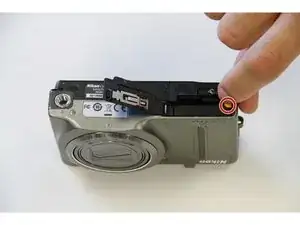
Slide the locking mechanism to the left.
-
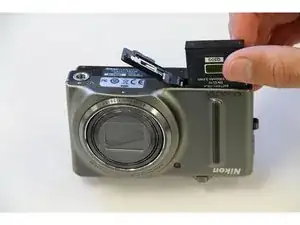
Push yellow holding pin upward until battery pops up.
-
Pull out battery.
-
-
-
Tools Required: PH00 screwdriver
-
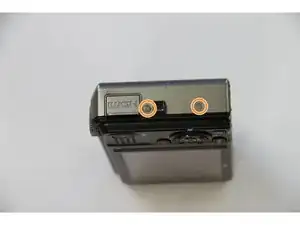
Remove the two screws on the left side of the camera.
-
Remove the two screws on the right side of the camera.
-
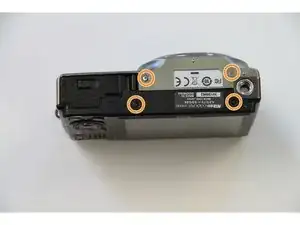
Remove the four screws from he bottom of the camera.
-
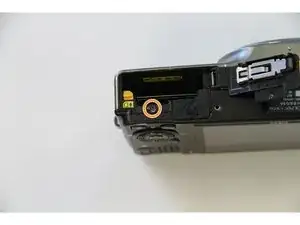
Remove the screw that is located on the inside of the battery chamber.
-
-
-
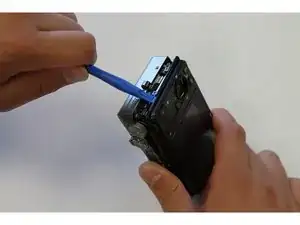
Use a blue pry tool and separate the black back plate from the camera.
-
Once the black plate is separated, carefully pull apart the back plate from the front half of the camera.
-
-
-
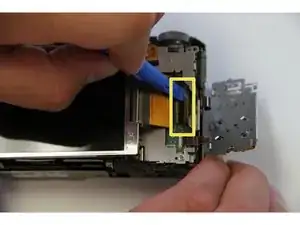
Take the blue pry tool and lift the brown latch on the ZIF connecter that holds the screen tab in place.
-
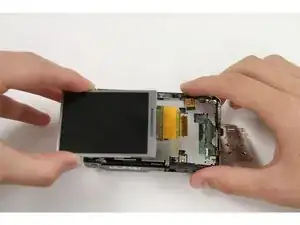
Once the brown latch on the ZIF connecter is lifted upward, carefully lift the screen and pull away from the camera.
-
The screen and screen tab will detach from the motherboard.
-
-
-
Take the new screen and slide the tab in to the ZIF connector that the previous screen was plugged in to.
-
Close the brown latch on the ZIF connector and fit the screen in the original slot.
-
Return the dial flap to its original position.
-

Follow the steps in reverse order to put the camera back together.