Introduction
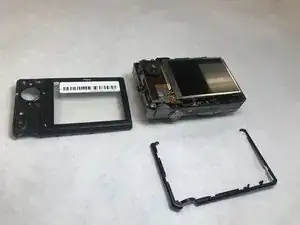
The motherboard is the central hub for communication between all of the components in a device. If more than one component is failing to work, the motherboard may be faulty and needs to be replaced. This guide will assist you in replacing the motherboard on the Nikon Coolpix S9050.
-
-
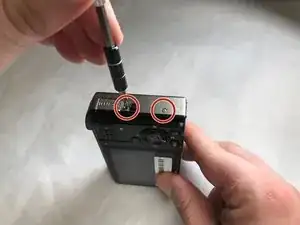
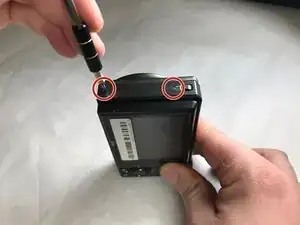
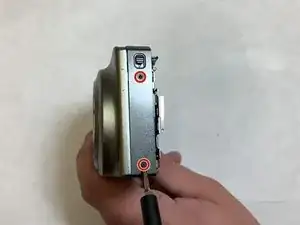
Using a Phillips #000 screwdriver, remove the two 3.2mm black screws on both sides of the camera.
-
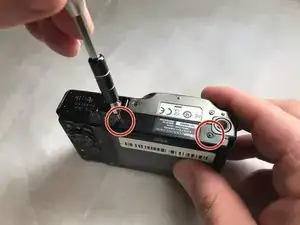
Set the camera face down and remove the four 3.2mm silver screws using the same screwdriver.
-
-
-
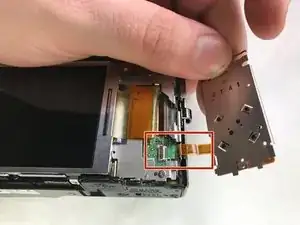
Lift the black plastic tabs, which are securing the panel.
-
Gently pull the panel out to separate the display ribbon cable from the camera body.
-
-
-
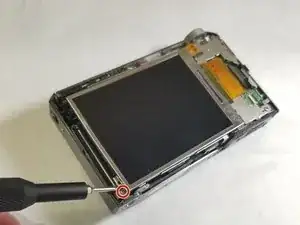
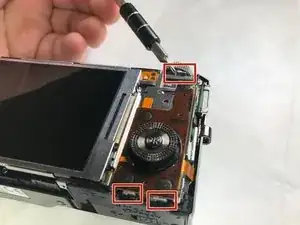
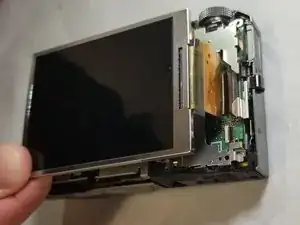
Remove the two 3.2 mm silver screws on either side of the display screen using a Phillips #000 screwdriver.
-
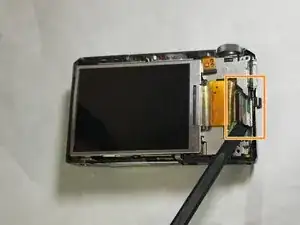
Use a spudger to detach the display ribbon cable and remove the display screen.
-
-
-
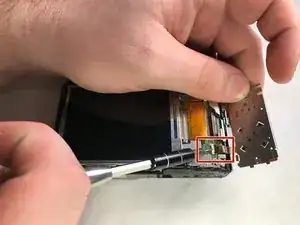
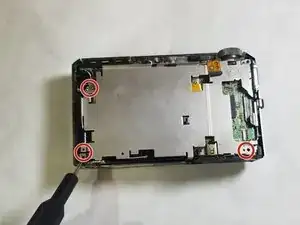
Remove the three 3.2 mm silver screws surrounding the metal panel using a Phillips #000 screwdriver.
-
-
-
Remove the two 3.2 mm silver screws from both of the side panels using a Phillips #000 screwdriver.
-
-
-
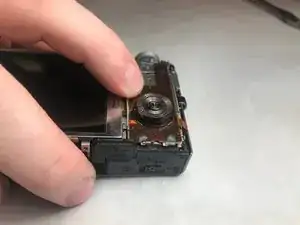
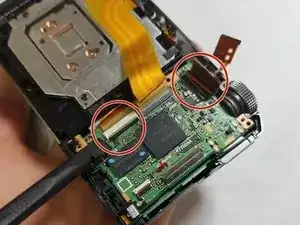
Remove the metal panel from the body and use the spudger to detach the three ribbon wires attached to the motherboard.
-
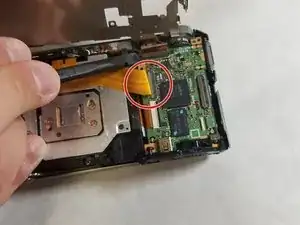
Remove the two 3.2 mm silver screws, which secure the motherboard using a Phillips #000 screwdriver.
-
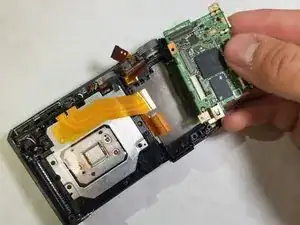
Lift and remove the motherboard from the camera body.
-


To reassemble your device, follow these instructions in reverse order.