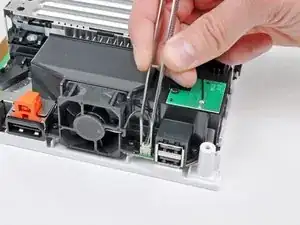
Introduction
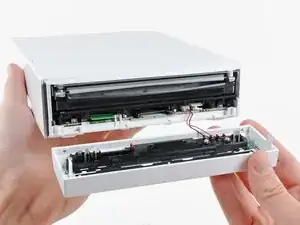
Use this guide to replace a worn-out fan.
-
-
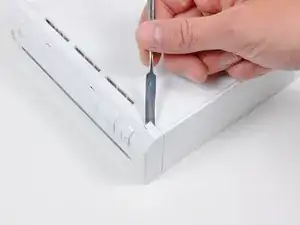
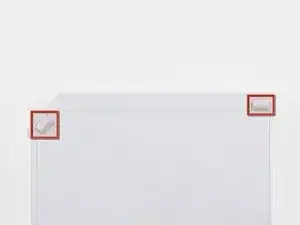
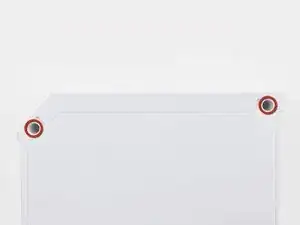
Use a metal spudger to remove the white plastic screw covers stuck to the lower case near the front of the Wii.
-
-
-
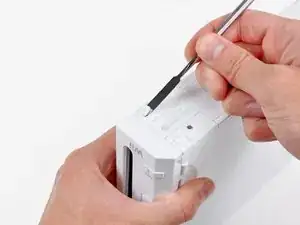
Remove the single 5.9 mm Phillips screw under the controller port door nearest the faceplate.
-
-
-
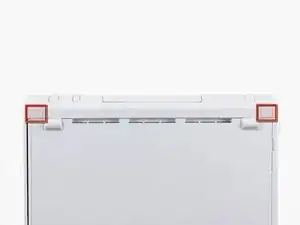
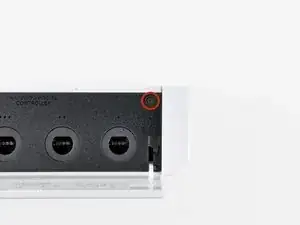
Use a metal spudger to remove the rubber foot stuck to the side of the Wii near the DVD drive opening.
-
-
-
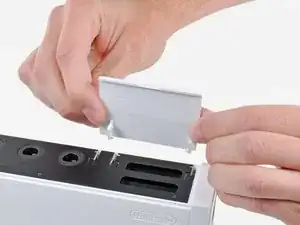
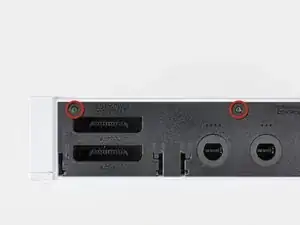
Open the controller port cover until it is perpendicular to the black controller port bezel.
-
Pull the controller port cover straight up to release it from the outer case.
-
-
-
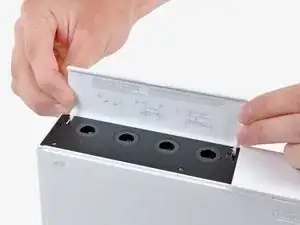
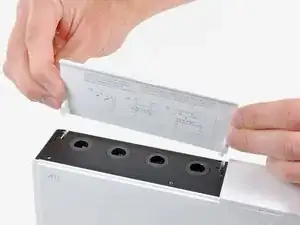
Remove the two remaining 4.1 mm Phillips screws along the top edge of the black plastic controller port bezel.
-
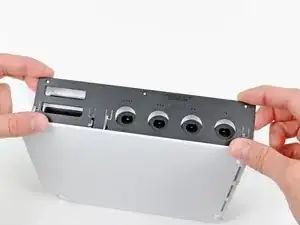
Lift the bezel from the long edge furthest away from the controller ports and remove it from the Wii.
-
-
-
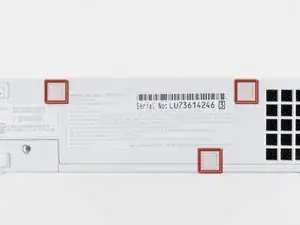
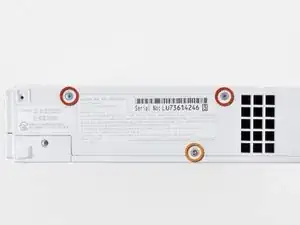
Use a metal spudger to remove the three highlighted screw covers stuck to the side of the Wii.
-
-
-
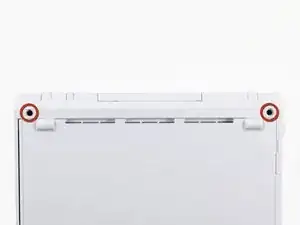
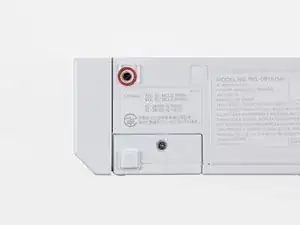
Use a metal spudger to remove the two rubber feet stuck to the bottom face of the Wii near the rear ports.
-

To reassemble your device, follow these instructions in reverse order.

9 comments
Awesome guide, just replaced faulty fan unit in my 9 year old wii. Should hopefully keep it going for another 9 years :)
Super easy and great instructions! I feel a little guilty that my Wii sat in the garage for 4 years! Now it'll be a great birthday present for my 2 boys.
Does anyone have a diagram for the Wii’s airflow? I’m looking to install a booster fan at the bottom to help blow air in but I want to make sure it is effective.
Die Abdeckungen sind geklebt, stecken also nicht.
Ludger -
Don’t mistakenly remove the rubber case feet
Bob Trout -
I just did. That picture could be better.
B G -
Thanks I almost removed the rubber feet
Lushane -
If you’re wondering what to use for this, the main blade of a pocket knife from the corner of the plastic works well.
Cameron Holman -
As you remove the hardware in each step, place them together on a sheet of paper and circle them with the step number.
Tom J -
Very helpful suggestion, thanks!
Christopher Reese -
Caution: Before you begin disassembly. If possible, power on your Wii, and attempt to eject whatever disk you may have in the drive.
Steve -
1:
I'd recommend removing the RTC Battery before starting to completely remove all power. You can see how in step 15.
2:
When removing the screw covers I'd recommend inserting tweezers in the bottom corners facing away from the rubber feet.
When the tweezers are inserted you should push them down to grab on to the cover and pull it off.
Macro Man -