
Introduction
The Nintendo Wii Nunchuk control stick is an important component that can develop issues over time, preventing it from working correctly. These issues can result in the stick drifting or not working at all. This guide will help you learn how to replace the control stick by taking apart the Nunchuk to fix any issues with the component. Taking apart the Nunchuk is a useful skill that can be used for other repairs of the Nunchuk in the future, as well as diagnosing any other potential issues with the Nunchuk.
This guide does not require any previous experience with repairs, and only requires the use of a Triwing Y0-Point screwdriver, as well as either a Gameboy control stick or a Nunchuk control stick to replace the original component. It is a relatively quick repair to ensure that you could get back to your gaming as quickly and smoothly as possible.
Tools
-
-
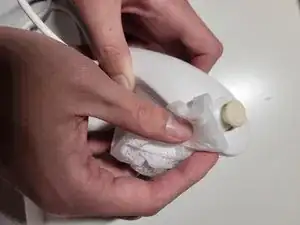
Clean and disinfect the Nintendo Nunchuk with disinfectant wipes to remove any bacteria, dust, or stains.
-
-
-
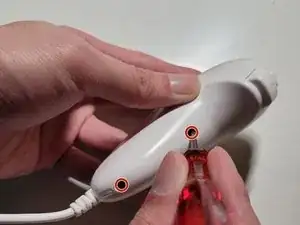
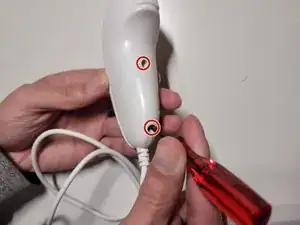
Insert the Tri-wing Y0-Point Screwdriver into the two 8 mm screws at the back of the controller, and unscrew them both counterclockwise.
-
-
-
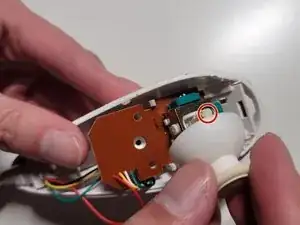
Remove the central control stick by tugging on it until the control stick slides off the slot.
-
-
-
Attach the new stick by inserting either the Nintendo Wii Nunchuk Control Stick or a Gameboy Controller Control Stick onto the nub.
-


To reassemble your device, follow these instructions in reverse order.
