Introduction
The microphone is an essential component of the Nokia 6085h as it is responsible for the transmission of the audio. Malfunction of the microphone may require replacement or repair, but first it needs to be located.
Follow this guide to help locate the microphone for removal or/and repair. Please be gentle with the tools as you remove each component of the Nokia 6085h.
-
-
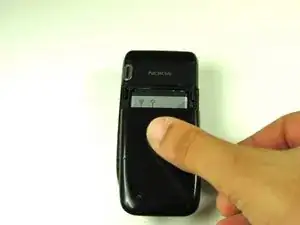
Flip over the phone so that the back is facing up.
-
Pressing your thumb against the back cover, slide the cover off of the phone.
-
-
-
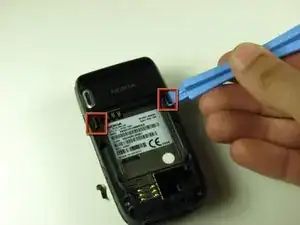
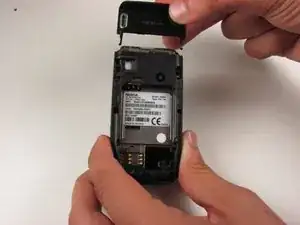
Use the iFixit opening tool to pry out the two tabs at the top corners of the battery compartment.
-
-
-
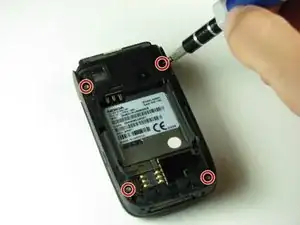
Use a T6 Torx screwdriver to remove the four 7.6 mm screws at the corners of the battery compartment.
-
-
-
Open the phone and turn it on its side. You will see a seam around the Nokia’s side.
-
Use the iFixit opening tool to run along this seam to pop the clips holding the casing to the frame.
-
-
-
Close the phone and place it on a flat surface.
-
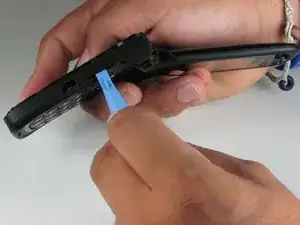
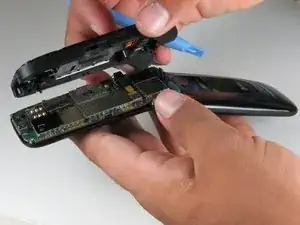
Use the plastic opening tool or your finger to lift up the motherboard from the bottom casing.
-
-
-
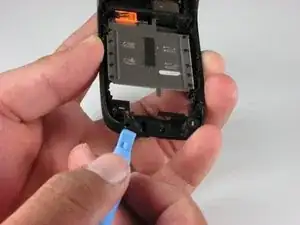
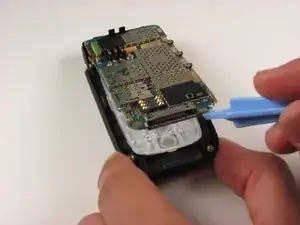
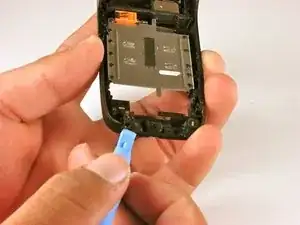
Find the underside of the motherboard and locate the ribbon cable that attaches the board to the rest of the phone. Use the plastic opening tool to slowly detach the ribbon cable connector, then pull the motherboard away from the frame.
-
-
-
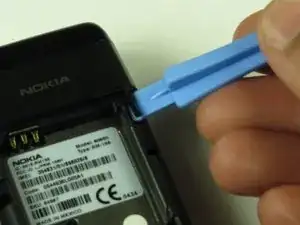
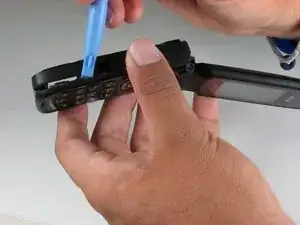
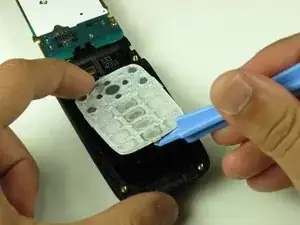
Pry the keypad out with the plastic opening tool once the motherboard is moved out of the way.
-
-
-
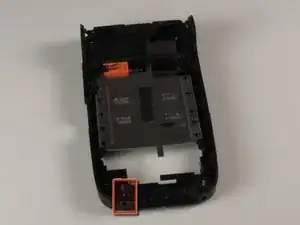
Locate the small speaker module on the back of the separated battery compartment in the lower left hand corner.
-


To reassemble your device, follow these instructions in reverse order.