Introduction

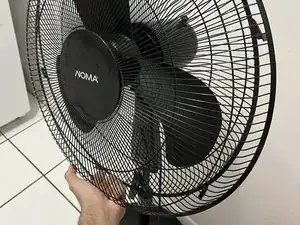
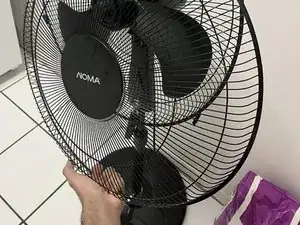
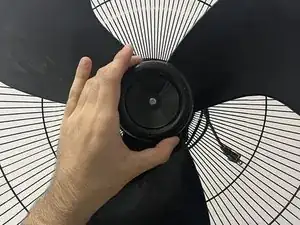
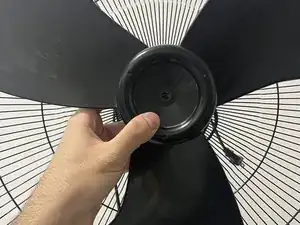
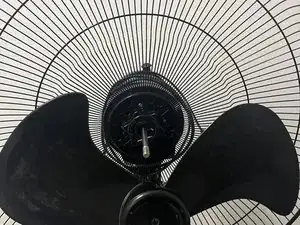
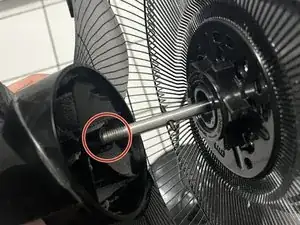
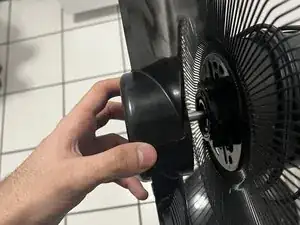
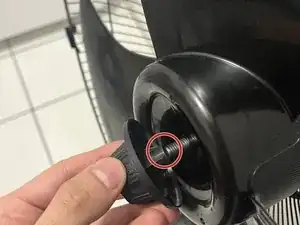
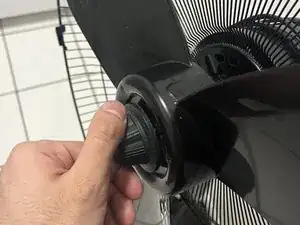
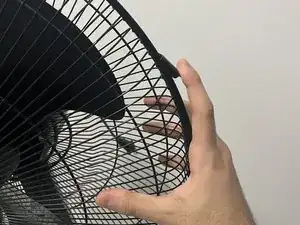
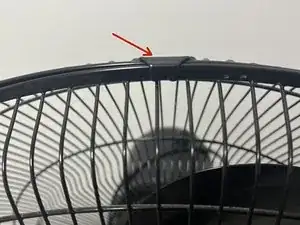
A malfunctioning fan can be a frustrating experience, especially during those hot summer days when you rely on your fan for cool comfort. However, fear not – in this step-by-step guide, I will walk you through the process of replacing a faulty fan blade, allowing you to revive your NOMA pedestal fan and restore it to optimal performance. Before we begin, it's essential to ensure your safety. Always disconnect the fan from the power source before attempting any repairs, and take the necessary precautions to avoid any electrical hazards. Additionally, make sure you have the replacement parts required for the task, ensuring a smooth and efficient repair process.

  1. NGJ5SFr5lawKv6BZ
    NGJ5SFr5lawKv6BZ
    3Ph2gALwBRnBeHtq
    • Undo the clips on the outer edge of the fan.

    • Make sure the fan is disconnected from the power source before starting.

  2. mnayWlTCgDnDHZgK
    mnayWlTCgDnDHZgK
    1svkaZZYaAKgFSie
    • Gently remove the front piece by pulling it towards the bottom.

    • Don't pull too hard to avoid damaging the clips on the fan.

  3. Y5QvH3PjZ2obeBMc
    • Turn the cap clockwise and remove it.

  4. xRSQc1YGHQZhVKxW
    xRSQc1YGHQZhVKxW
    EhbidHEyYSuFVmgP
    NV3DrrwaPQbJyRWZ
    • Lightly pull the faulty blade towards you.

    • Be careful while pulling to not injure yourself.

  5. mB1fiKvF5Zm5pGF6
    mB1fiKvF5Zm5pGF6
    NfUlAkaTBqMG3loq
    • Insert the new fan blade onto the screw .

    • Make sure it's pushed all the way back.

  6. kQOfPBEMrYqLv6Ta
    kQOfPBEMrYqLv6Ta
    woFLlULtSJod3EJc
    • Place the cap on the screw and tighten it by turning counterclockwise.

  7. pMAdDAII2XZCXaR3
    pMAdDAII2XZCXaR3
    fuG5mbeebPiAOPjP
    • After placing the front piece back on, fasten the clips again.

    • Make sure you align the piece to fit perfectly on the top.

Conclusion

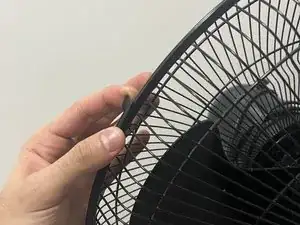
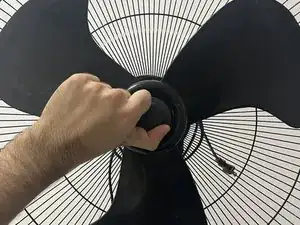
This is a relatively easy process and as long as you follow our step-by-step guide it should be easy to fix.

Taha Hashmi

Member since: 16/01/24

172 Reputation

0 comments