
Introduction
If you would like to disassemble your Oster Electric Rice Cooker, follow these instructions. This disassembly involves all components of the circuitry, including the heating element, mini integrative circuit board, and wiring. You will not need to complete any difficult steps; the majority is simply taking off the screws.
Tools
-
-
Remove the two 6.0 mm screws from the bottom using a Phillips #1 screwdriver.
-
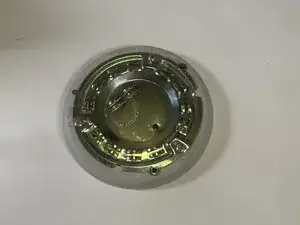
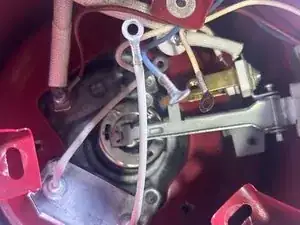
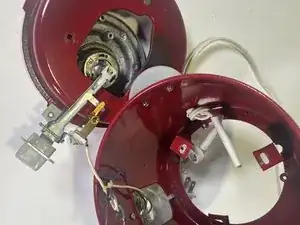
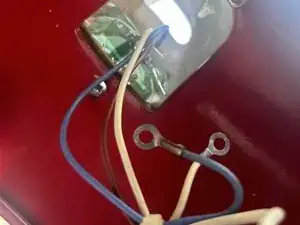
Remove the tray, and you will see the circuitry.
-
-
-
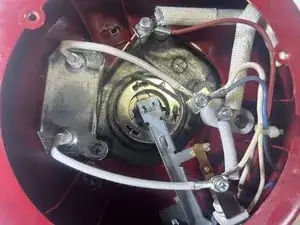
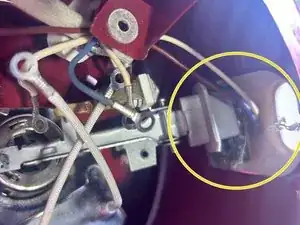
Remove the single 7.6 mm screw which connects the wires to the heating element in the center using a Phillips #1 screwdriver.
-
-
-
Remove the 16.1 mm screw from the "On" button.
-
Remove the two 7.4 mm screws next to the "On" button.
-
Remove the "On" button.
-
-
-
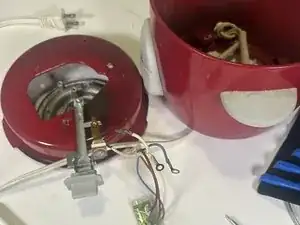
Flip the rice cooker over to look into the heating body.
-
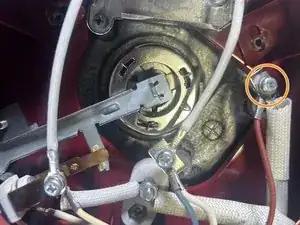
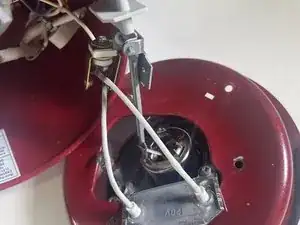
Remove the 8.1 mm screw to loosen the heating element from the heating body.
-
-
-
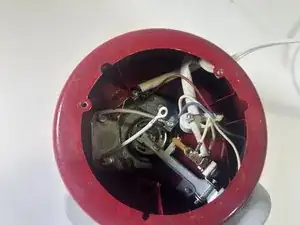
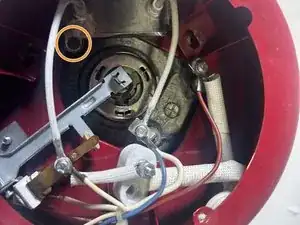
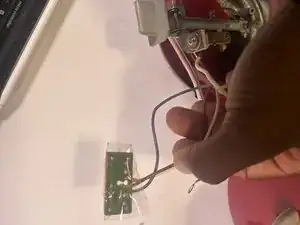
Remove the 9.8 mm screw in the center of the circuit board.
-
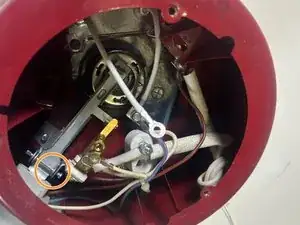
Remove the board and accompanying wires.
-
-
-
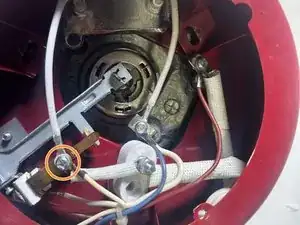
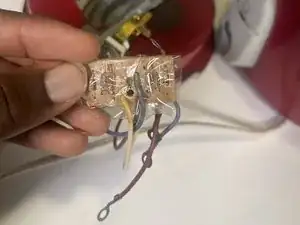
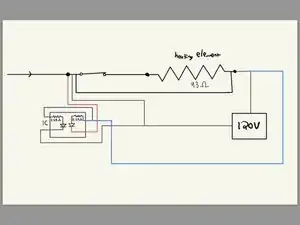
With each part of the circuity disassembled and removed from the main heating body, a schematic can be drafted to explain how the device works.
-
With each part mentioned, an explanation of how the device operates can be made. The red wire is connected to the yellow LED. The yellow/white wire is connected to the red LED. Pressing down on the button presses the lever down, which sets off the heating element. The blue wire powers the circuit board, since it's linked to the 120V tray.
-
The heating element contains three "spikes," which help get power to store electricity and get power to heat up. Pressing down on the lever presses down on the spikes. This additionally sets off the red LED, which enables the rice to cook.
-
The yellow LED, which allows the rice to stay warm, is automatically turned on when the device is plugged in. Pressing the button switches the focus to the red LED, or cooking the rice.
-


To reassemble your device, follow these instructions in reverse order.