Introduction
-
-
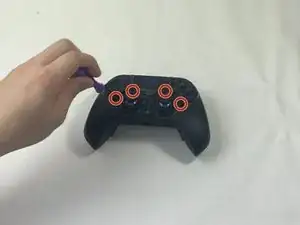
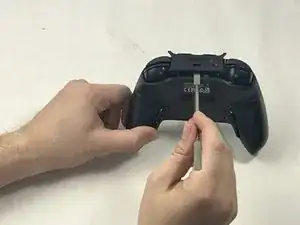
Use the purple Module Swap Tool that comes with the device to remove the 4 hex screws.
-
Remove the joystick/button modules from the controller.
-
-
-
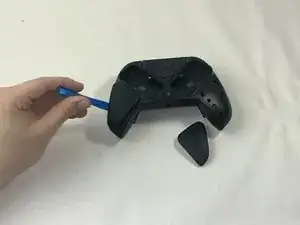
Using the iFixit opening tool, gently pry open the two side grips.
-
Using the screwdriver tool with a head of around 2 mm, remove the screws located in the bottom outside corners.
-
-
-
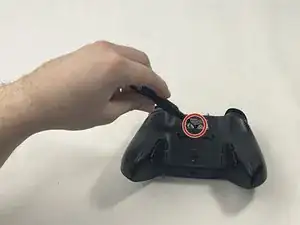
Flip the controller to the other side so the label on the bottom is facing upwards.
-
Using the same screwdriver head setting from the previous step, remove the screw.
-
-
-
Flip the controller so the charging port of the controller is facing you.
-
Using a spudger, carefully pry open the front component.
-
-
-
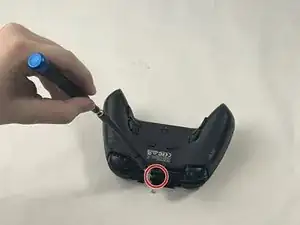
Flip the controller so it is upside-down, but the charging port is still facing you.
-
Use the flexible piece attached to the screwdriver to remove this screw.
-
Now that everything is loosened, gently pry open the controller along the grooves.
-
-
-
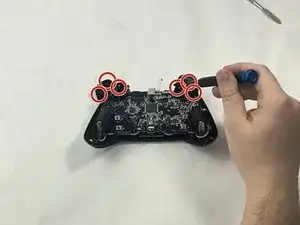
Using the screwdriver tool with a smaller head, remove the three screws from each trigger.
-
Remove the triggers.
-
-
-
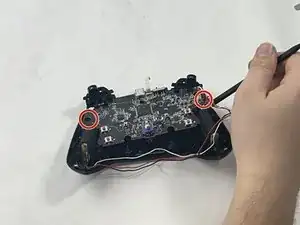
Using the screwdriver, remove the two screws in the bottom two corners.
-
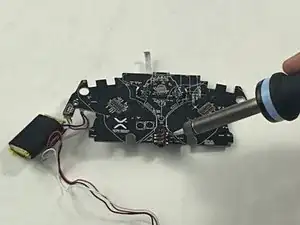
Using the halberd spudger, carefully pry the circuit board open.
-


To reassemble your device, follow these instructions in reverse order.