Introduction
There comes a time in every controllers lifespan where the battery just seems to stop working, but don't worry, with this guide you can replace the battery and rejuvenate your controller's life span.
-
-
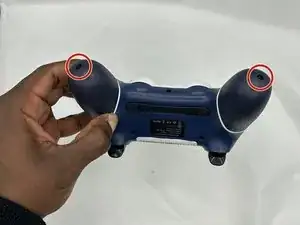
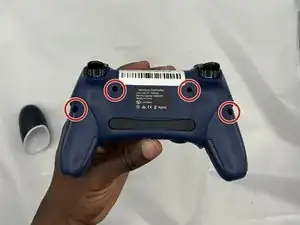
Remove the two 10 mm Phillips #1 screws that secure each of the handle grips.
-
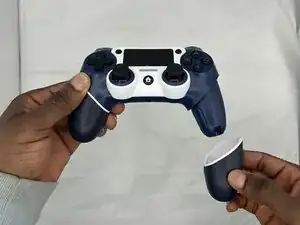
Pull off the handle grips.
-
-
-
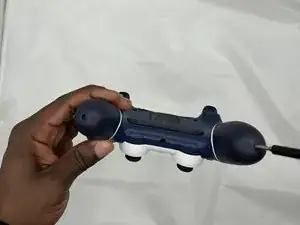
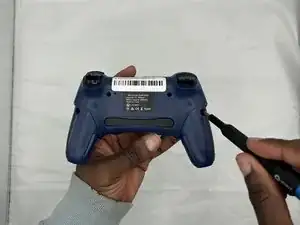
Remove the four 9 mm Phillips #1 screws that secure the rear case.
-
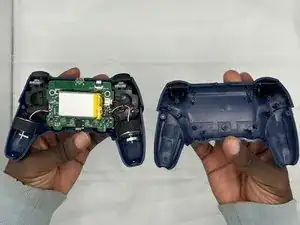
Lift off the rear case from the controller.
-
-
-
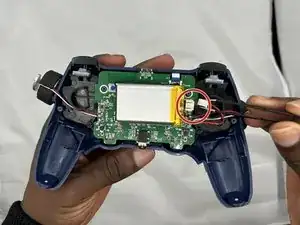
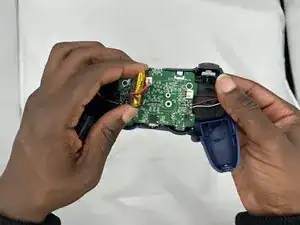
Use blunt tweezers to pull the white battery motherboard connector directly out of its port.
-
Gently peel the battery off of the motherboard.
-


Conclusion
To reassemble your device, follow these instructions in reverse order.