Introduction
Tools
Parts
-
-
We are going to start by removing the back panel.
-
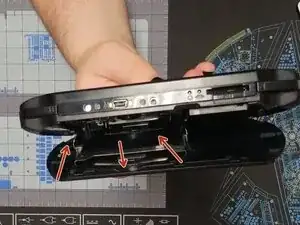
To do this open the panel and gently squeeze in the UMD tray until it pops up.
-
It should lay flat against the back panel while open if done correctly
-
-
-
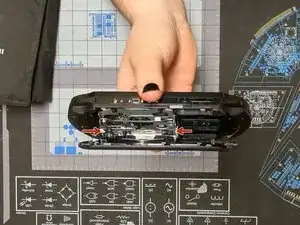
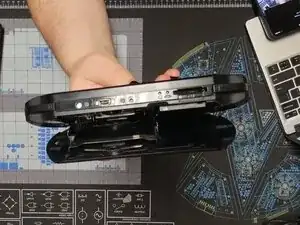
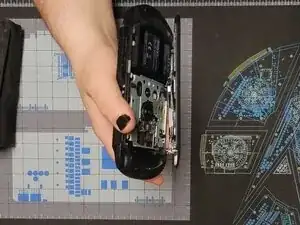
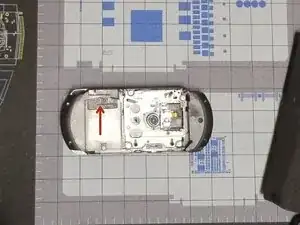
Gently bend the back panel to free the hinge on the left.
-
Once it is popped out it should look like the second photo
-
-
-
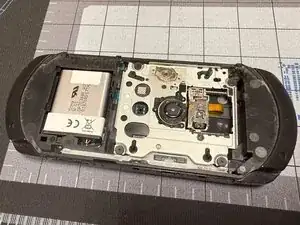
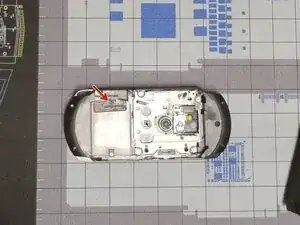
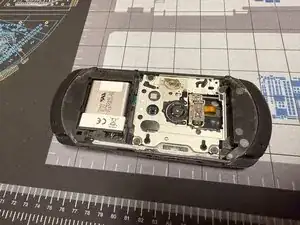
Remove the screw with a #00 Philips and slide up the battery cover.
-
The battery can now be removed by pulling it out.
-
When reinstalling, it is useful to use a spudger to push the cable back in.
-

Conclusion
To reassemble your device, follow these instructions in reverse order.