Introduction
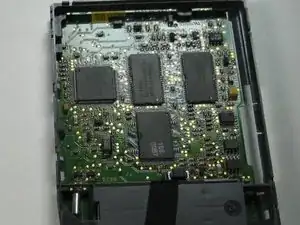
This guide will walk you through the step-by-step process of replacing the motherboard for your Palm IIIx.
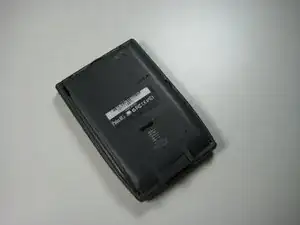
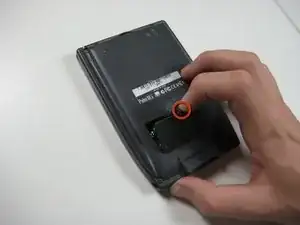
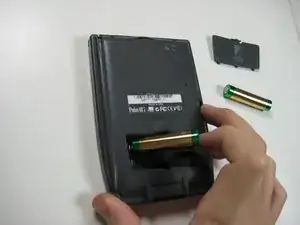
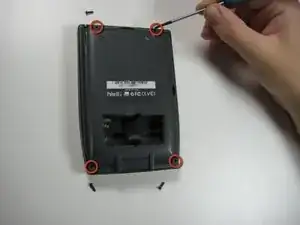
Before you begin, ensure your Palm IIIx is turned off and unplugged from the charger. Additionally, remove the battery to prevent any potential damage during the process.
-
-
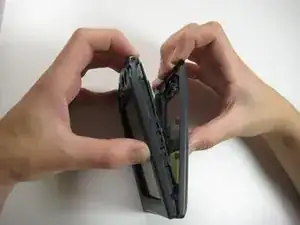
Hold the device on its side, positioning your hands as shown.
-
Remove the back cover by pushing in with your thumbs and pulling outward with the rest of your fingers.
-
-
-
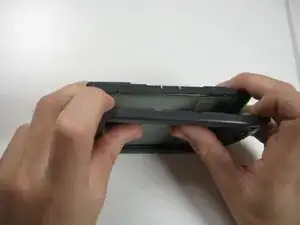
Hold the screen and front cover on its side, facing the screen inward as shown.
-
Remove the screen by pushing outward with your thumbs. Use your index fingers to hold the front cover in place.
-
-
-
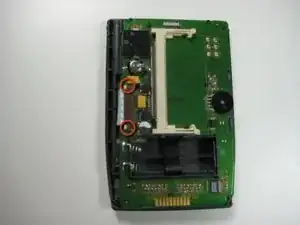
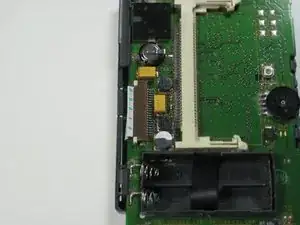
Position the device with the screen facing down.
-
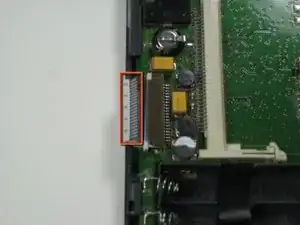
Locate the white ribbon wire on the left hand side of the device.
-
On either side of the ribbon wire are two white clasps. Gently push the two clasps away from the board (to the left).
-

To reassemble your device, follow these instructions in reverse order.