
Introduction
Tools
-
-
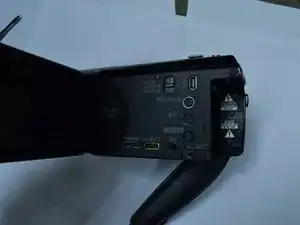
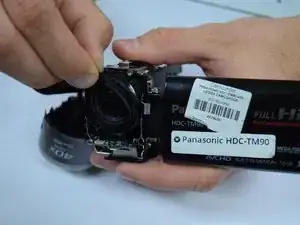
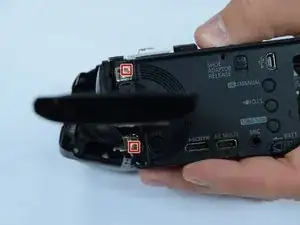
Remove 5 screws from the side panel body of the camcorder.
-
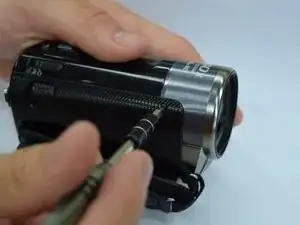
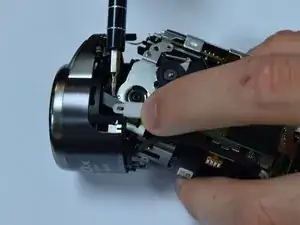
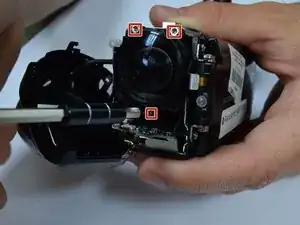
Use the spudger to remove the top of the camcorder.
-
-
-
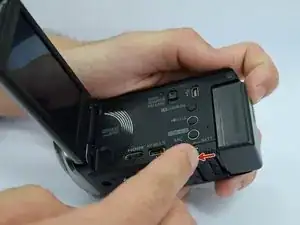
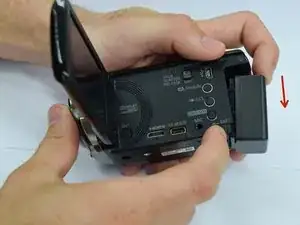
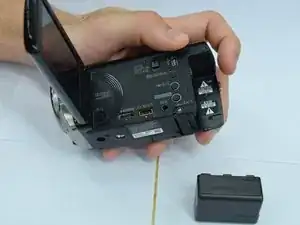
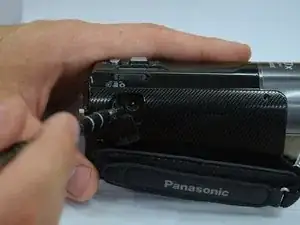
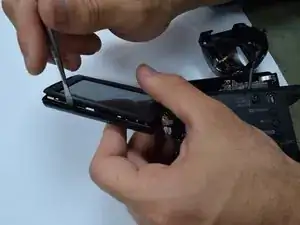
Remove the side panel of the camcorder.
-
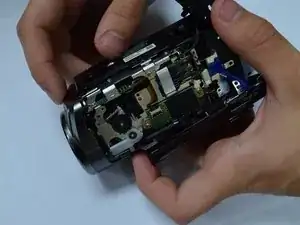
Remove the top panel of the camcorder.
-
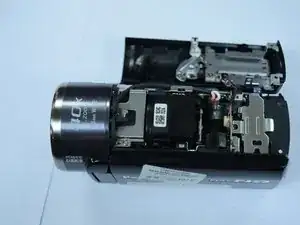
For help with this step see prerequisite guide: Lens Clean.
-
-
-
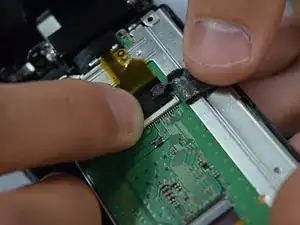
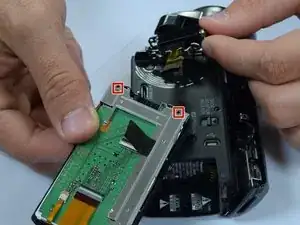
Peel back the black tape holding the wire strip to the camcorder screen.
-
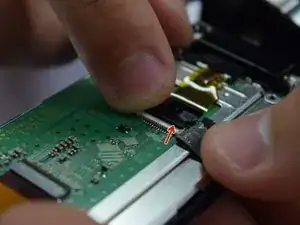
Unclip the small latch from the wire strip.
-


To reassemble your device, follow these instructions in reverse order.
One comment
Steps 1-4 are good pre-reqs.
Are all of steps 5-8 absolutely necessary for LCD screen replacement?
Step 9-bullet 3: Change to 'note' rather than bullet point and put it first.
Step 11-bullet 2: List the # of screws to be removed and with what screwdriver. Show 2nd picture of screws to remove on actual LCD door.
Step 11-bullet 3: Change to a "caution" rather than just a bullet. Also we had a spring fall out at this step with no idea where it came from. Perhaps you could address this.
Step 12- We actually had to use a 2nd spudger to pry it apart. One as a wedge and one as a lever to separate.
Step 14-bullet 2: change to a "Warning" symbol.
Seems to be an incomplete guide, as the LCD screen is still affixed to the device.