Introduction
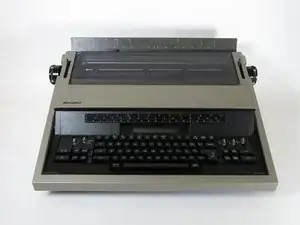
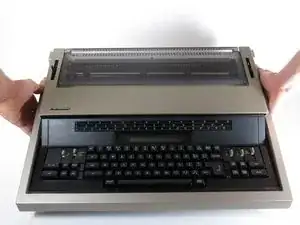
If your Panasonic KX-E603 typewriter has a damaged, cracked, or worn-out case, this guide will assist you in replacing it to restore the device’s functionality and appearance. The typewriter’s case not only protects the internal components but also ensures the durability and usability of the device.
Using the correct screwdriver ensures you won’t strip the screws, making the replacement procedure smooth and efficient. This guide provides a clear, step-by-step approach to safely remove and replace the typewriter case, ensuring a secure and proper fit for continued use.
Make sure that your typewriter is off and unplugged before you begin this repair.
Tools
-
-
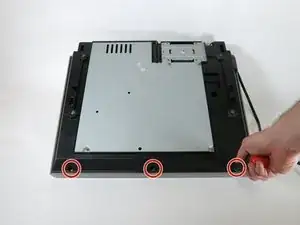
Remove the three 19 mm screws located in the recessed holes on the edge of the black underside panel using a Phillips #2 screwdriver.
-
-
-
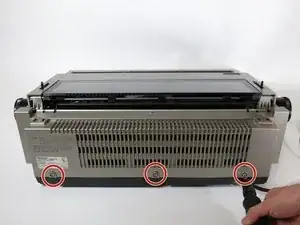
Flip the typewriter back to its original orientation, then rotate it so that the rear is facing towards you.
-
Remove the three 19 mm screws near the bottom of the tan body panel using a Phillips #2 screwdriver.
-
-
-
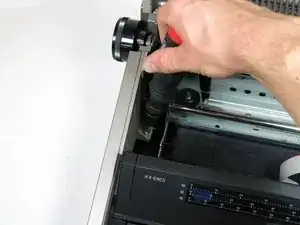
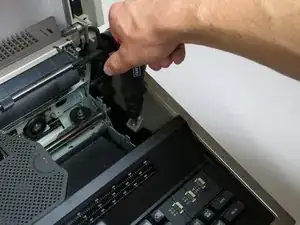
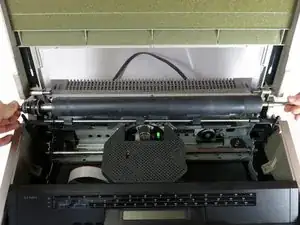
Open the typewriter lid and push the carriage away to expose the two screws holding the case to the chassis.
-
Remove the two 19 mm screws using a Phillips #2 screwdriver.
-
-
-
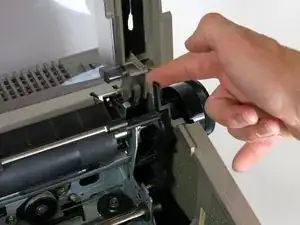
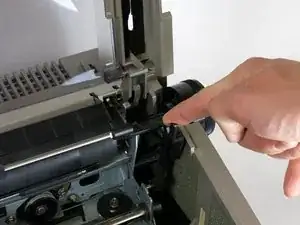
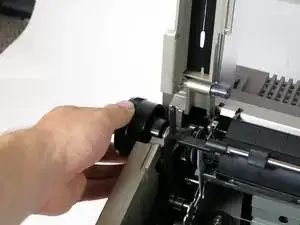
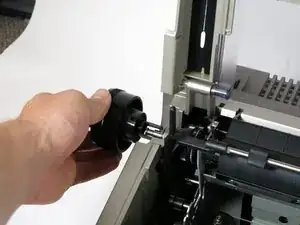
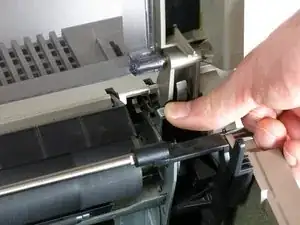
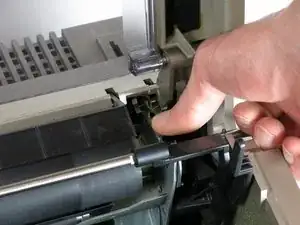
Unlock the roller wheel by simultaneously pressing down on the two spring levers on the left and right of the roller ends.
-
-
-
Flip the top down. Then, with both hands, lift straight up on the tan case to remove it from the chassis.
-


To reassemble your device, follow these instructions in reverse order.