Introduction
As projectors are used frequently, lamps will occasionally burn out and need to be replaced in order to continue functioning properly. A good projector will go through multiple lamps as it is used. This guide details how to replace the lamps in Panasonic PT-DW640US projectors. This replacement is important because it will save you money and allow you to continue using the projector long into the future. There is no previous experience needed in order to be able to complete this fix.
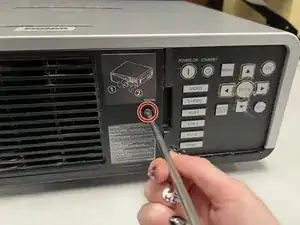
This replacement will require use of a Phillips screwdriver and two replacement bulbs. It is important to be extremely cautious while handling the lamps as they contain mercury that is toxic upon exposure. Ensure that the projector is fully unplugged, turned off, and cooled down prior to performing this bulb replacement.
Tools
-
-
Remove the front cover of the projector by pulling it towards you and to the left with two hands.
-
-
-
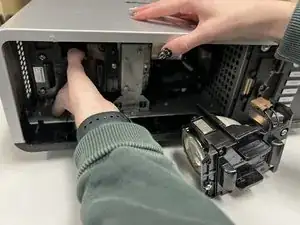
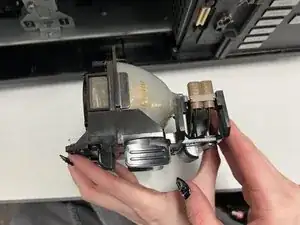
After disposing of the old lamps properly, gather your new lamps and remove them from the packaging they came in.
-
-
-
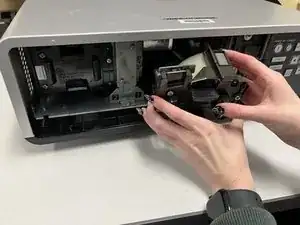
Secure the lamps using the six 31.8 mm screws that came with the new lamps using a Phillips #1 screwdriver.
-
-
-
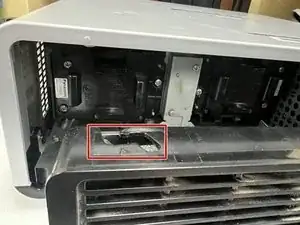
Place the cover back on.
-
Ensure that the notch is on the top left of the cover when you place it.
-