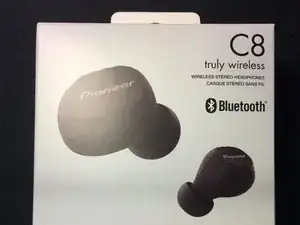
Introduction
Oh the smell of brand new headphones, and the exciting of discover what's inside of this buddies.
Say no more, let's find out...
-
-
Well we spected some confetti and ballons at time to opening this box but isn't that much.
-
In the box: A Micro USB Cable, Two pairs of gummies, Portable Case and Battery Charger and obviusly two pair of bluetooth Headphones :)
-
-
-
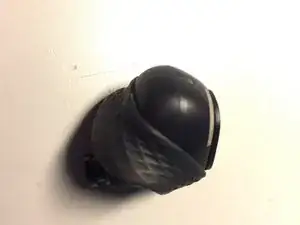
First remove the gummy parts like the "dust" cover.
-
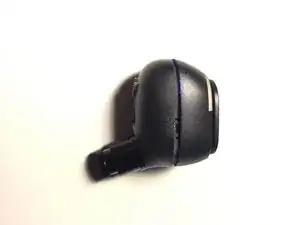
Now time to work in this one (you can choose L or R Headphone) they're the same in the outside at least :)
-
-
-
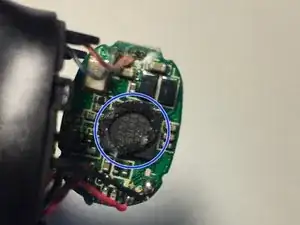
Using a Xacto or a Cutter horizontally press a little bit the the union of both plastics (Glued together).
-
Please be pathient cause it depends if your headphones conserves the "anti dust and waterproof" protection.
-
-
-
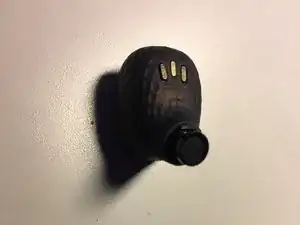
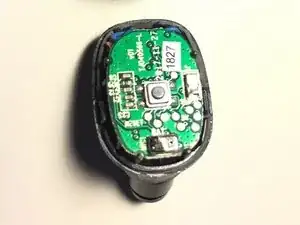
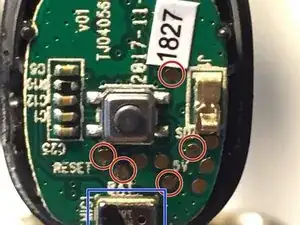
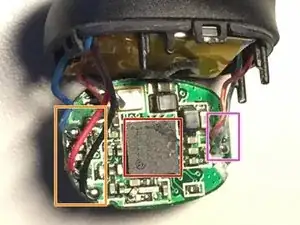
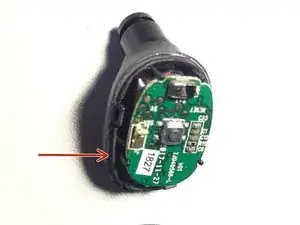
As you can see this is the 1.0 Version, how cute.
-
There are some test points to find out whats the problem: BATT (For to check the Battery votage is present and how much is it), 5V USB Power Supply, SDA & SCL Communication Points, and a RESET Piont (Maybe with a Pull Up push button resistor circuit).
-
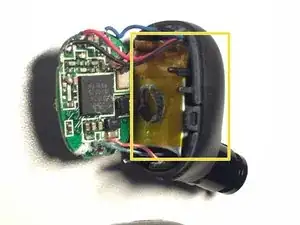
An Elecetrolytic Microphone (Note: this one is into each bluetooth buddy).
-
The brain is open: Airoha AB1524 Truly Wireless Bluetooth IC.
-
Battery Cables Positive, Negative, and Sense.
-
LP & LN Speaker Connection (those speakers are inside the tube) very small... and unpower.
-
A very Small 55mAh LiPo Battery.
-
-
-
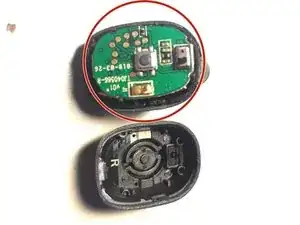
Now it's time to the Right Channel Buddie, same process, and alittle bit different PCB Main.
-
On the Top: An Electrolytic Microphone, Antenna Connection (is located on the borders glued and part of the case), an push button and test points with no info.
-
Upside down: Airoha AB1524 IC, Leds, Battery cables, RP & RN Speaker Connections and some passive electronic components.
-
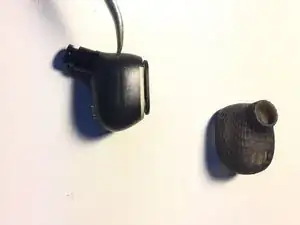
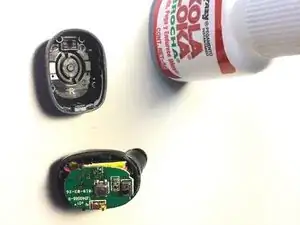
Kola Loka (If you know you know)...
-
-
-
Apply a little bit of amount of Kola Loka (using the point of a needle) on the circumference of the earphone and glue them. apply force while it dry.
-


Chargeing pin
milanthakor899@gmail.com -