Introduction
This guide will walk you through step-by-step on how to properly remove and install the metal chassis in the PlayStation 2 Slimline.
-
-
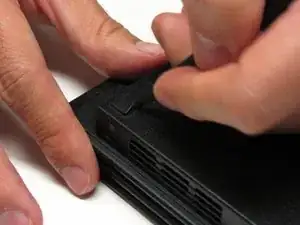
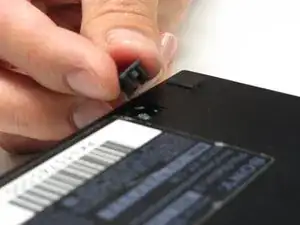
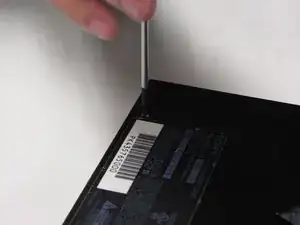
Turn off the PlayStation 2 and carefully unplug it from the power source. Also, it is important to eject the CD from the console before flipping the it upside down.
-
-
-
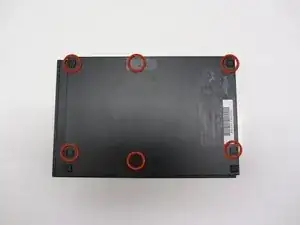
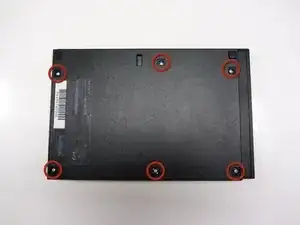
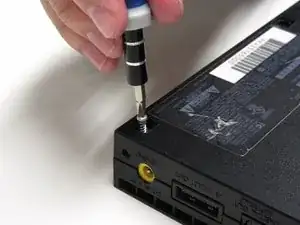
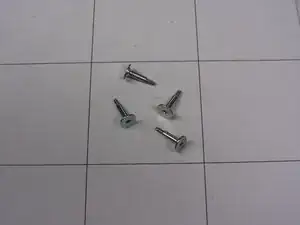
After all of the feet have been removed, Use a Phillips #1 screwdriver to remove the six 4.0mm screws from the base of the PS2.
-
-
-
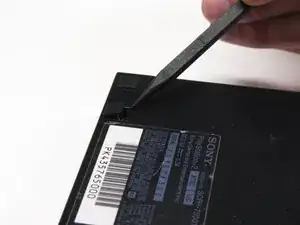
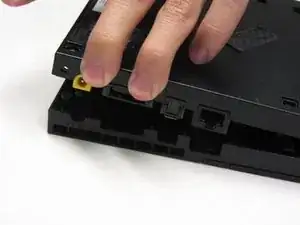
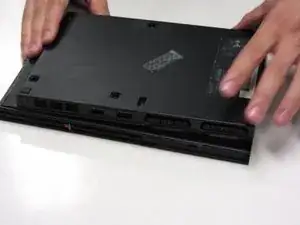
Once all of the screws have been removed, pry apart the plastic covers. Start by lifting the side containing the power cable and Ethernet port. Then, lift the opposite side to fully separate the two sides.
-
-
-
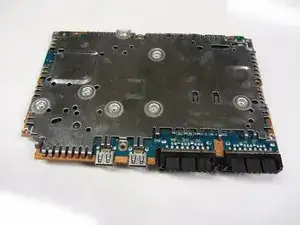
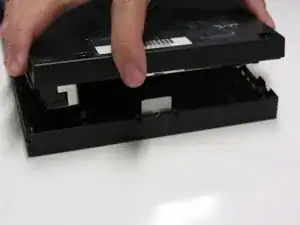
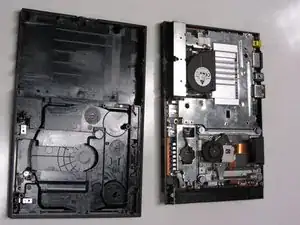
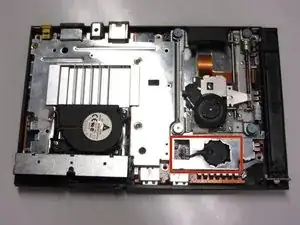
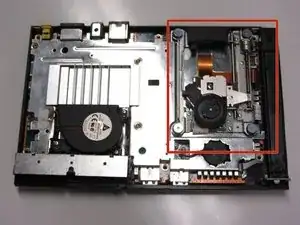
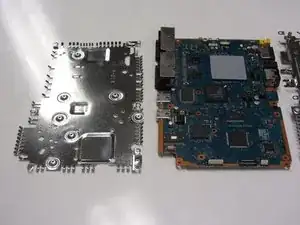
If done correctly, you should have a fully detached plastic backing, revealing the electronic components of the PlayStation 2.
-
-
-
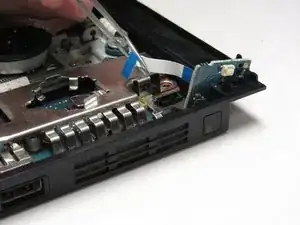
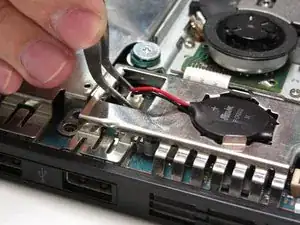
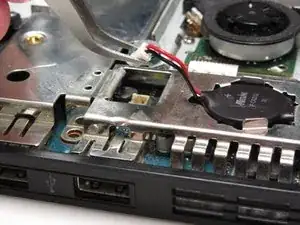
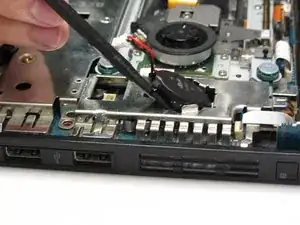
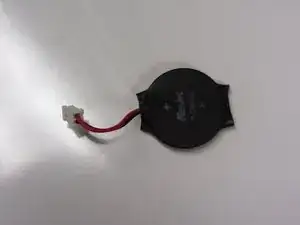
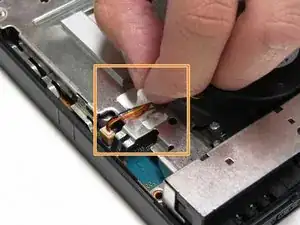
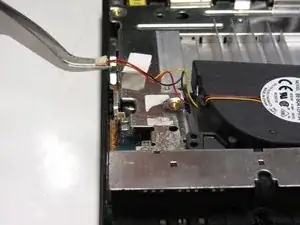
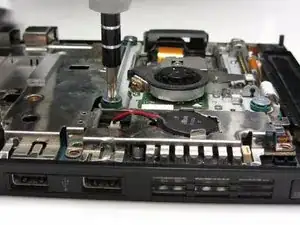
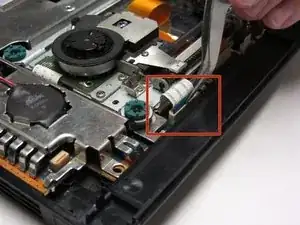
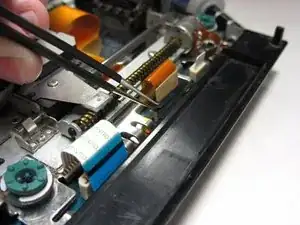
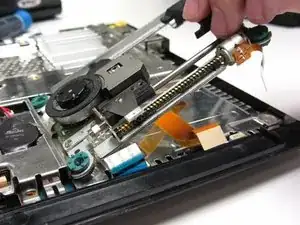
Detach the terminal (white covering) to the red and yellow cords from the motherboard to the fan with the use of tweezers.
-
-
-
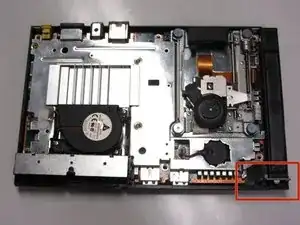
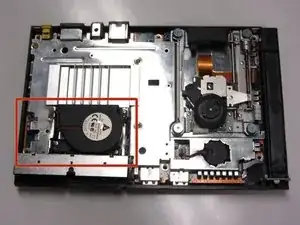
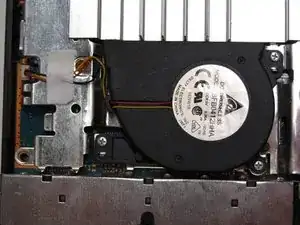
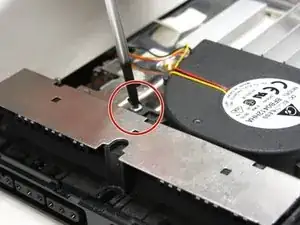
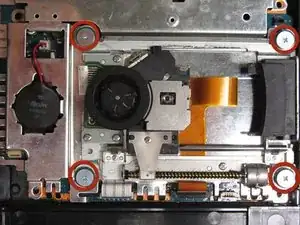
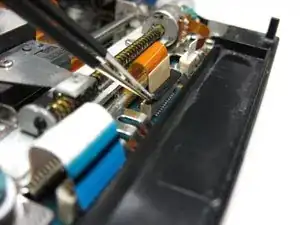
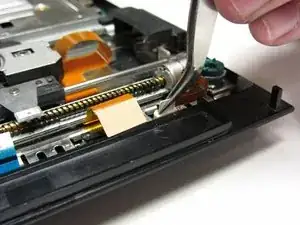
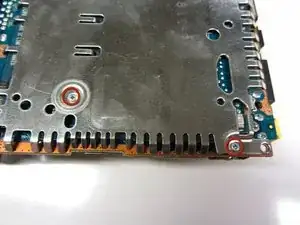
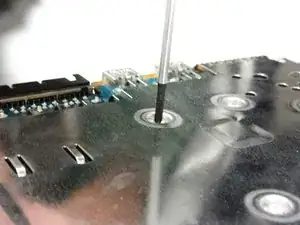
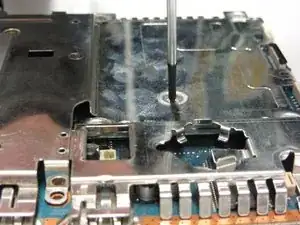
Locate and unscrew the three 1.6mm screws located next to the base of the fan.
-
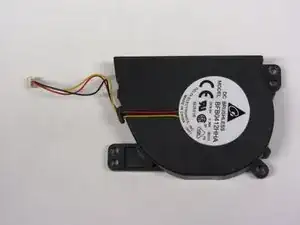
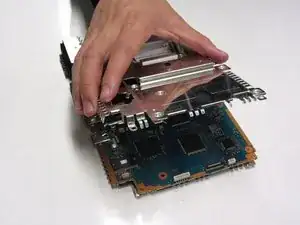
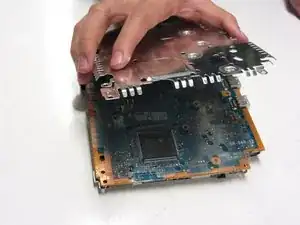
Once you have removed the three screws, you are able to remove the fan from the PS2.
-


To reassemble your device, follow these instructions in reverse order.

One comment
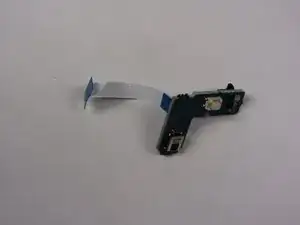
Not the IR reader, it's the power/reset button.
Static -