Introduction

Follow this guide to replace, change, or upgrade the console covers (aka casings, shells, or housings) on your PlayStation 5 Pro.

  1. wHVpAPalMtKCWbdb
    wHVpAPalMtKCWbdb
    MSKoyDTWRhTwUdVo
    PQeie6NiddUFrABX
    • Before starting your repair:

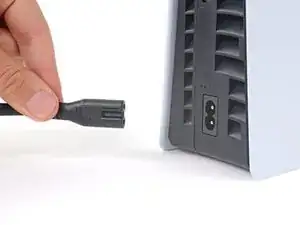
    • Shut down your PlayStation and unplug all cables and accessories.

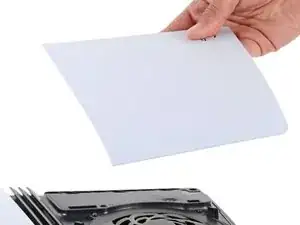
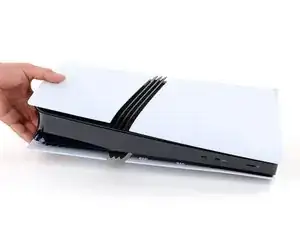
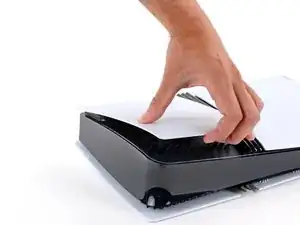
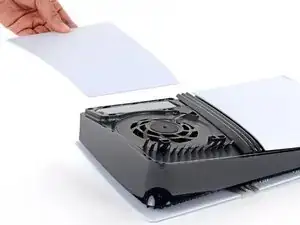
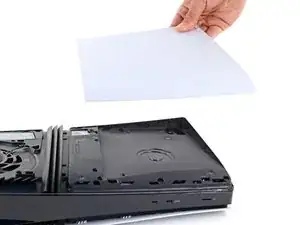
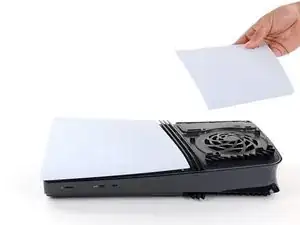
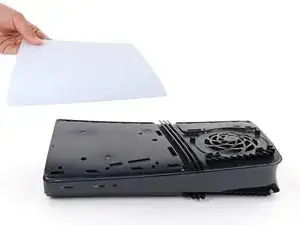
    • Remove any stands supporting your console and lay it down so the right side is facing up.

  2. CFW3QLi2CWBVvtGZ
    CFW3QLi2CWBVvtGZ
    pfX1qxAQi5bVEYeg
    gJNT2AlTWJWiPASh
    • Each console cover is secured with hooks along the rear edge and clips along the front edge.

    • To remove a cover, firmly pull up the front edge to release the clips.

    • You'll hear distinct "pops" as the clips release.

    • Remove the cover.

  3. EHKNY4Os6Jqg3iFo
    EHKNY4Os6Jqg3iFo
    GogShOwXX6Tf6Fpl
    nDceYNDJrCVOhWLb
    • Use the same process to remove the three remaining covers.

    • To reinstall a cover, place the hooks into their cutouts along the rear edge and firmly press the front edge of the cover into place to re‑engage the clips.

Conclusion

Congratulations on completing your repair!

Click here for more PlayStation 5 Pro repair guides.

Repair didn’t go as planned? Try some basic troubleshooting, or ask our Answers community for help.

Spencer Day

Member since: 14/09/22

95592 Reputation

0 comments