Introduction
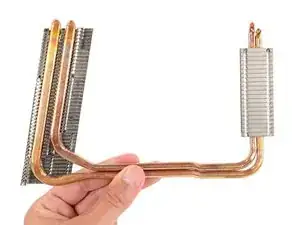
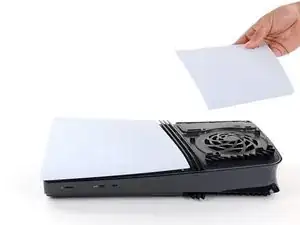
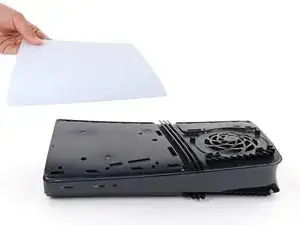
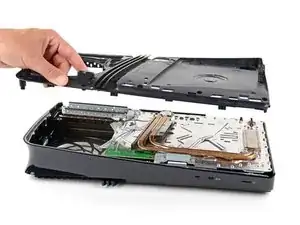
Follow this guide to replace the smaller heat sink on the right side of your PlayStation 5 Pro.
Tools
Parts
-
-
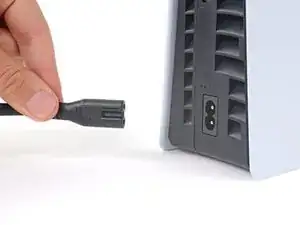
Shut down your PlayStation and unplug all cables and accessories.
-
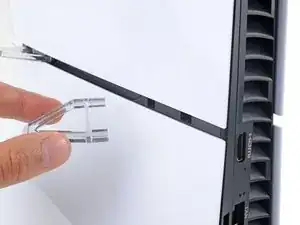
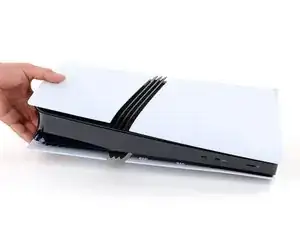
Remove any stands supporting your console and lay it down so the right side is facing up.
-
-
-
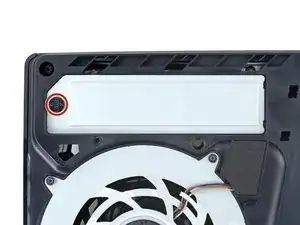
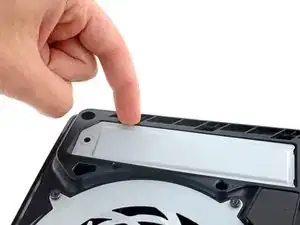
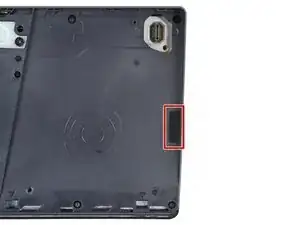
Use a Phillips screwdriver to remove the 17.1 mm‑long screw securing the expansion slot cover.
-
-
-
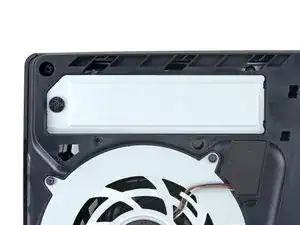
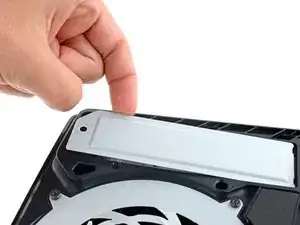
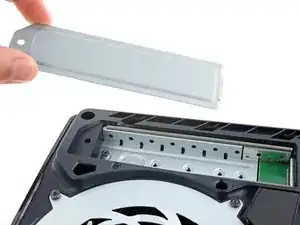
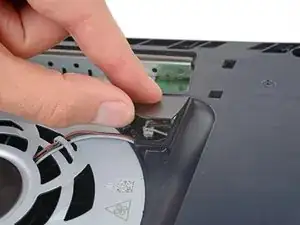
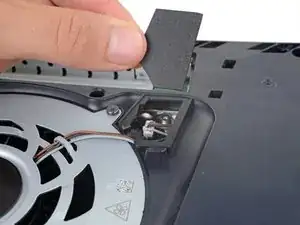
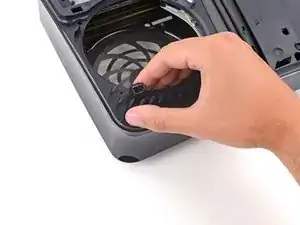
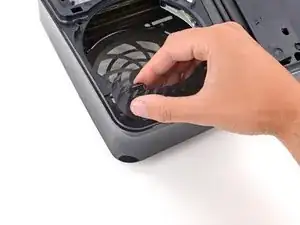
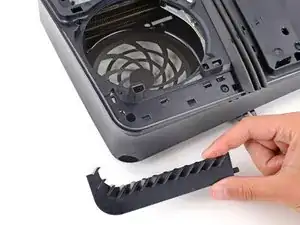
Use your fingers to lift the expansion slot cover near the notch by the screw hole and remove it.
-
-
-
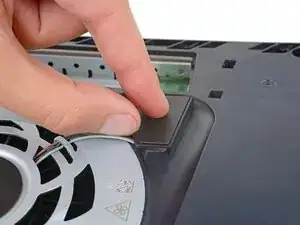
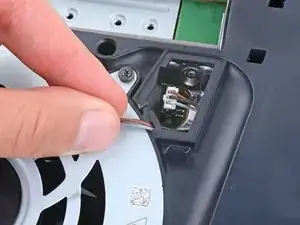
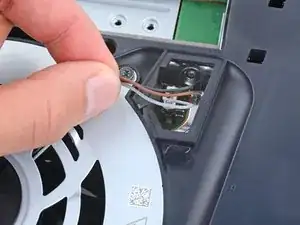
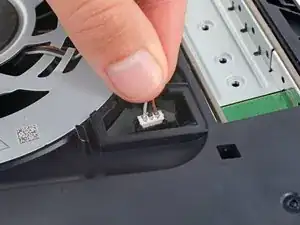
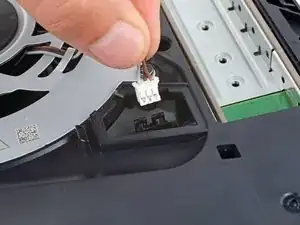
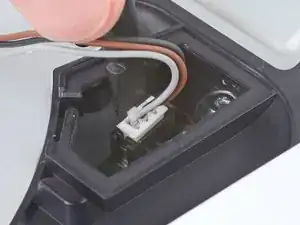
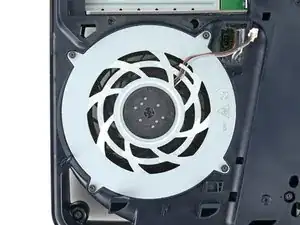
Firmly grip the fan cables' white connector head and pull it straight up and out of its socket.
-
-
-
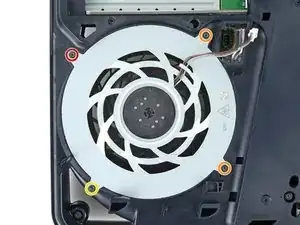
Use a T8 Torx Security screwdriver to remove the four screws securing the fan:
-
One 31.7 mm‑long screw
-
Two 21.5 mm‑long screws
-
One 11.5 mm‑long screw
-
-
-
Use your fingers to grab the fan by its vents and lift it straight up to remove it.
-
Insert the fan so its cables are near their connector.
-
-
-
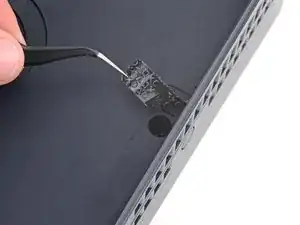
A tamper-evident sticker hides one of the right‑side inner shell screws.
-
Use tweezers to peel up the sticker until you can access the screw underneath.
-
-
-
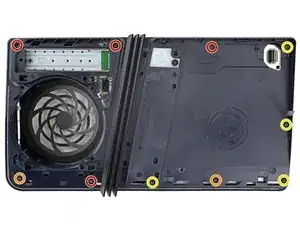
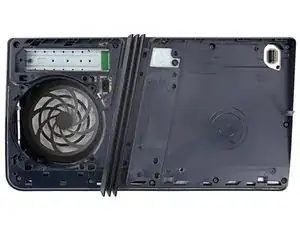
Use a T8 Torx Security screwdriver to remove the 10 screws securing the right‑side inner shell:
-
Four 18.8 mm‑long screws
-
Two 18.6 mm‑long screws
-
Four 31.7 mm‑long screws
-
-
-
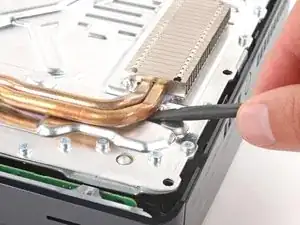
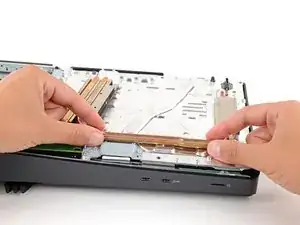
Insert the flat end of a spudger under the bend in the copper pipes, near the heat sink's bottom edge.
-
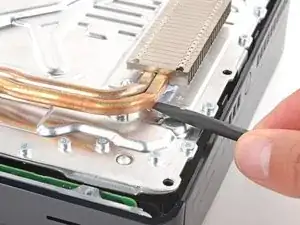
Use your spudger to pry up the heat sink, applying steady pressure to separate it from the thermal paste.
-
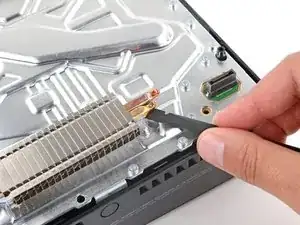
If the heat sink doesn't fully separate, use your spudger to pry up the bottom edge on the other side of the metal fins.
-
-
-
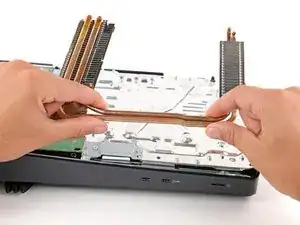
Grip the heat sink by its copper pipes and remove it.
-
Use the flat end of a spudger to scrape up and remove as much of the old thermal paste as possible.
-
Remove all the remaining thermal paste and its residue with high‑concentration (>90%) isopropyl alcohol and a microfiber cloth.
-
Apply new thermal paste where the old paste was.
-
Firmly push the heat sink into place.
-
To reassemble your device, follow these instructions in reverse order.
Take your e-waste to an R2 or e-Stewards certified recycler.
Repair didn’t go as planned? Try some basic troubleshooting, or ask our Answers community for help.
