Introduction
This guide shows how to remove and replace the L1 and R1 bumpers (or shoulder buttons) on your PlayStation Portal. If your bumpers feel sticky, follow this guide to pop them off and clean them.
Tools
-
-
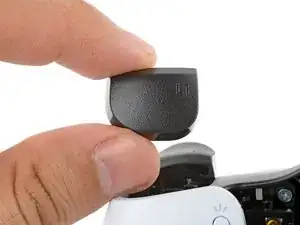
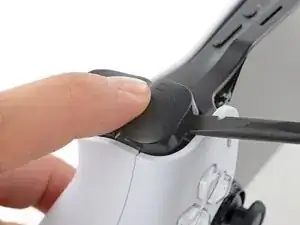
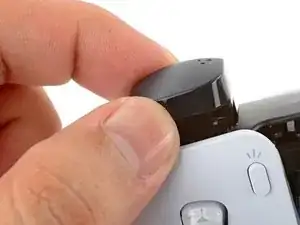
Rest a finger over the L1 bumper to prevent it from flying off when you pry.
-
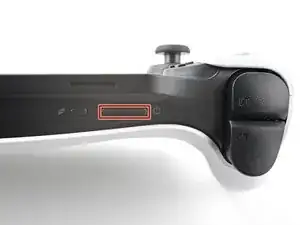
Insert the flat end of a spudger between the top edge of the bumper and the white shell.
-
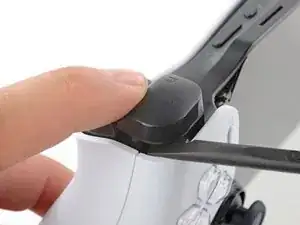
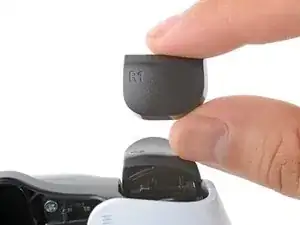
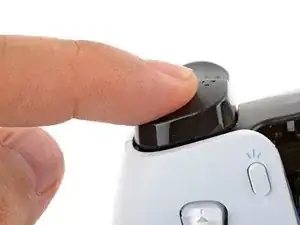
Pry up to unclip the bumper.
-
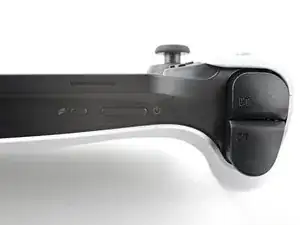
Slide the spudger along the seam to release any remaining clips.
-
-
-
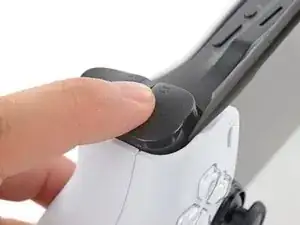
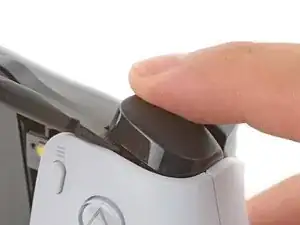
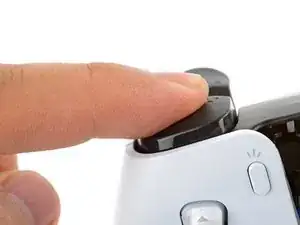
Align the bumper into its slot.
-
Use a finger to press the bumper down firmly until it clicks into place.
-


Conclusion
Repair didn’t go as planned? Try some basic troubleshooting, or ask our Answers community for help.

Where can i buy PlayStation Portal Joystick Grip (Left) Replacement
Aaron Gboryea -