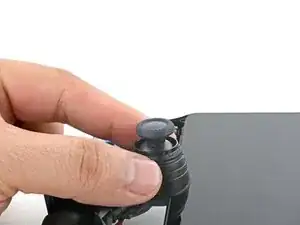
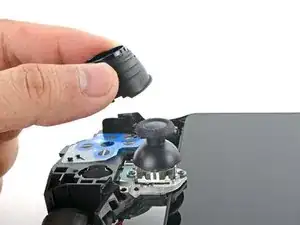
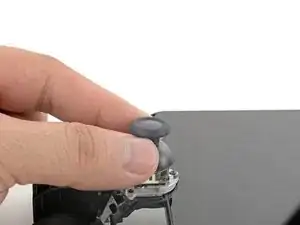
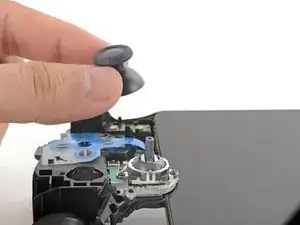
Introduction
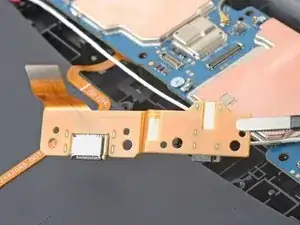
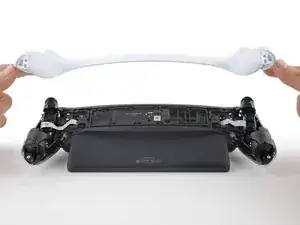
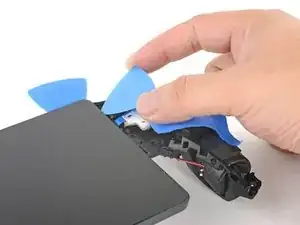
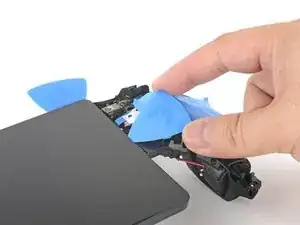
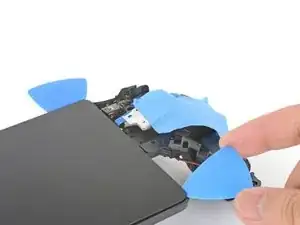
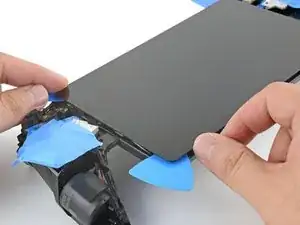
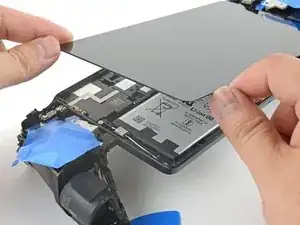
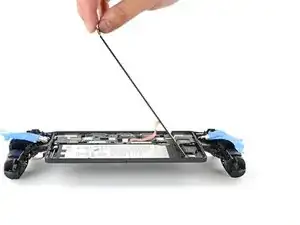
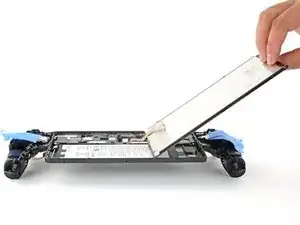
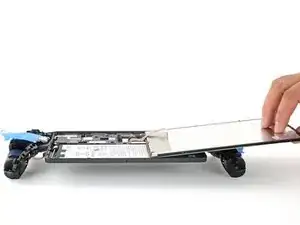
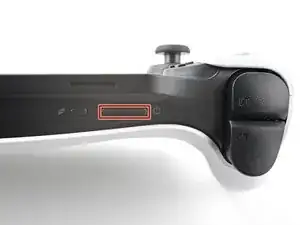
This guide shows how to remove and replace the USB-C and headphone ports for your PlayStation Portal. The ports reside on a small, modular board.
You'll likely need a replacement battery for this repair. The ports are tucked underneath the battery, and the battery can be easily bent or damaged during the repair. Don't reuse the battery if it's damaged, as it's a potential fire hazard.
Tools
Parts
-
-
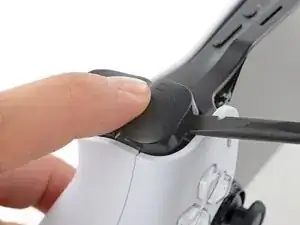
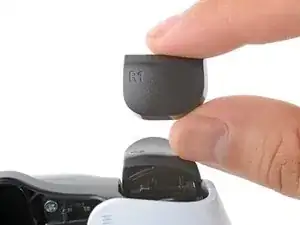
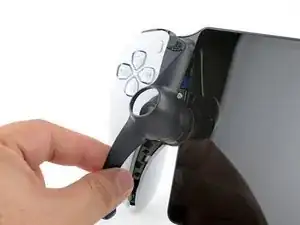
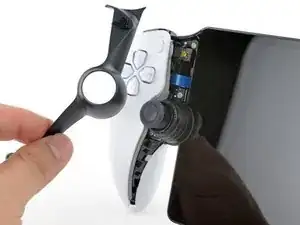
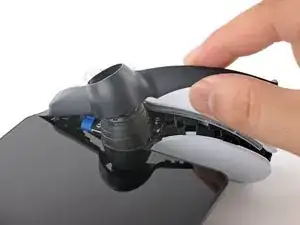
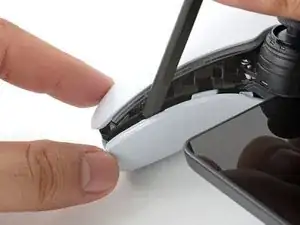
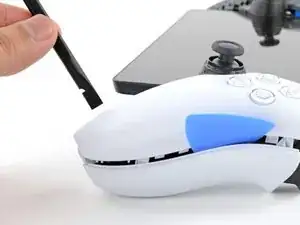
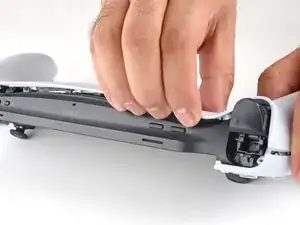
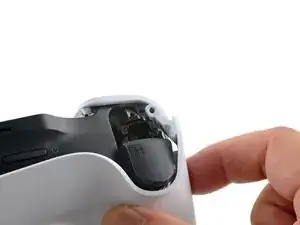
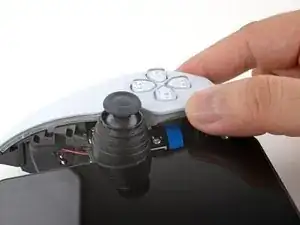
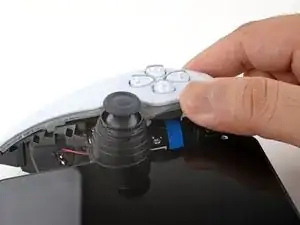
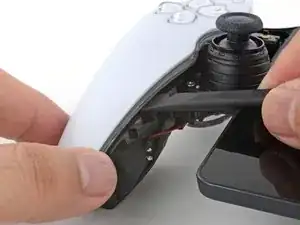
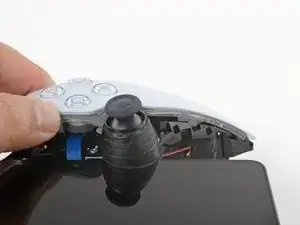
Rest a finger over the L1 bumper to prevent it from flying off when you pry.
-
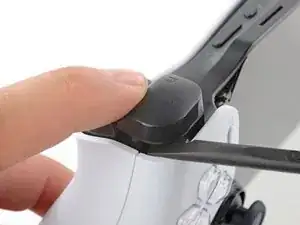
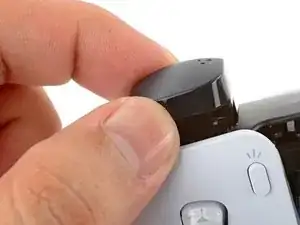
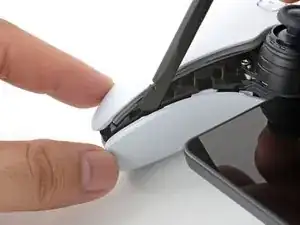
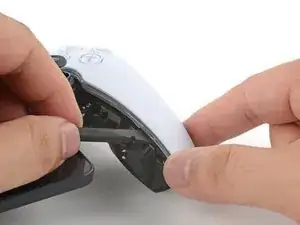
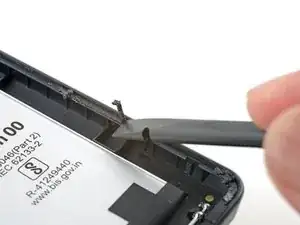
Insert the flat end of a spudger between the top edge of the bumper and the white shell.
-
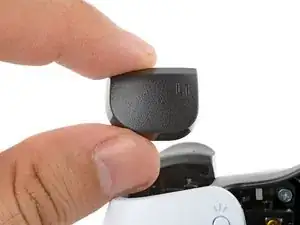
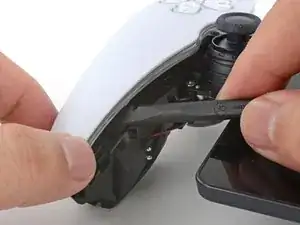
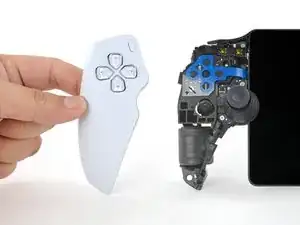
Pry up to unclip the bumper.
-
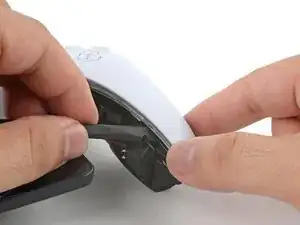
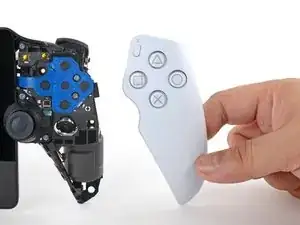
Slide the spudger along the seam to release any remaining clips.
-
-
-
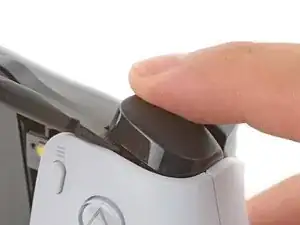
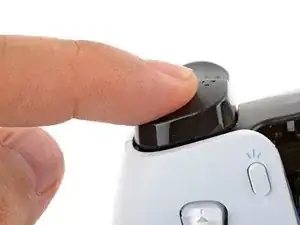
Align the bumper into its slot.
-
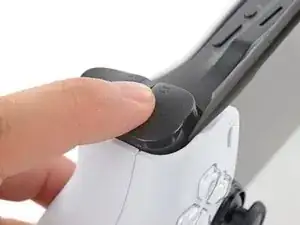
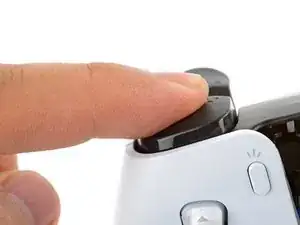
Use a finger to press the bumper down firmly until it clicks into place.
-
-
-
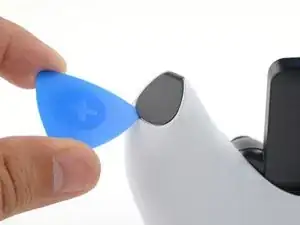
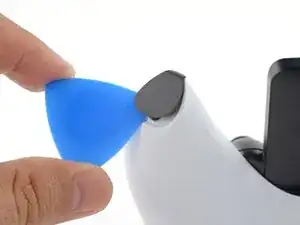
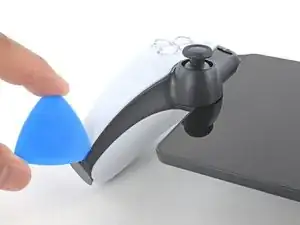
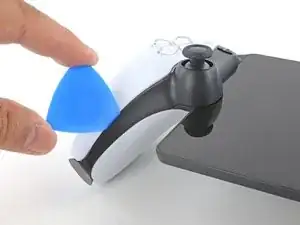
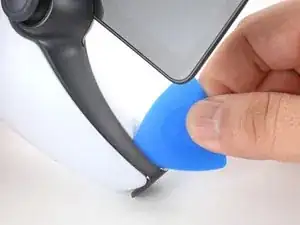
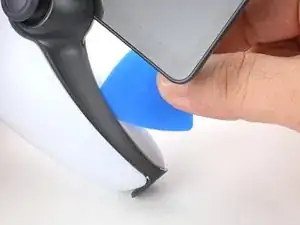
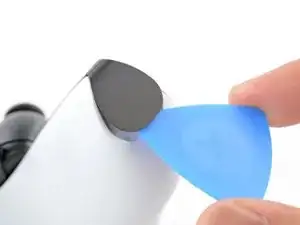
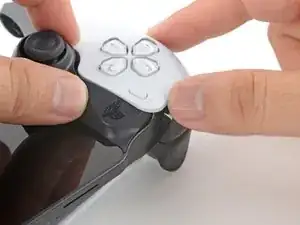
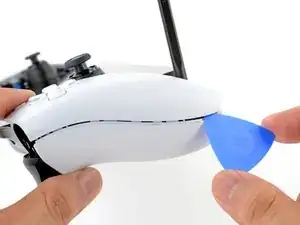
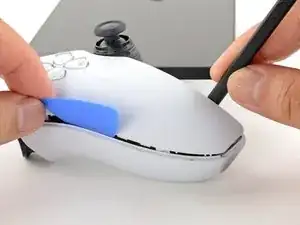
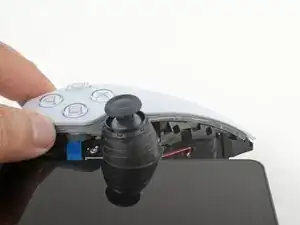
Insert the tip of an opening pick underneath the left joystick trim strip, where it wraps below the grip.
-
Twist the opening pick to release the bottom clip.
-
-
-
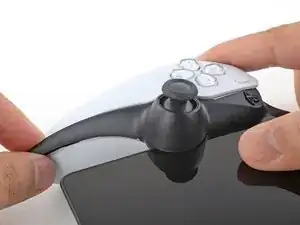
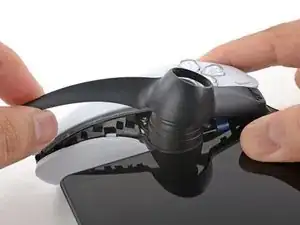
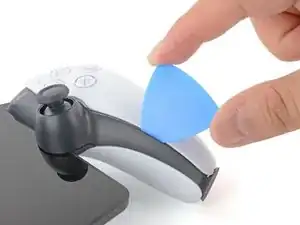
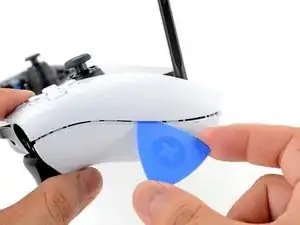
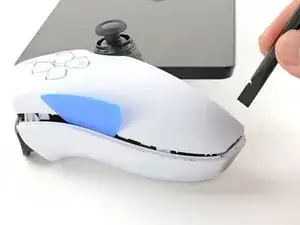
Insert the tip of an opening pick underneath the outer edge of the trim strip.
-
Slide the opening pick along the edge to release the clips.
-
-
-
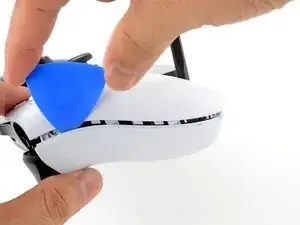
Insert the tip of an opening pick under the inner edge of the strip.
-
Slide the opening pick along the edge to release the clips.
-
-
-
Use your fingers to align and clip the top edge in place.
-
Firmly press along the remaining edges to clip the strip in place.
-
-
-
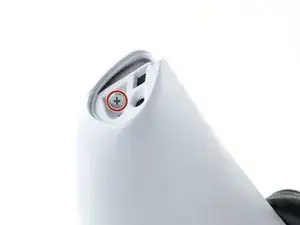
Use a Phillips screwdriver to remove the two 6.5 mm‑long screws at the bottom tips of each grip.
-
-
-
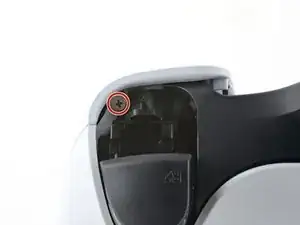
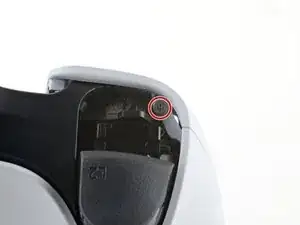
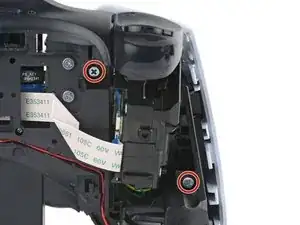
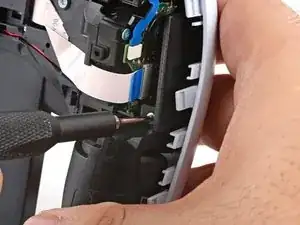
Use a Phillips screwdriver to remove the two 6.5 mm‑long screws securing the top corners of the shell.
-
-
-
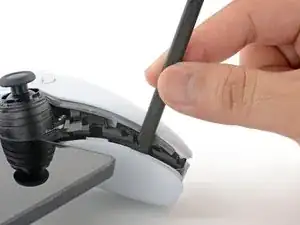
Push the flat edge of a spudger into the back shell's left, inner seam.
-
Keep the spudger inserted in the seam.
-
-
-
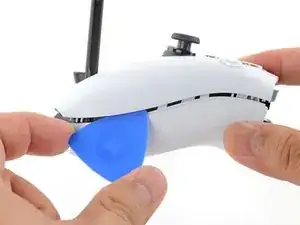
Insert the tip of an opening pick into the shell's left, outer seam.
-
Slide the pick along the seam to release the clips securing the edge.
-
Keep a pick in the seam to prevent the shell from clipping back together.
-
-
-
Repeat the previous three steps on the right side of the Portal to release the clips along the right edge.
-
-
-
Carefully flip your Portal over.
-
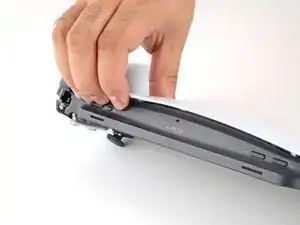
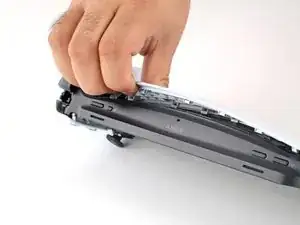
Grasp the top edge of the back shell, near a corner.
-
Gently pull the top edge away until you feel the clips release in that corner.
-
-
-
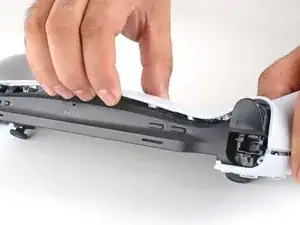
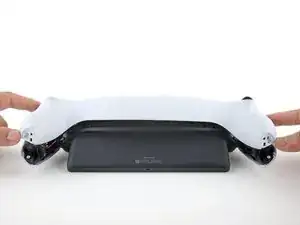
Grasp the bottom edge of the back shell, near the center.
-
Pull away with firm force to release the clips securing the bottom edge.
-
-
-
Align the corners near the trigger buttons first.
-
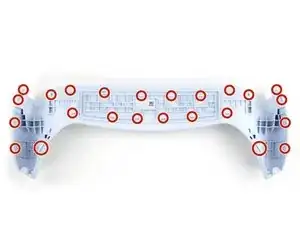
Firmly press around the entire perimeter to clip the shell back in place.
-
-
-
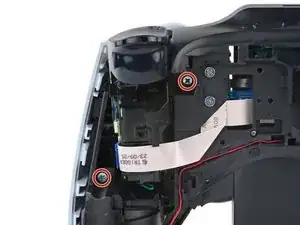
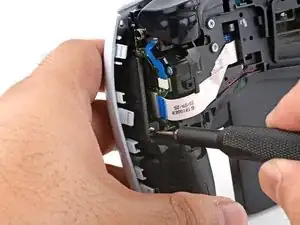
Use a Phillips screwdriver to remove the two 6.5 mm‑long screws securing the left grip shell to the Portal.
-
-
-
Grasp the top edge of the grip shell and twist it slightly outwards (away from the screen) to release the inner clips.
-
-
-
Insert the flat edge of a spudger underneath the inner edge of the grip shell, near the vibration motor.
-
Twist the spudger along the edge to unclip the bottom portion of the grip shell.
-
Remove the left grip shell.
-
-
-
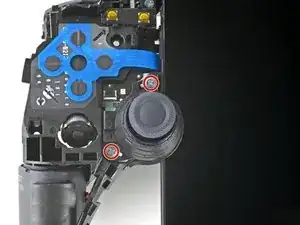
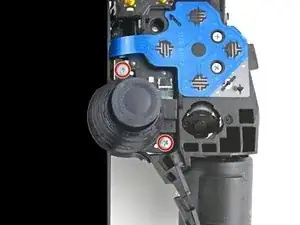
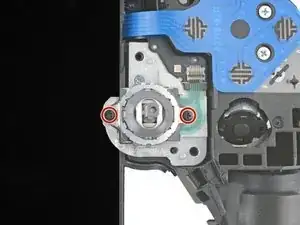
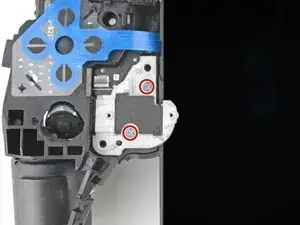
Use a Phillips screwdriver to remove the two 6.5 mm‑long screws securing the left joystick cover.
-
-
-
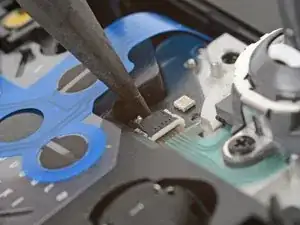
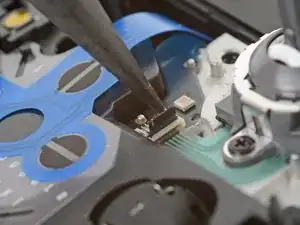
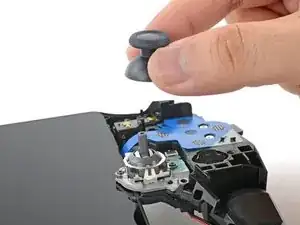
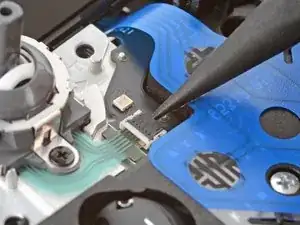
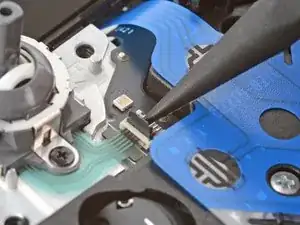
Use the point of a spudger to flip up the black lock tab on the left joystick's ZIF connector.
-
-
-
Use a Phillips screwdriver to remove the two 2.9 mm‑long screws securing the joystick module to the Portal.
-
-
-
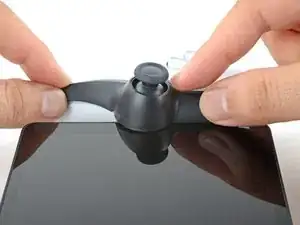
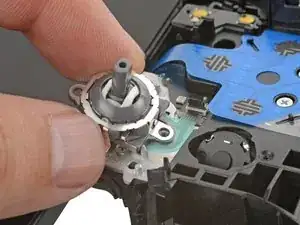
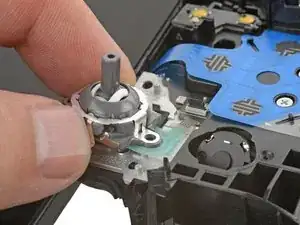
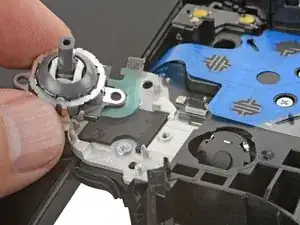
Shift the joystick module so that the flex cable slides out of its socket.
-
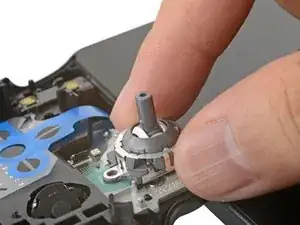
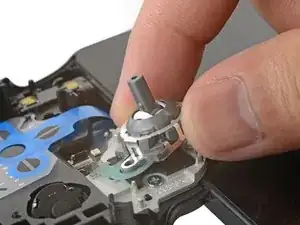
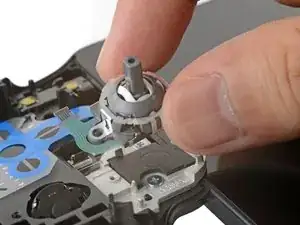
Remove the left joystick.
-
-
-
Use a Phillips screwdriver to remove the two 6.5 mm‑long screws securing the right grip shell to the Portal.
-
-
-
Grasp the top edge of the grip shell and twist it slightly outwards (away from the screen) to release the inner clips.
-
-
-
Insert the flat edge of a spudger underneath the inner edge of the grip shell, near the vibration motor.
-
Twist the spudger along the edge to unclip the bottom portion of the grip shell.
-
Remove the right grip shell.
-
-
-
Use a Phillips screwdriver to remove the two 6.5 mm‑long screws securing the right joystick cover.
-
-
-
Use the point of a spudger to flip up the black lock tab on the right joystick's ZIF connector.
-
-
-
Use a Phillips screwdriver to remove the two 2.9 mm‑long screws securing the joystick module to the Portal.
-
-
-
Shift the joystick module so that the flex cable slides out of its socket.
-
Remove the right joystick.
-
-
-
Use a Phillips screwdriver to remove the four 6.5 mm‑long screws (two on each side) securing the two joystick brackets to the Portal.
-
-
-
Carefully flip the right bracket over so that it no longer blocks the edge of the screen.
-
Repeat the process for the left bracket.
-
-
-
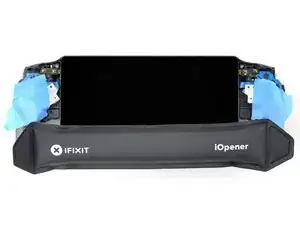
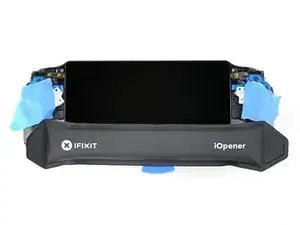
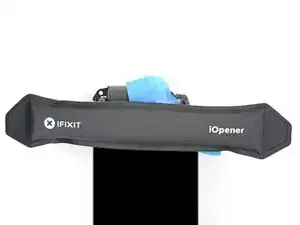
Heat an iOpener and apply it to the bottom edge of the screen for two minutes to soften the adhesive.
-
-
-
Place your fingers underneath the bottom edge of the Portal to keep it steady.
-
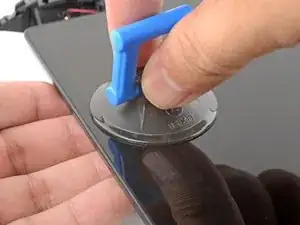
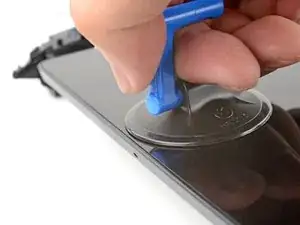
Apply a suction handle to the center of the bottom edge, as close to the edge as possible.
-
-
-
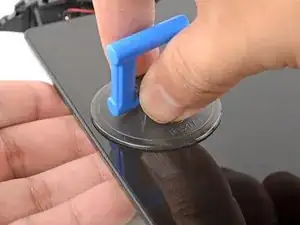
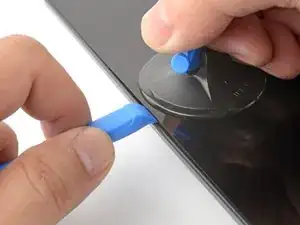
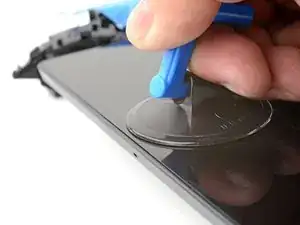
Pull up on the suction handle with strong, steady force.
-
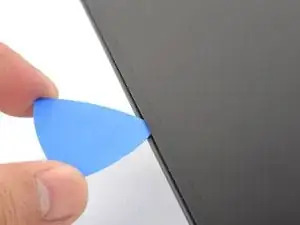
Press the edge of an opening tool downwards into the seam to create an initial gap.
-
Insert the tip of an opening pick into the gap.
-
-
-
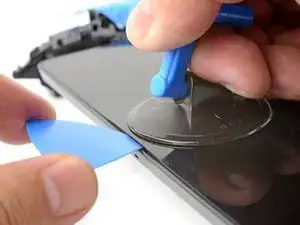
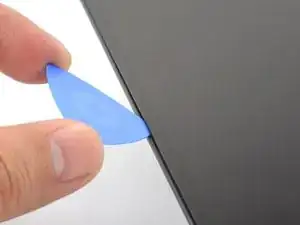
Pull up on the suction handle with strong, steady force to create a gap between the screen and frame.
-
Insert the tip of an opening pick into the gap.
-
-
-
Angle the opening pick downwards to a 45° angle.
-
Insert the opening pick deeper into the seam until the pick can stay in place by itself.
-
-
-
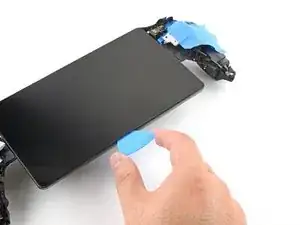
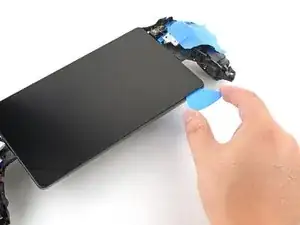
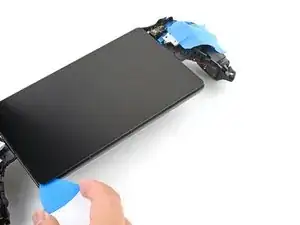
Slide the opening pick along the bottom edge to slice through the adhesive.
-
Leave the opening pick in the bottom left corner to prevent the adhesive from resealing.
-
-
-
Repeat the heating and slicing procedure around the left and top edges of the screen. Leave an opening pick in each corner to prevent the adhesive from resealing.
-
-
-
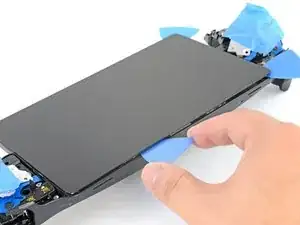
Use an iOpener to heat the right edge of the screen for one minute.
-
Use an opening pick to slice along the right edge.
-
-
-
Grasp the left edge of the screen near the corners and lift it slightly to separate any remaining adhesive.
-
-
-
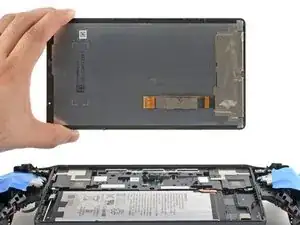
Swing the left edge of the screen over the right and rest the flipped screen on top of the Portal.
-
-
-
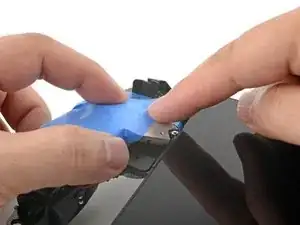
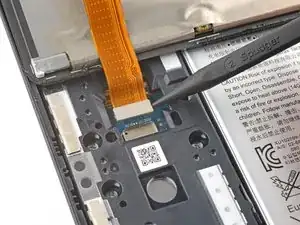
Rest a finger on top of the display cable bracket to prevent it from flying off when you pry.
-
Insert the point of a spudger underneath a corner of the bracket and pry it up.
-
Remove the bracket.
-
-
-
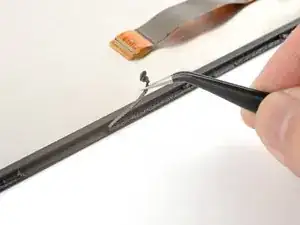
Remove large chunks of adhesives with the flat edge of a spudger or tweezers.
-
Use high concentration isopropyl alcohol (>90%) to remove any remaining residue. Wipe in one direction with a lint-free cloth or coffee filter until all the adhesive residue is gone.
-
Apply strips of double-sided tape such as Tesa tape to the screen perimeter to reattach the screen.
-
-
-
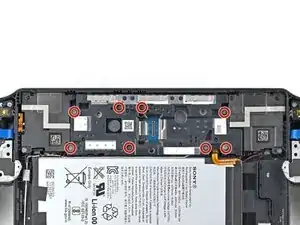
Use a Phillips screwdriver to remove the eight 6.5 mm‑long screws securing the motherboard cover to the Portal.
-
-
-
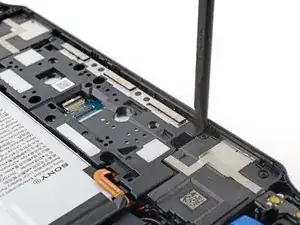
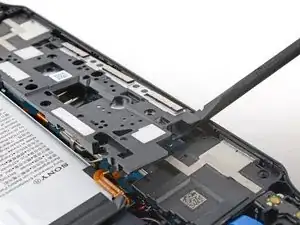
Insert the flat edge of a spudger under the top-right corner of the motherboard cover.
-
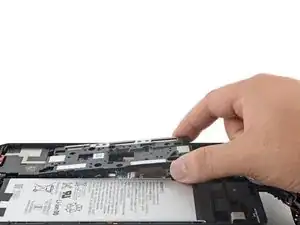
Pry up to release the clips securing the corner.
-
-
-
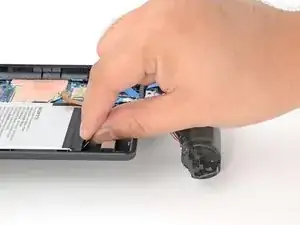
Use the flat edge of a spudger or your fingers to carefully peel up a black pull-tab from the top of the battery.
-
-
-
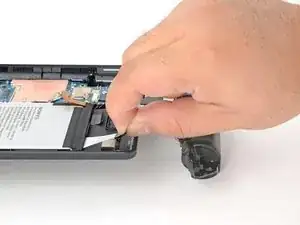
Grasp a black pull-tab with your fingers.
-
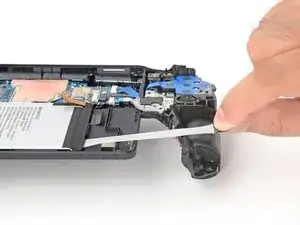
Pull the tab slowly at a shallow angle. The strip will stretch to many times its length as you pull.
-
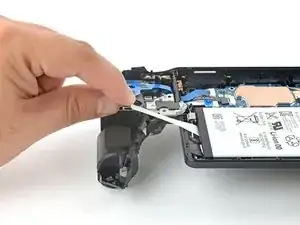
Continue pulling until the strip fully releases from under the battery.
-
-
-
Repeat the procedure to remove the three remaining adhesive strips.
-
Apply a few drops of high concentration (>90%) isopropyl alcohol underneath the edge of the battery nearest the broken strip.
-
Wait one minute to allow the isopropyl alcohol to weaken the adhesive.
-
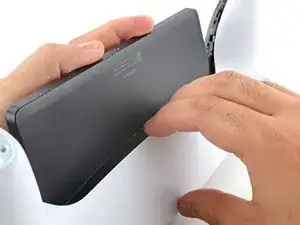
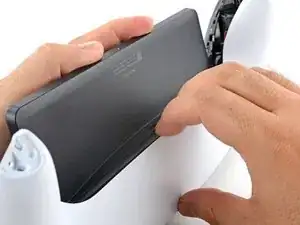
Slide an opening pick under a loose edge of the battery and gently pry up the battery.
-
-
-
Remove the battery.
-
Be careful where you position the stretch-release adhesive strips. On the right side of the battery well, the Portal has a plastic lip. Position the strips such that they're not blocked by the lip.
-
-
-
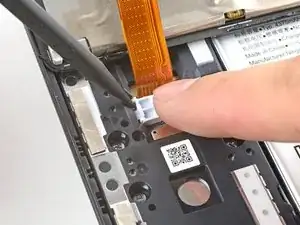
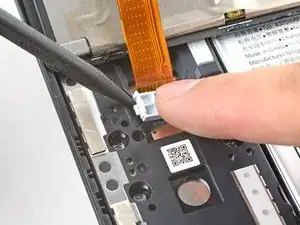
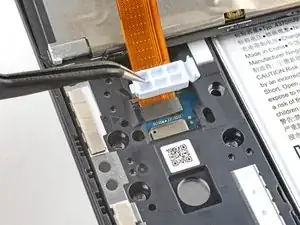
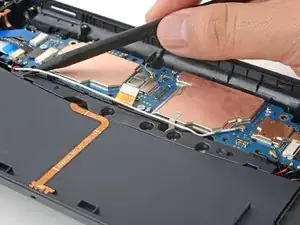
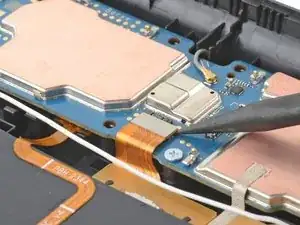
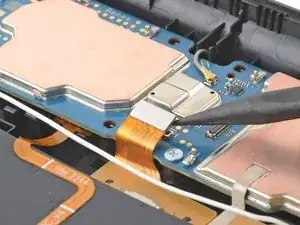
Use the point of a spudger to lift the white antenna cable out of its groove along the bottom edge of the motherboard.
-
-
-
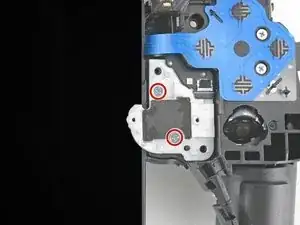
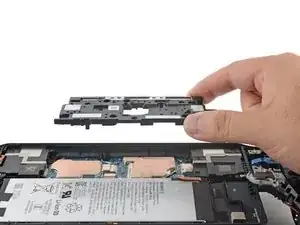
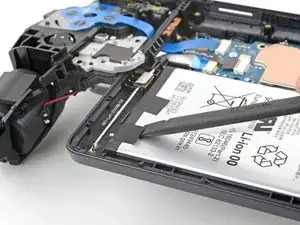
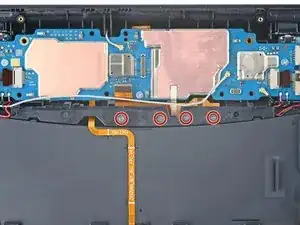
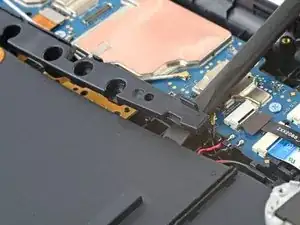
Use a Phillips screwdriver to remove the four 6.5 mm‑long screws securing the port bracket to the frame.
-
-
-
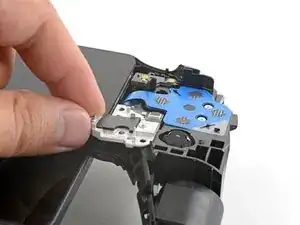
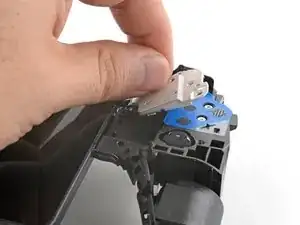
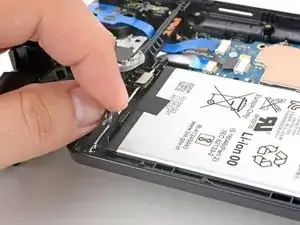
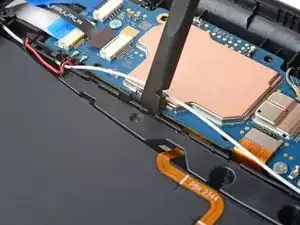
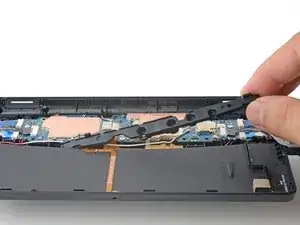
Insert the flat edge of a spudger into the top edge of the port bracket, near the left corner.
-
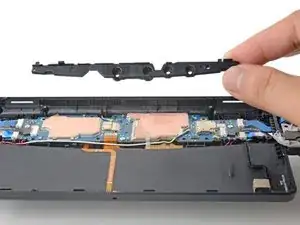
Pry up to release the clips securing the bracket.
-
Repeat the procedure near the right edge of the bracket to fully unclip the port bracket.
-
-
-
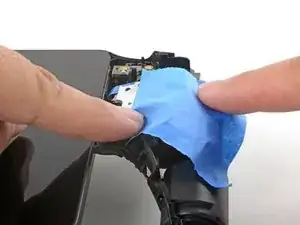
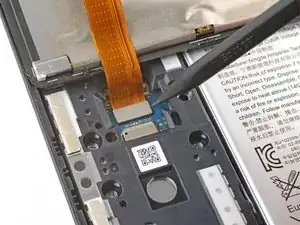
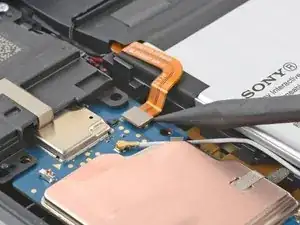
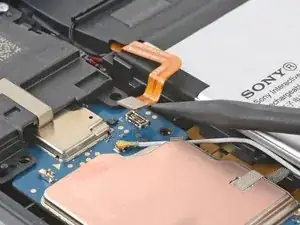
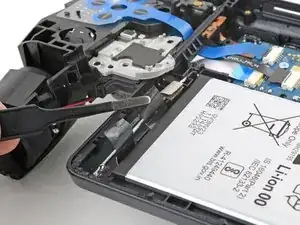
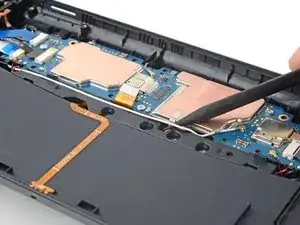
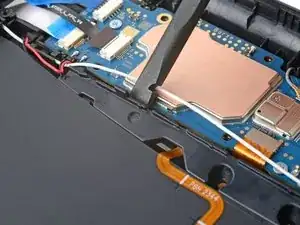
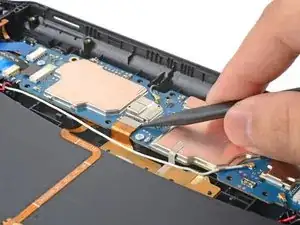
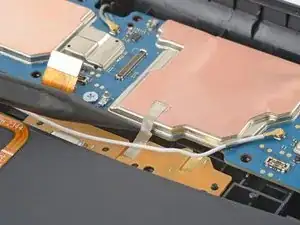
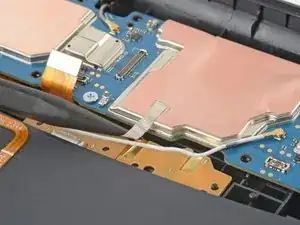
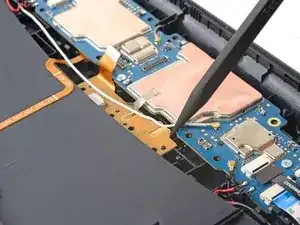
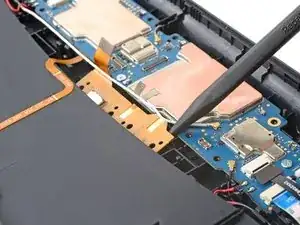
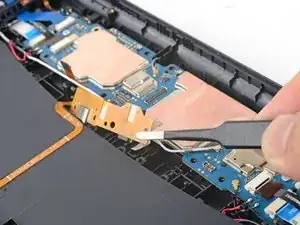
Insert the point of a spudger under the conductive tape bridging the ports board to the motherboard.
-
Gently lift the tape up to separate it from the ports board.
-
-
-
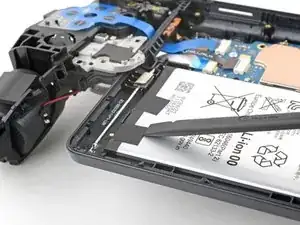
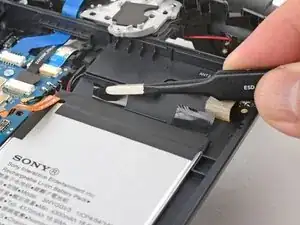
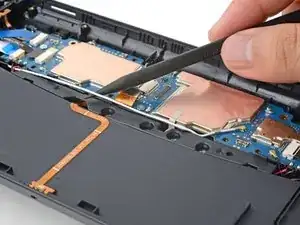
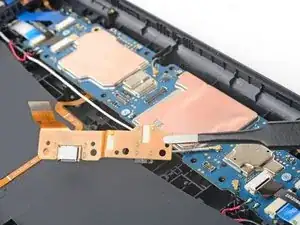
Insert the point of a spudger under the top-right corner of the ports board and pry up to loosen it.
-
To reassemble your device, follow these instructions in reverse order.
For optimal performance, after completing this guide, calibrate your newly installed battery.
Take your e-waste to an R2 or e-Stewards certified recycler.
Repair didn’t go as planned? Try some basic troubleshooting, or ask our Answers community for help.
2 comments
Need to replace one for a customer but cant find the usb c port alone or even the usb c/headphone module completely. Can anyone assist with a link for the part?
J ai le même problème, le port charge de la manette n est pas compatible, je vais tester celui de la tablette Goodtel 3g qui est identique e celle de la ps5 portable, je croise les doigts, si quelqu un connais un site ou commande la pièce complète, je suis preneur, ou reste plus à trouvé une Ps5 portable cassé pour les récupérer dessus
ali ben -
