
Introduction
The motherboard is the "brain" of the Polk Omni S2. The board is sensitive to water damage and could stop functioning if the speaker is left out in the rain or dropped into water. If your speaker isn't powering on and you've determined your power supply is working, it's possible that the motherboard is faulty. Follow these steps to replace it.
-
-
Remove the eight 12 mm screws securing the front cover using a Phillips #1 screwdriver.
-
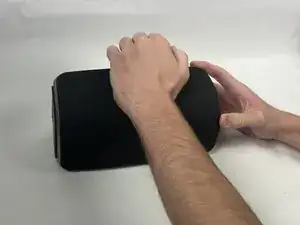
Like the grille, pull from the top middle of the gray cover and slowly remove it from the speaker, like separating a sub roll.
-
-
-
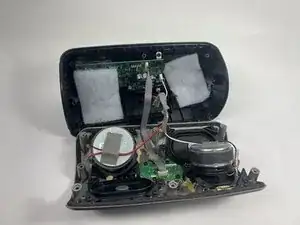
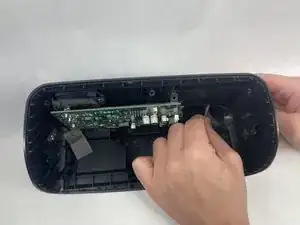
Remove the two square cotton pieces.
-
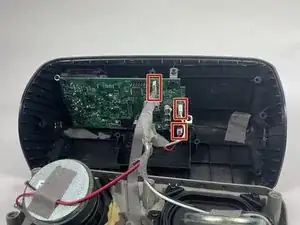
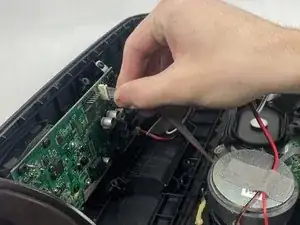
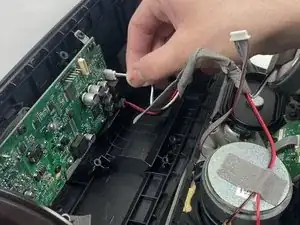
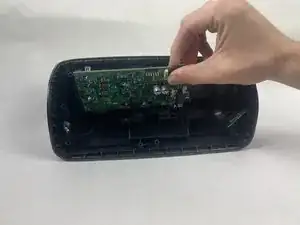
Unplug these three wires plugged into the motherboard by gently pulling and wiggling the wires until they're unplugged. Grip the wires close to the end to avoid damaging them.
-
-
-
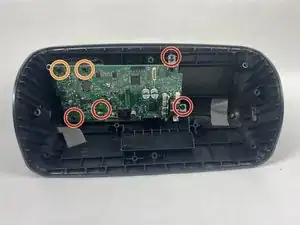
Use a Phillips #1 screwdriver to remove the four 9.5 mm screws.
-
Use a Phillips #1 screwdriver to remove the 9.5 mm screws with washers.
-
-
-
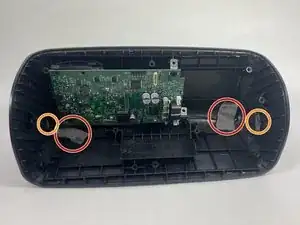
Remove these two pieces of tape holding down black wires by peeling very slowly. You can use a spudger to pry them off and avoid tearing them.
-
Remove these two taped down metallic strips by peeling very slowly. Again, a spudger helps to ensure the tape isn't damaged.
-


To reassemble your device, follow these instructions in reverse order.