Introduction

This guide will show you how to replace the entire top cover and button assembly on the top of the camera This guide is useful if the buttons have been damaged.

  1. a4vD2Go5KJDmfOLh
    a4vD2Go5KJDmfOLh
    gjHXEMuAqEtXQaUJ
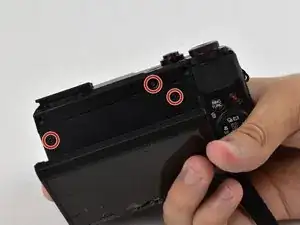
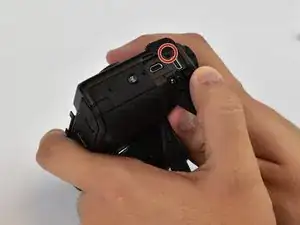
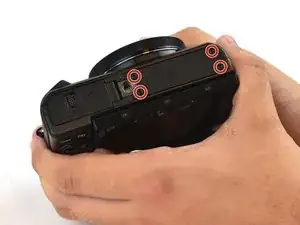
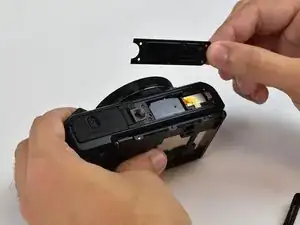
    • Use a Phillips #000 screwdriver to remove four 4mm screws from the NFC panel cover on the bottom of the camera.

  2. WUOcxrJgnVmOfL3A
    WUOcxrJgnVmOfL3A
    51aEuEJCb1cUHRaS
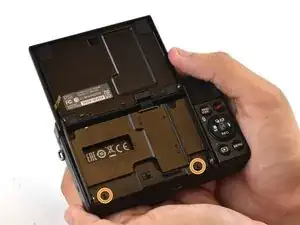
    • Use a Phillips #000 screwdriver to remove five screws from under the LCD screen:

    • Three 2.4 mm screws

    • Two 3 mm screws

  3. QqfDcttxONrSUYDP
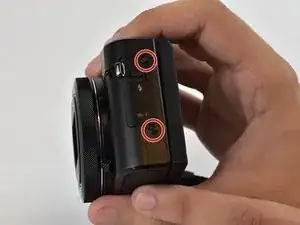
    • Use a Phillips #000 screwdriver to remove two 3mm screws on the left of the camera.

    the other screw (on the top) must be removed too

    oluc -

  4. VG2tRdk2I6GQLRed
    VG2tRdk2I6GQLRed
    Djyh3OjdCONBsKSA
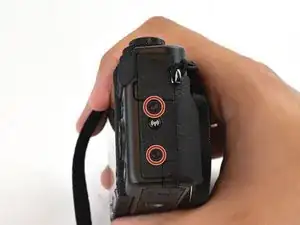
    • Use a Phillips #000 screwdriver to remove one 3mm and one 4mm screw on the surface of the right face of the camera, and one under the USB/HDMI cover.

    Use a Phillips #000 screwdriver to remove one ~6mm above the button and one 4mm screw bellow the button on the surface of the right face of the camera. Additionally, one 3mm under the USB/HDMI cover.

    Andrew Grasman -

  5. xRTwxpMraYJrRUQC
    xRTwxpMraYJrRUQC
    rWASGXRBytHHNFsf
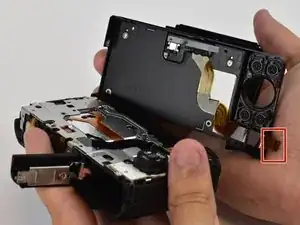
    • Carefully remove the back cover off of the camera by hand. Press the brown actuator in the FFC socket to release the FPC (Flexible Printed Circuit - brown cable attached to the back cover) and pull the FPC out of the socket.

    • If the FPC doesn't come out easily, you haven't yet released it. Do not force it. Do not use a spudger because it will break the socket. A broken socket cannot be fixed and has to be replaced by a skilled technician.

  6. cOkOY1rhOTcJeONb
    cOkOY1rhOTcJeONb
    qnoYAmGyGEAvTdNl
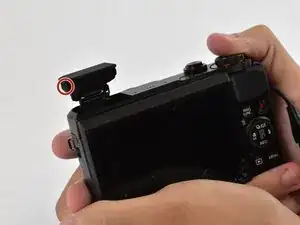
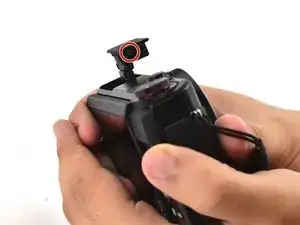
    • Use a Phillips #000 screwdriver to remove two 3mm screws on the pop-up flash.

    and unclip the top hat of the pop-up flash, then push the flash back in place.

    This is needed to be able to remove completely the top cover.

    oluc -

    ~2.6 ish mm and thinner, not like the other 3mm

    Andrew Grasman -

  7. LjBeBQXrjJ3uWoOH
    LjBeBQXrjJ3uWoOH
    5RZShimTVNtW4uPG
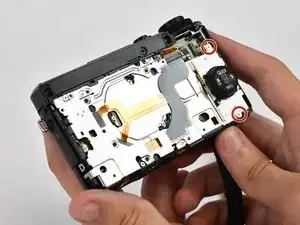
    • Use a Phillips #000 screwdriver to remove two 2mm screws attaching the button panel to the camera body.

    • Use a Phillips #000 screwdriver to remove a 3mm screw from beneath the mode dial.

  8. RVclYh3YTH4JDsIh
    RVclYh3YTH4JDsIh
    vhiNxhnjx5VUpCQj
    OHsoNITMrletdkXr
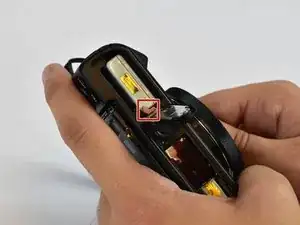
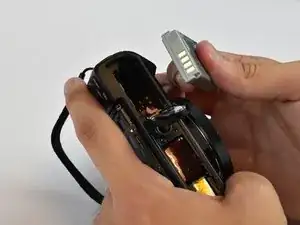
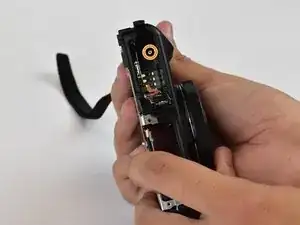
    • Open the battery compartment and remove the battery by flipping the small latch holding it in.

    • Use a Phillips #000 screwdriver to remove one 6mm screw in the bottom of the battery compartment.

    Wow I removed the battery before Step 1!!!

    JOHN J GRAY -

  9. 32bmaRcoPWSYVoEC
    32bmaRcoPWSYVoEC
    HJ4YmBfIv25nqo13
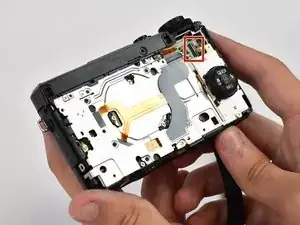
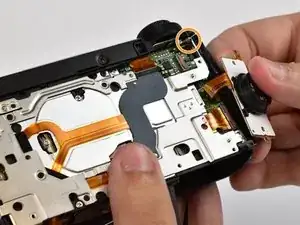
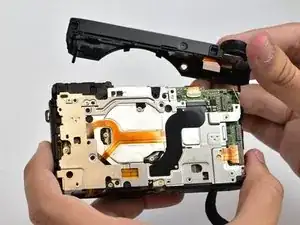
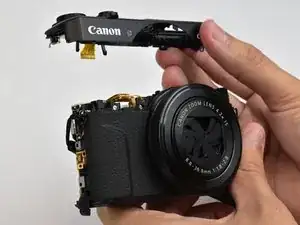
    • Pry the top cover button assembly off of the camera body by detaching clips around the base of it.

    first, detach the ZIF connector

    oluc -

    be careful when detaching the top cover : there's a small metallic part that is loose and will fall.

    This part is a ~10mm bent metal strip, with a screw hole.

    When in place it holds with the long screw from the battery compartment (step 8)

    oluc -

    hi can u please help me remove the dial wheel on the upper cover. mine become stuck and i am hoping that you could help me fix it.. thankyouu

    keith. -

    please do a tutorial on how to remove the dial wheel on upper cover..

    keith. -

Conclusion

To reassemble your device, follow these instructions in reverse order.

Brandon

Member since: 15/02/17

626 Reputation

One comment

We followed this guide but now my camera will not turn on. The little green light by the play button will light up but thats it. Any idea what went wrong?
Alexa Smith -