Introduction

  1. RaVfRvEmHjKFSBHR
    RaVfRvEmHjKFSBHR
    bvLxrYNOk4ORihgU
    ER2ZFpND6uG6EnSE
    • Before you begin the first thing that has to be done is removing both armrests . This will make the zippers easier and give you more space during the repair.

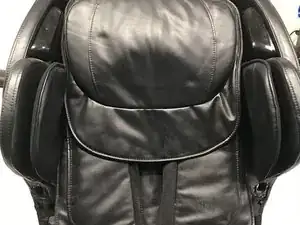
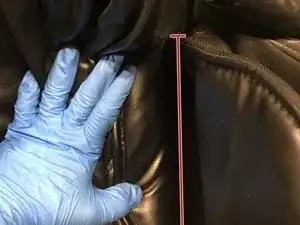
    • Remove the head pillow by simply peeling it back . Its only attached with Velcro.

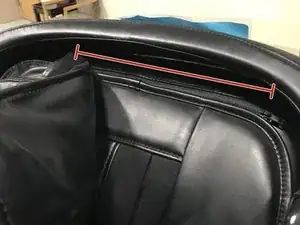
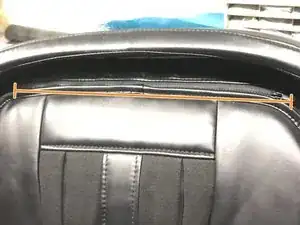
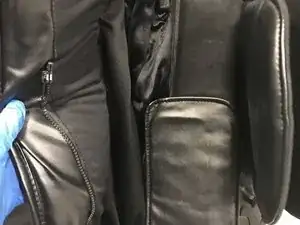
    • Next unzip the very top zipper.

  2. 1RxpoQgESObJVlTx
    • what should be seen after top zipper has been removed.

  3. otRG1OIL2L2fxnGi
    otRG1OIL2L2fxnGi
    uHcpwMXJ5tcUMQct
    KZKMBAQdrhT5TTVR
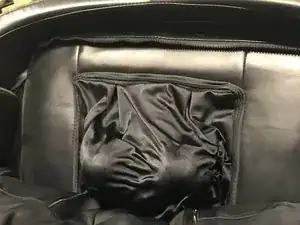
    • Unzip Both left and right zippers . These zippers are found in between the shoulder airbag and back cushion.

    • see last photo for what end result should look like.

  4. k3SUFH2JBGRl3aay
    k3SUFH2JBGRl3aay
    XnMpvqaVtaebKZYK
    IXFkKdJkYS3pBIXv
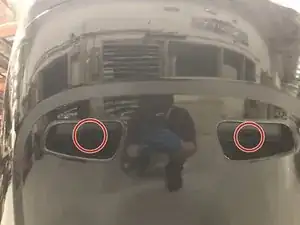
    • Unzip seat zipper. this can be found next to the hip airbag on the right side .

    • please note the zipper wraps around the front of the seat so it may require you to remove the decorative Velcro piece going to the footrest .

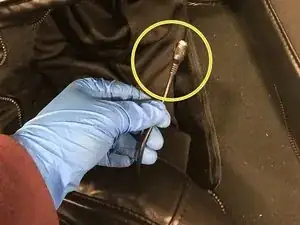
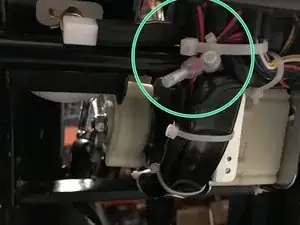
    • Last thing in order to completely remove the back pad is to unplug the backrest heater cable. This can be found on the lower right hand side on the back side of the back pad.

  5. AU2dDdROBAMXj4Xq
    • Now unzip the silk. Zipper is usually tucked at the bottom near the seat area

    • this zipper is pretty Flimsy please be very careful with it.

    • Pro tip: don't unzip this fabric all the way it can be a real hassle to put back on just unzip 3/4 of the way . You should have plenty of room to work on the rollers.

  6. IGFMa2ZEOOBFP1hO
    • you should see the rollers at this point . Stop here and move on to the next step.

  7. KMb1h5T5XfUyB5QH
    • On the back side of the chair there is a plastic cover. Remove the 2 phillips head bolts.

    • When removing this cover it may seem like there is more bolts there is not . You need to wiggle the cover a around and gently pull from those gaps on the back.

  8. iOAwsTDRhZZCRAon
    iOAwsTDRhZZCRAon
    BZRFDZHjWKyTivS2
    2NHQNFxyFJS4aCCb
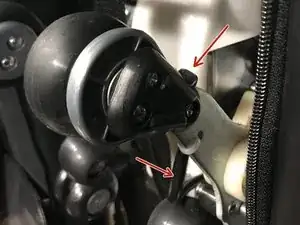
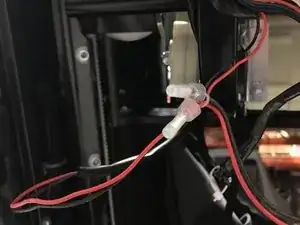
    • You will need to follow the heating element wire to the back side of the mechanism .

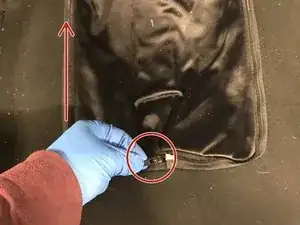
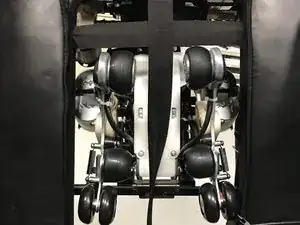
    • Wires are bundled in the marked area . Please cut all zip ties nessecary to access these wires.

    • These Wires do not use connectors they are capped together and share a connection with the opposing roller arm . Please cut , strip and re cap wires accordingly .

  9. 6RZHLTHgRUcPVhf6
    6RZHLTHgRUcPVhf6
    dgkgHxKOYLLjKpLH
    GTIP2WS3bSSAZ4qX
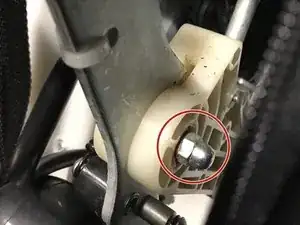
    • remove nut using a wrench . There should also be a small washer but they usually get stuck inside , they should fall out during the next step.

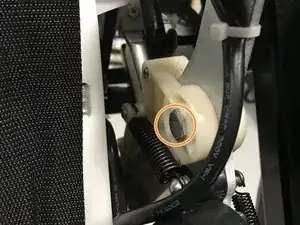
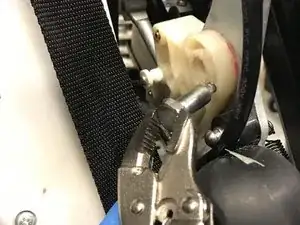
    • Next this bolt will need to be tapped out . you can either LIGHTLY tap it with a wrench from the threaded end ( see last step) or you can use vice grips .

    • Once Bolt is removed the arm is now loose . It may require some hand force to detach it from the assembly .

    • Beware if you are working on the right side roller arm ( sitting position) there will be an extra sensor that needs to be unplugged

Conclusion

To reassemble your device, follow these instructions in reverse order. Be sure you are putting your zip ties in reasonable places , you don't need to use as many as the factory has used . Just be smart about the placement making sure wires are not in pinch point areas .

Nick

Member since: 30/05/17

2764 Reputation

One comment

Hi Nick is there any way I can contact you to ask about a part that im looking for for a massage chair im trying to repair? its an easy fix but i cannot for the life of me find the product or what its called - if possible please contact me a_hammond@outlook.com it would be much appreciated

Angela Hammond -