Introduction

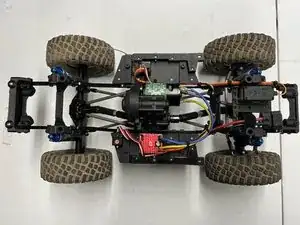
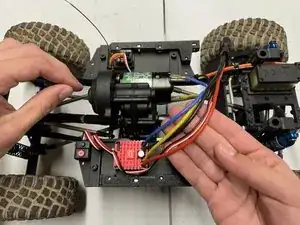
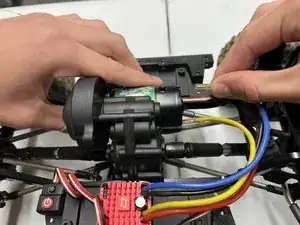
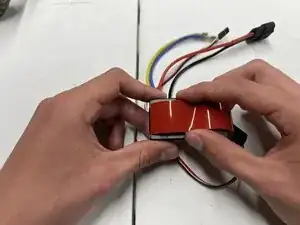
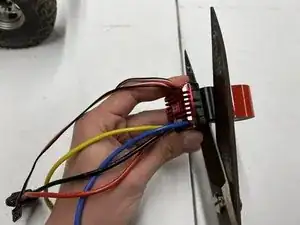
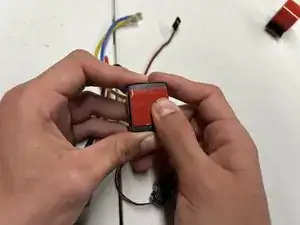
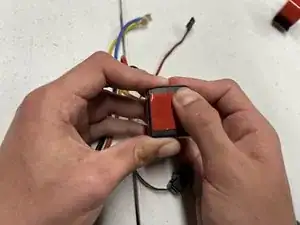
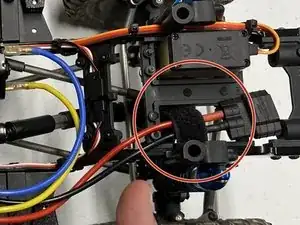
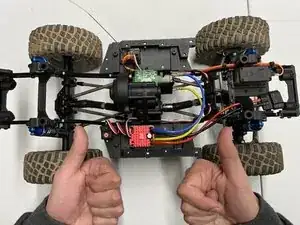
If your Electronic Speed Control is no longer working on your Remote Controlled vehicle, use this guide to replace and guarantee your ESC functions correctly again.

The Electronic Speed Control unit sends signals to the remote control to allow the car to move at different speeds. A broken or faulty Electronic Speed Control unit will not transmit the signal to the control, ultimately making your vehicle not able to move.

In this Electronic Speed Control tutorial, I will be showing you how to replace and install your new Electronic Speed Control unit. To complete this guide you will only need a few tools and some household items. This is fairly simple to do and I'm positive you will be able to complete it!

  1. afbMiHAjZGOt1dbm
    afbMiHAjZGOt1dbm
    DXKUQT6wdxlYtxGr
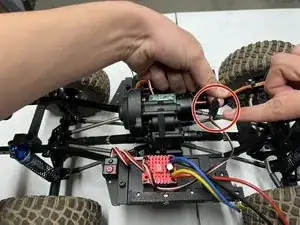
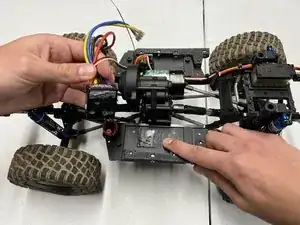
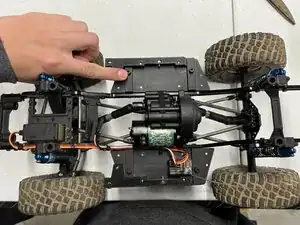
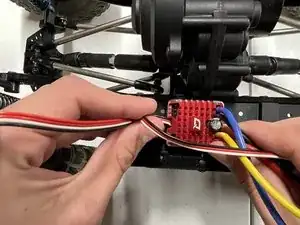
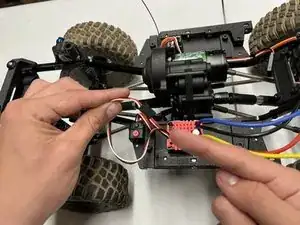
    • Position the car so that the wires are facing upwards.

  2. 2vhlUUpmuKObXXVE
    2vhlUUpmuKObXXVE
    ZgQMGL1uFFpLWADR
    k2L2uO6N6RvaAZVA
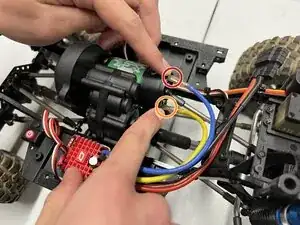
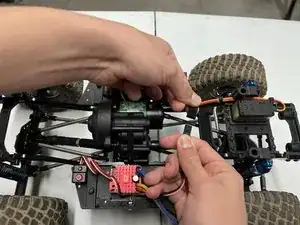
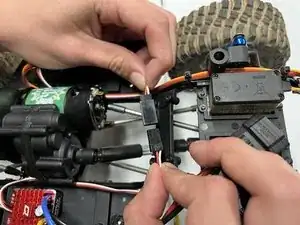
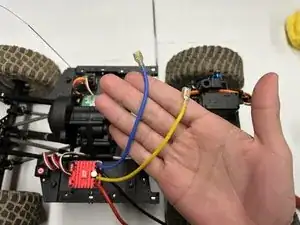
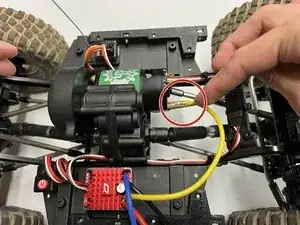
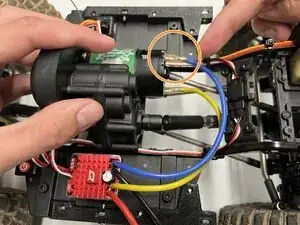
    • Unplug the blue wire.

    • Unplug the yellow wire.

    • To unplug these wires, firmly grasp the metal connector, then pull straight out.

    • Grab the wires by their metal connector, not the wire itself, to prevent any damage to the wires.

  3. XeLJF6Z4MuuNAKHD
    XeLJF6Z4MuuNAKHD
    dlJdrOTYLD5oWhJT
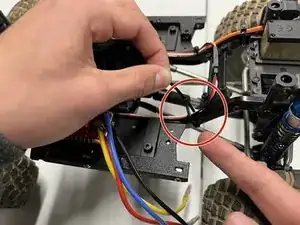
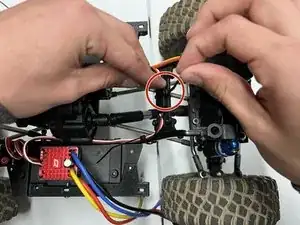
    • Unplug the thin bundle of black, white, and red wires.

    • Move both ends to the side of the car to clear your workspace.

    • Grab the wires by their metal connector, not the wire itself, to prevent any damage to the wires.

  4. RVNKnOwpuj1m5Xjt
    RVNKnOwpuj1m5Xjt
    6LDUGsiHlDcHMWZx
    e2xjORew3LhufIEi
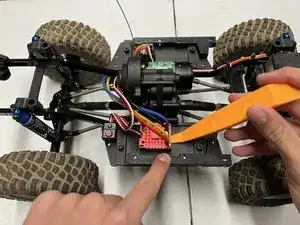
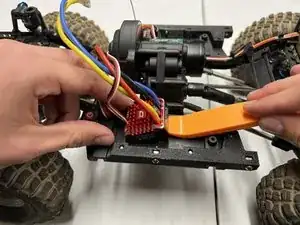
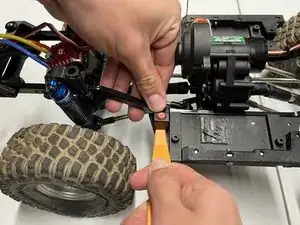
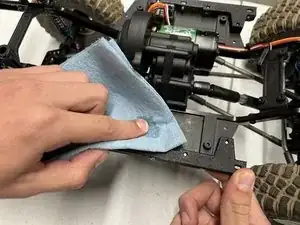
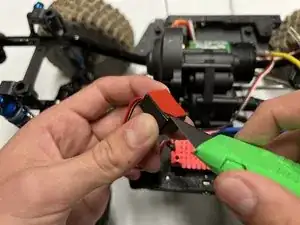
    • Slide an opening tool beneath the red controller unit.

    • Pry upwards with moderate force until the controller unit is detached.

  5. sAiPVJotg1HlOfMx
    sAiPVJotg1HlOfMx
    a1P3ZewTgoCHRVqy
    WHYYnCSZyvAfNbHn
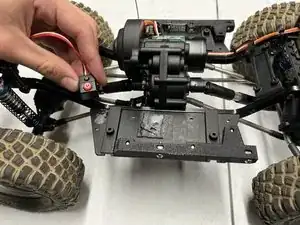
    • Slide an opening tool beneath the power button.

    • Pry upwards with moderate force until the power button is detached.

  6. rGTTh2fdq4ssM1rr
    rGTTh2fdq4ssM1rr
    2F5uvBiggvXJi24w
    4JEVBgvqKYnTI6ZL
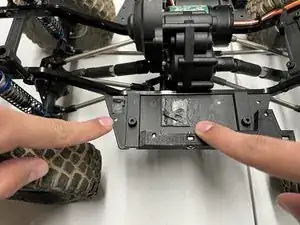
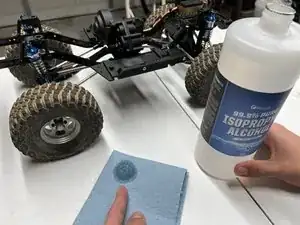
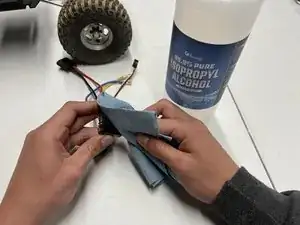
    • Dampen a shop towel with 99.9% pure isopropyl alcohol.

    • Rub the dampened towel over any residual adhesive on the car.

    • Clean the residue until the surface is smooth.

    • Isopropyl alcohol is extremely flammable. Work away from heat sources to prevent serious fires.

  7. CkXHbMYvCiqyt3Jh
    CkXHbMYvCiqyt3Jh
    ZHKWWI1Nhqh2cOgU
    E1IH4ZBgKE1RvgL1
    • From this step onwards, work with your new controller unit, not the old one.

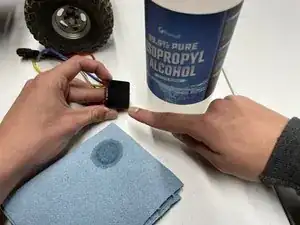
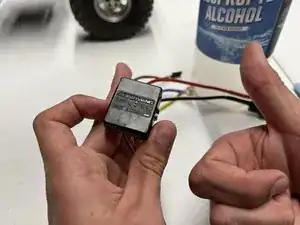
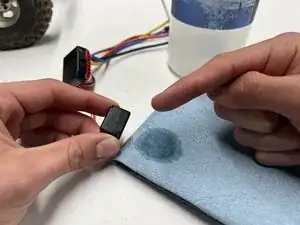
    • Dampen a shop towel with 99.9% pure isopropyl alcohol.

    • Rub the dampened towel over the bottom of the controller unit.

  8. b5nn3gAvQNByI5if
  9. dF2HKXjuPo2IJHb1
    dF2HKXjuPo2IJHb1
    1ljjBDJ2dbGYZ3Tu
    • Position the controller unit so that the bottom faces upwards.

    • Unwind 1 inch of double-sided adhesive.

    • Center the adhesive on the bottom and press down to secure it.

  10. pFcpn5PorKYLdKwE
    pFcpn5PorKYLdKwE
    plIvW13dZjZpbGyy
    c3RhuLQWnXf2XlN2
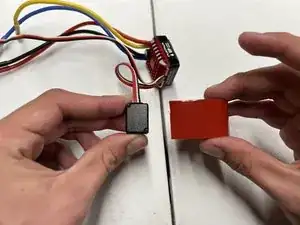
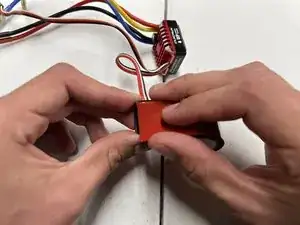
    • Trim any excess adhesive from the bottom of the controller unit.

    • Smooth the adhesive by rubbing it with your thumb.

  11. bNJIWuMrqbGnDxuK
    bNJIWuMrqbGnDxuK
    jm6sRIHyEYPGomPF
    C1G3ZReVjmHfJ5cd
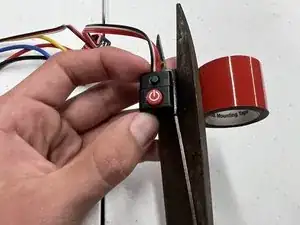
    • Repeat Steps 9 and 10 with the power button instead of the controller unit.

  12. HaXBqwYceNLeiPIu
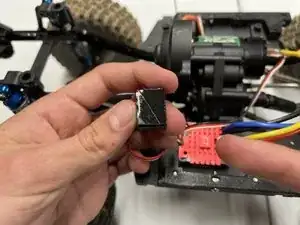
    • The bottom of your controller unit and power button should look like the given image.

  13. RgbU2RCAgNKOGQSa
    RgbU2RCAgNKOGQSa
    ybVquO5HbhyZipJG
    drVxvHWVVs5wVvym
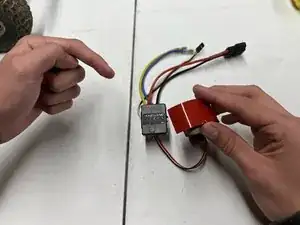
    • Peel off the red layer from the adhesive attached to the controller unit.

    • Secure it to the original spot of the old controller unit.

    • Use a precision knife to easily remove the layer on your double-sided adhesive.

  14. fGwkUtZFqFBE6xQ2
    fGwkUtZFqFBE6xQ2
    Jj1Fl4Ksb4E6Sffp
    k5goy3o6W41WXYyE
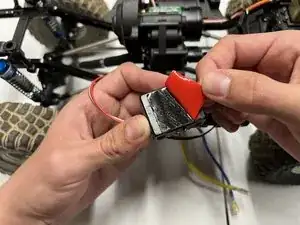
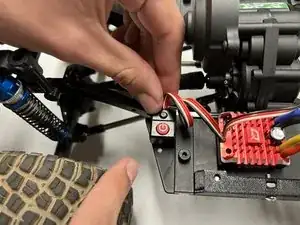
    • Peel off the red layer from the double-sided adhesive attached to the power button.

    • Secure it to the original spot of the old power button.

    • Use a precision knife to easily remove the layer on your double-sided adhesive.

  15. xjGPQgTbZ2EhbAIw
    xjGPQgTbZ2EhbAIw
    eQhy5w1M6LtN2K1n
    • Locate the thin bundle of black, white, and red wires and reconnect their heads.

  16. aYwL1qlrWKjaKCBR
    aYwL1qlrWKjaKCBR
    yxKmEFHS6Jg4ovBu
    • Secure the black, white, and red wires to the frame of your car using two 4-inch zip ties.

  17. 2vF3fISr5CUdWgtW
    2vF3fISr5CUdWgtW
    hcHgcgCJBdSGoRmE
    h5jCevDl6KNoYoFF
    • Plug the yellow wire into the connector at the bottom of the motor (Image 2).

    • Plug the blue wire into the connector at the top of the motor (Image 3).

  18. WZNlNjLDdHvMMLBM
    WZNlNjLDdHvMMLBM
    AMPgvyJbyrcE3cPA
    TFSyWWfkmicZhT1Q
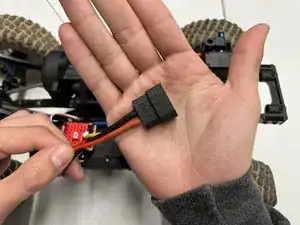
    • Tuck away the thick red and black charging wires.

    • Securing the charging wires using Velcro is optional but recommended to keep the wires from moving while driving your vehicle.

Maxwell Limon

Member since: 12/11/22

277 Reputation

0 comments