Introduction
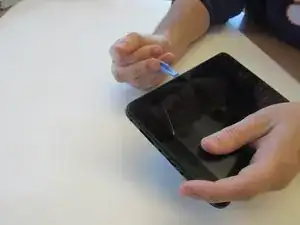
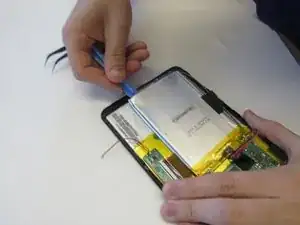
After noticing your battery life deteriorate or you notice a bulge in the back of the device, it is time to replace the battery. In this guide, you will be removing the following parts:
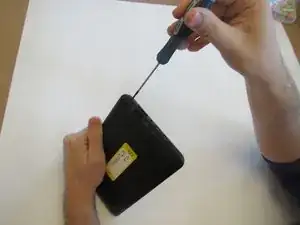
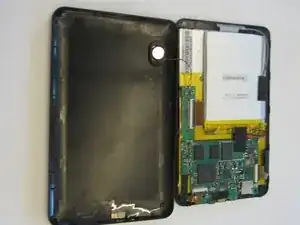
- 1. Back Cover
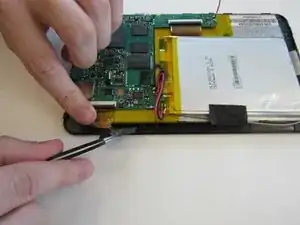
- 2. Battery
-
-
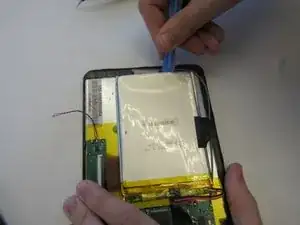
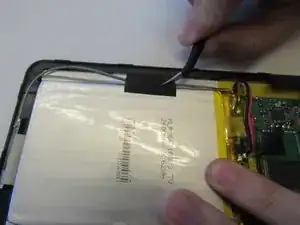
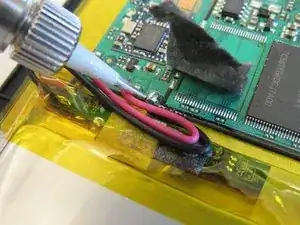
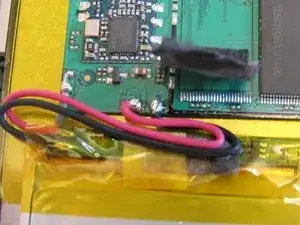
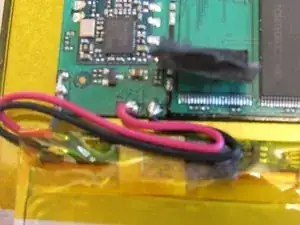
Replace the damaged or malfunctioning battery with the new battery and wires. The new battery must be stuck back into its original place using thermal tape.
-
-
-
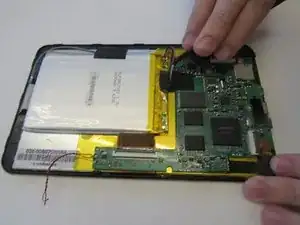
The new wires must be soldered back into place on the motherboard at the original location.
-
For tips on soldering techniques, see this Soldering Guide
-


Conclusion
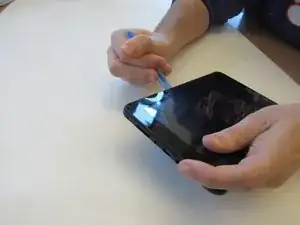
To reassemble your device, follow these instructions in reverse order.