Introduction
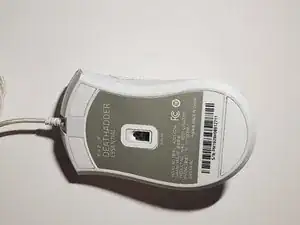
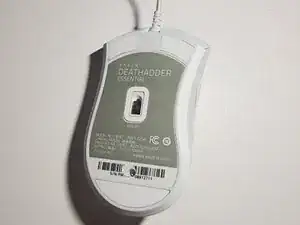
After extensive use or a large period of time, the Razer Deathadder Essential’s (Model Number: RZ01-0254) mouse buttons may begin to double-click. Double-clicking is when the user only gives one input but receives 2 outputs.
In this guide, I will show you how to replace the buttons so that they will be brand new!
Before getting started, if you are unfamiliar with how to solder and desolder components from a motherboard, please read this guide.
-
-
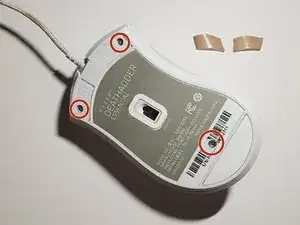
Use a spudger or opening tool to remove the top skates from the mouse.
-
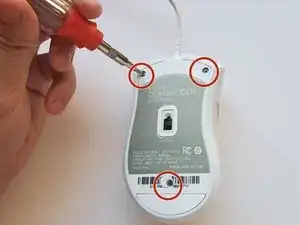
Poke a hole in the middle of the bar code to expose the 3 screws holding the mouse together.
-
-
-
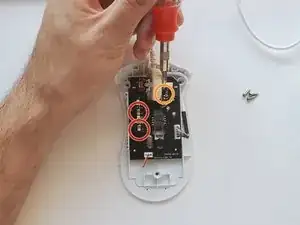
Use a Phillips #1 screwdriver to remove the three 9 mm screws that are holding the mouse together.
-
-
-
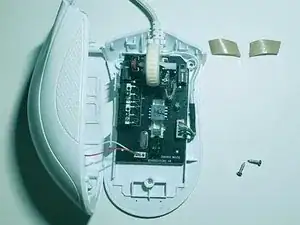
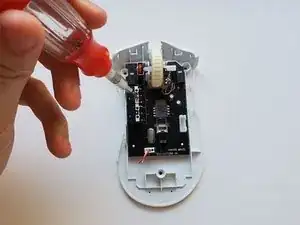
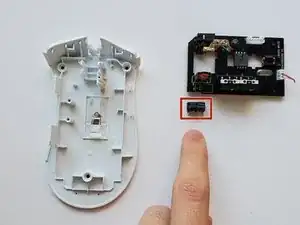
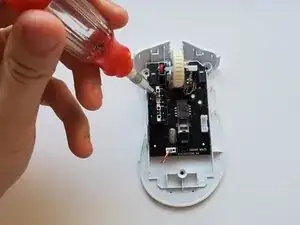
Open the mouse, and use the Phillips #1 screwdriver remove the two 11 mm screws that are located on the left side of the motherboard.
-
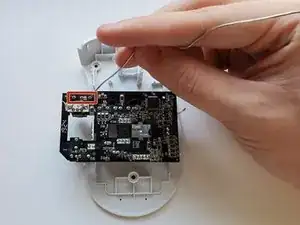
Also, remove the single 4 mm screw next to the mouse wheel using the Phillips #1 screwdriver.
-
-
-
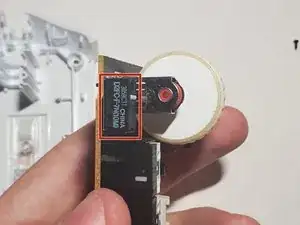
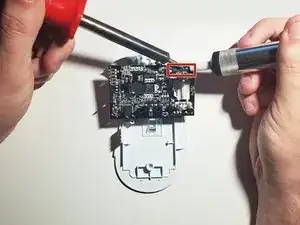
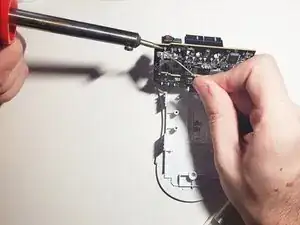
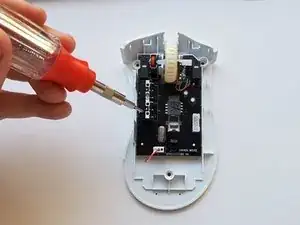
Using your soldering iron and desoldering pump, desolder the 3 contact points that attach to each button as marked.
-
-
-
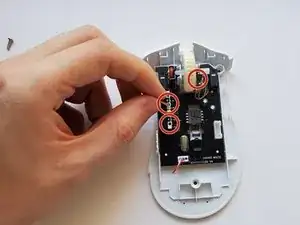
Return the motherboard to its original position, and replace the two 11 mm screws and the single 4 mm screw using a Phillips #1 screwdriver.
-


2 comments
you helped me a lot
My scroll wheel was totally messed up, when I would scroll in down, it would randomly scroll up for for a split second, and vice versa. This guide was super helpful in figuring out how to take apart the mouse and clean out the scroll wheel sensor, which turned out to have a ton of cat hair wrapped around the axle.