Introduction
This guide will show you how to disassemble the entire controller to access all of the control boards.
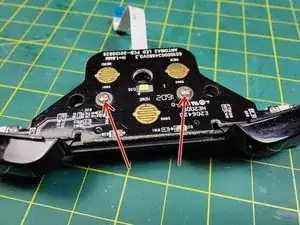
I had to replace my bumper switch (SW54 & SW55) with Omron B3F-3120
-
-
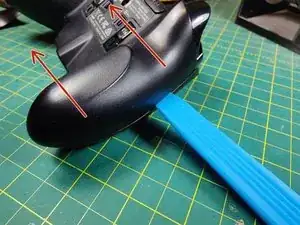
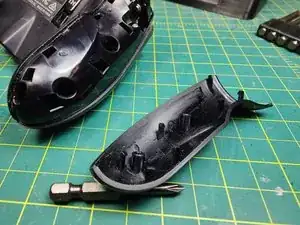
Use a plastic pry tool to remove the grip plate from each side
-
The plate will release away from the back, not to the side
-
-
-
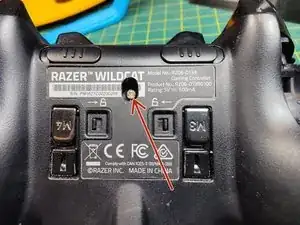
Cut the sticker covering the center screw and remove it (PH #1)
-
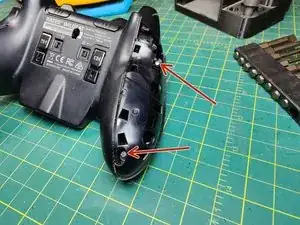
Remove two screws from each grip (PH #1)
-
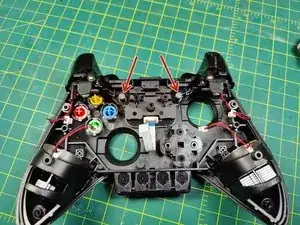
Use a plastic pry tool to remove rear plate from the controller
-
The three remaining screws on the back plate are PH #1
-
-
-
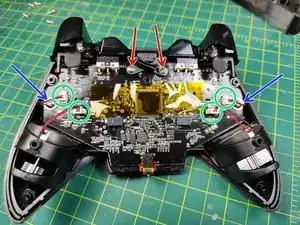
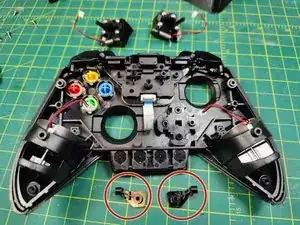
Remove the M1 & M2 bumpers with two PH #1 screws (red)
-
Unplug the four rumble motors (green)
-
Unscrew the board from the controller with two PH #2 screws (blue)
-
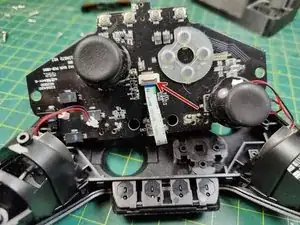
Carefully flip the board until you can get to the ribbon cable
-
Flip the gray clip up to release the ribbon cable
-
-
-
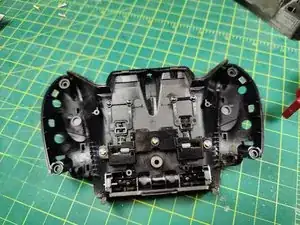
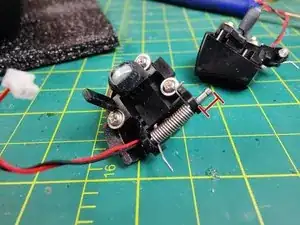
Remove the two PH #00 screws to remove the trigger brackets
-
Slide the trigger pin out just enough to remove it, leave the spring attached
-
The three remaining screws on each trigger are PH #1
-
To reassemble your device, follow these instructions in reverse order.
