Introduction
Tools
-
-
Open the latch on the right side that secures the battery in place.
-
Open the latch on the left side that secures the battery in place.
-
Now remove the battery.
-
-
-
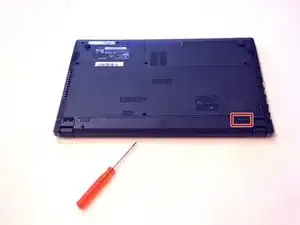
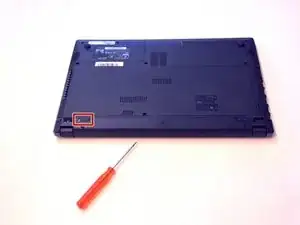
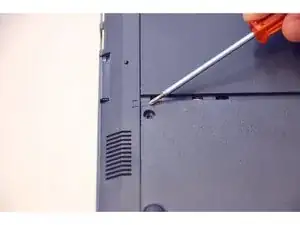
Use the Philips screwdriver to remove the two screws on the bottom cover.
-
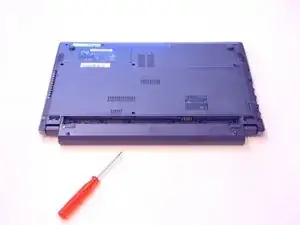
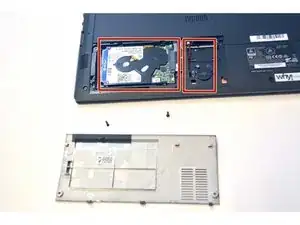
Check the markers to determine how to remove the cover.
-
Now remove the cover as prescribed by the markers.
-
-
-
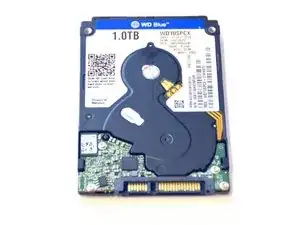
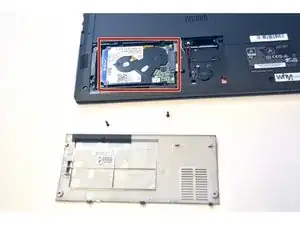
Unplug the HDD hard drive from its SATA3 connector.
-
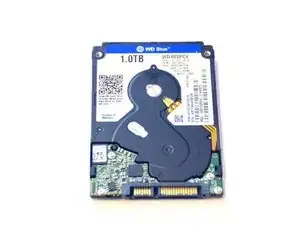
This is what the HDD hard drive looks like
-


Conclusion
To assemble the device again, proceed in reverse order.