Introduction
Tools
-
-
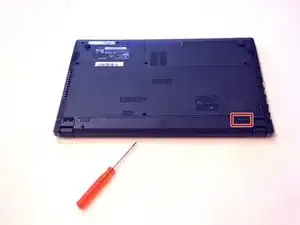
Open the latch on the right side that secures the battery in place.
-
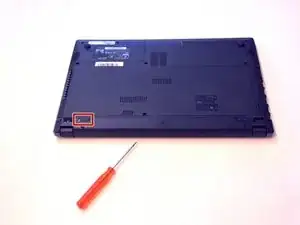
Open the latch on the left side that secures the battery in place.
-
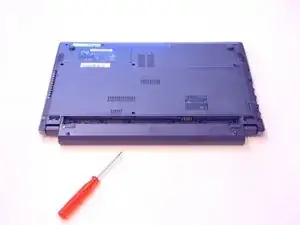
Now remove the battery.
-
-
-
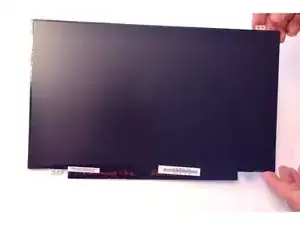
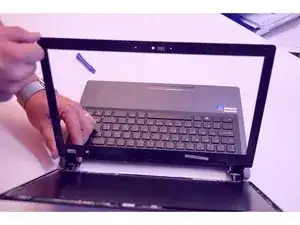
Carefully slide the nail between the frame and the glass of the screen.
-
First clip off the mounting points of the LCD screen frame.
-
-
-
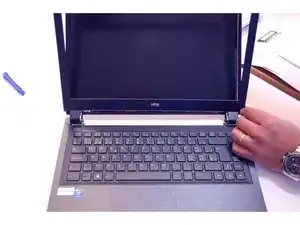
Free the LCD screen frame completely.
-
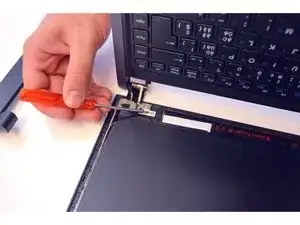
Locate and loosen the two upper mounting screws of the LCD screen.
-
Locate and loosen the two lower mounting screws of the LCD screen.
-
-
-
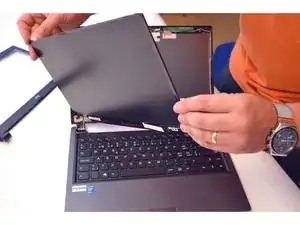
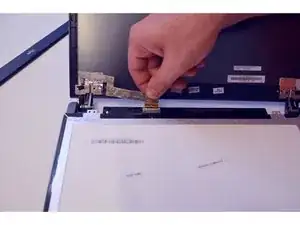
Carefully place the LCD screen on the keyboard.
-
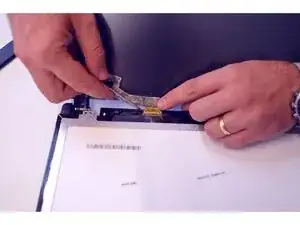
Locate the plug of the LCD screen.
-
Free the fixing cable.
-


Conclusion
To assemble the device again, proceed in reverse order.