Introduction
Tools
-
-
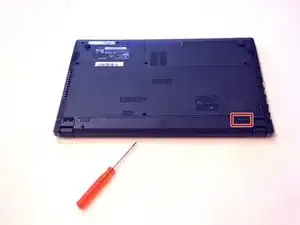
Open the latch on the right side that secures the battery in place.
-
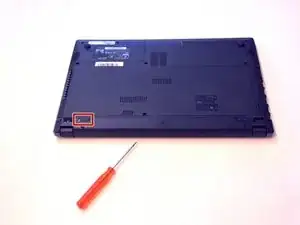
Open the latch on the left side that secures the battery in place.
-
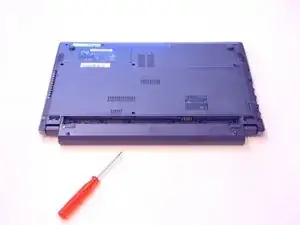
Now remove the battery.
-
-
-
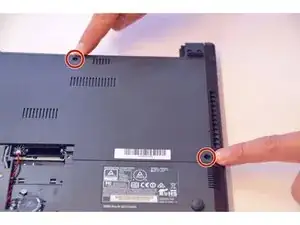
Using a Philips-head screwdriver remove highlighted screws.
-
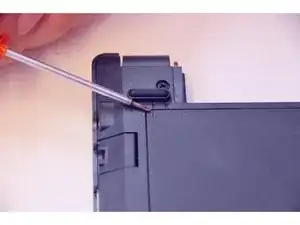
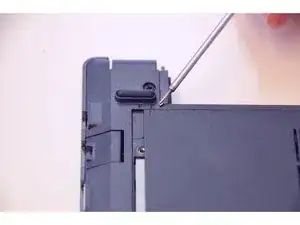
Look at the marking to see how to remove the access cover.
-
Remove the access cover as shown by the marker.
-
-
-
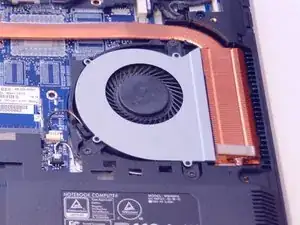
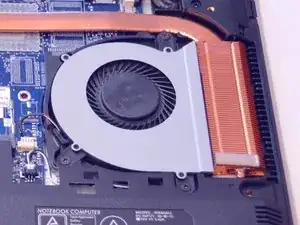
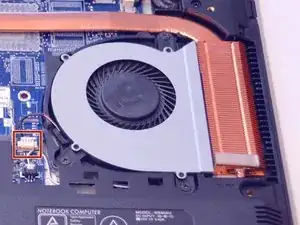
There is the fan.
-
Then pull out the supply cable of the fan.
-
Remove the 3 mounting screws of the fan.
-


Conclusion
To assemble the device again, proceed in reverse order.