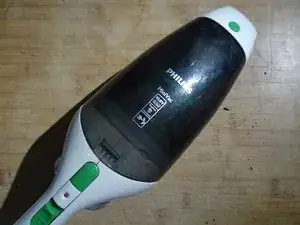
Introduction
If the vacuum cleaner only runs for a short time, the batteries are exhausted. The batteries are readily available, but you need to be good at soldering to replace them.
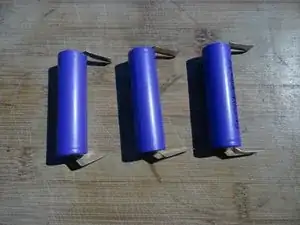
You will need three 18650 batteries with U-shaped soldering tabs and a voltage of 3.7 volts.
Parts
-
-
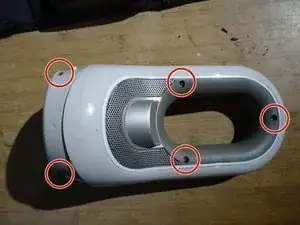
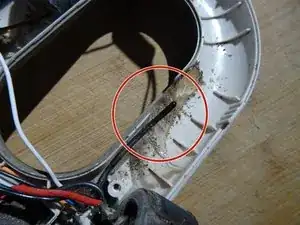
You have to disassemble the device into two halves. To do this, cut the sticker at the seam with a sharp tool.
-
-
-
Take a plastic lever tool and carefully split the device into two halves. It probably is stuck a little.
-
Now is a good time to give the inside of the appliance a good clean, especially all the foam filters.
-
-
-
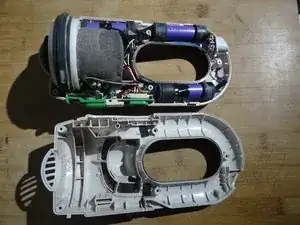
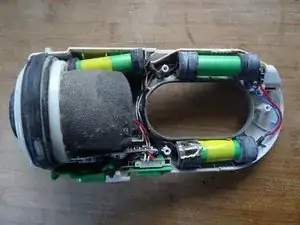
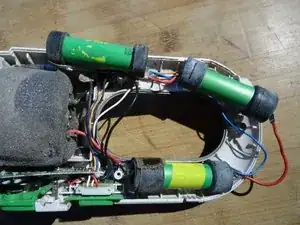
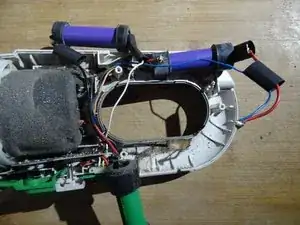
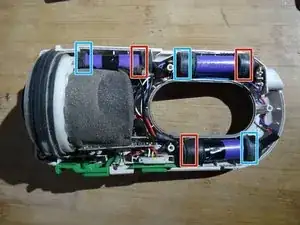
The batteries - shown here in green - are easy to see. They are held in the device by rubber buffers.
-
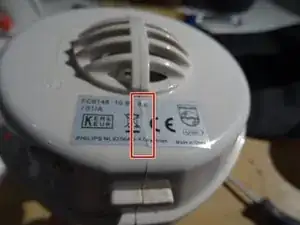
You need three 18650 batteries with U-shaped solder tabs. The higher the capacity, the longer you can vacuum. Use types with a nominal voltage of 3.7 V and a charging voltage of 4.1 V.
-
To be on the safe side, measure the voltage of each cell. They should all be the same.
-
-
-
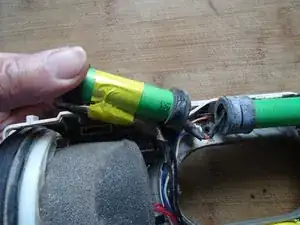
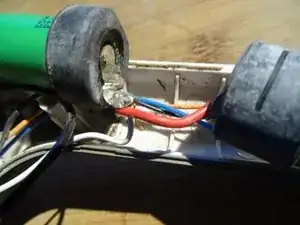
Carefully lift out the batteries. A fuse and a thermal sensor are glued to the first and third battery.
-
Remove the adhesive tapes and carefully push the fuse and the thermal sensor to the side.
-
In the third picture you can see the thermal sensor. Note how it is guided through a groove in the rubber buffer and rests against the battery.
-
-
-
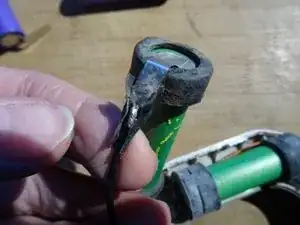
All solder joints are secured with heat-shrink tubing. Cut all heat-shrink tubing with a sharp tool and remove it.
-
-
-
Now comes the main work: soldering. Get some wide heat-shrink tubing that fits over the soldering tabs.
-
Desolder the old batteries piece by piece - you can also pinch off the cables - and solder them to the new batteries in the same way:
-
Slide on suitable pieces of heat-shrink tubing before soldering.
-
Heat the heat-shrink tubing until it tightens against the soldering tabs.
-
-
-
Tape the fuse and the heat sensor in place with insulating tape.
-
Insert the batteries.
-
Check the polarity of the batteries once more.
-
Minus
-
Plus
-
Switch on the device for testing.
-

Work through the steps in reverse order to reassemble your device.
5 comments
Auch von mir nochmal 1000 Dank - die Anleitung hat mir sehr geholfen - habe drei von den Handstaubsaugern und einen jetzt mit neuen Batterien ausgestattet. Die Kabel sind allerdings echt blöd verlegt in dem Gerät - überlege bei den anderen Saugern dann Kabelschuhe an die Akkus zu lösen und die Gegenstücke auf die Kabel -> wenn ich dann nochmal Akkus tauschen muss, kann ich die einfach anstecken - Schrumpfschlauch drüber und fertig
Sascha
@michael21879 @saschafabian Danke für eure Rückmeldungen. Dann haben wir schon mehrere Quellen für die Akkus, sind recht unproblematisch.
VauWeh -
Vielen herzlichen Dank für die detaillierte Anleitung! Hat mir außerordnentlich geholfen.
Die 3 Akkus haben ich für 15,67 € inkl. Versand übrigens hier bestellt: