Introduction
If the pressure relief valve no longer works or it is leaking, it must be replaced. This is shown here.
-
-
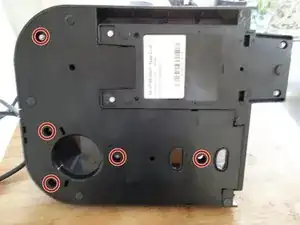
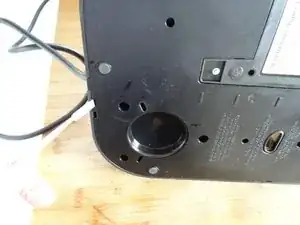
The bottom is secured by oval head screws.
-
Remove five oval head screws securing the large bottom panel.
-
-
-
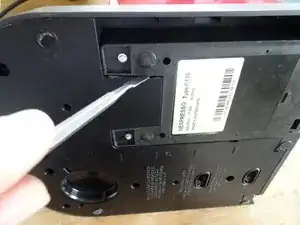
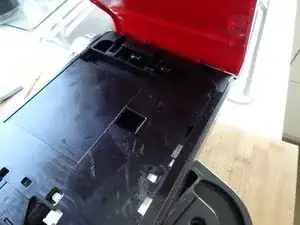
The bottom panel is just snapped into place. Insert a metal spudger into the slots and lift the panel out. It sits quite tightly and you might use some force to get it out.
-
-
-
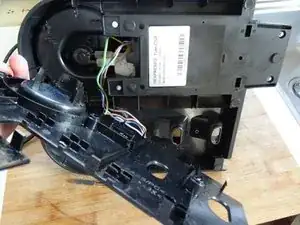
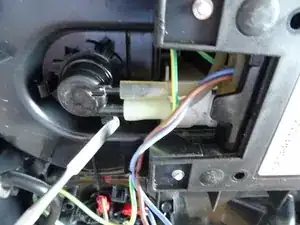
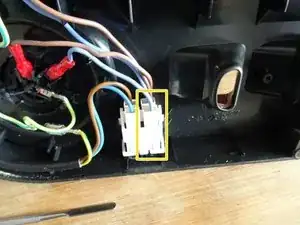
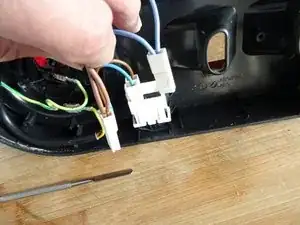
Disconnect the two spade plugs on the blue and brown wires from the power switch. The two left ones remain.
-
-
-
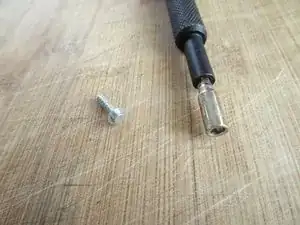
Remove four oval head screws from the small bottom panel.
-
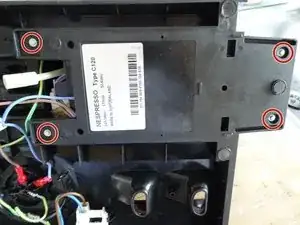
Remove the main device from the base. It´s still connected with some wires, but this doesn´t bother much.
-
-
-
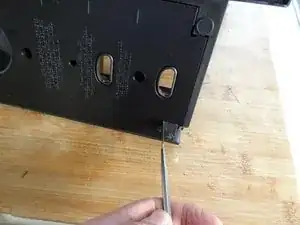
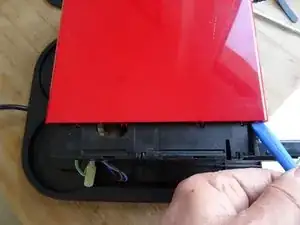
The two colored side panels are only snapped into place. However, the latches sit very tight. You really need a lot of force. First lift the lower edge using a plastic opening tool.
-
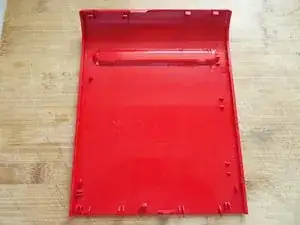
Unfold each of the side panels upwards and remove them.
-
-
-
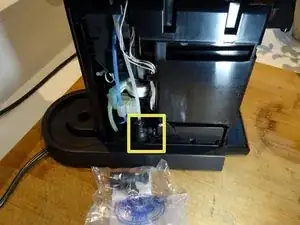
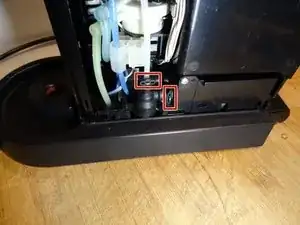
In the first picture, the pressure relief valve is marked in yellow. It is located at the bottom of the machine. It is connected directly to the heater.
-
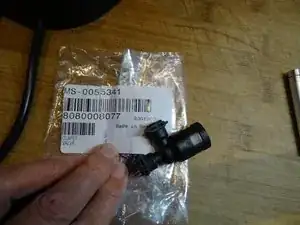
The spare part is ready for installation.
-
-
-
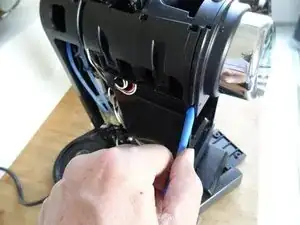
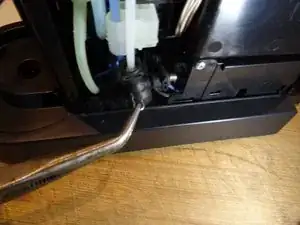
First remove the two connections on the clamps. Each connection is sealed with an O-ring. Those usually get stuck in the pressure relief valve. Replace those with new ones when reassembling.
-
Carefully remove the valve.
-
A hose attaches to the underside of the valve. This hose needs to be pulled off as well.
-
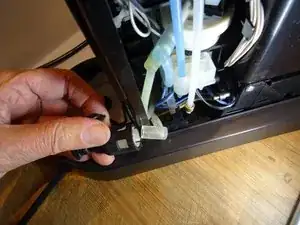
The valve is now detached.
-


Work through the steps in reverse order to reassemble your device.
One comment
To my surprise, newer Citiz machines (ca. 2019), do not have this pressure relief valve (APD, automatic priming device) anymore.
Instead there is only one hose connected to the water tank port.
The water goes via volumeter into the pump (as usual). Then from pump, the water goes to the location of the former APD.
There, we do not have the 3-way APD anymore, but a simply L-shaped connector leading directly to the entry of the heater/boiler.
fredo47 -