Introduction
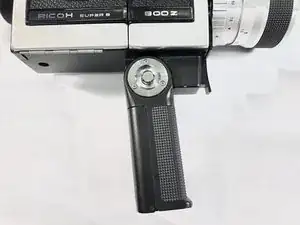
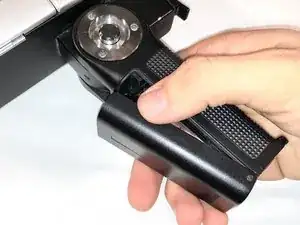
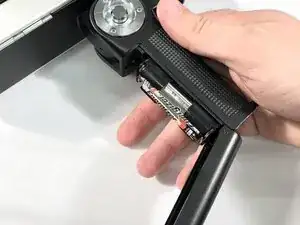
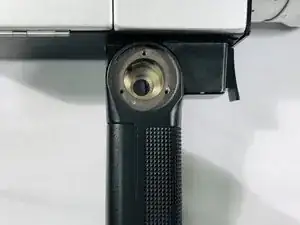
This guide will show you how to remove the handle of the Ricoh Super 8 camera. You may wish to do this if you need to replace the handle. To reattach or replace the handle, follow these steps in reverse order.
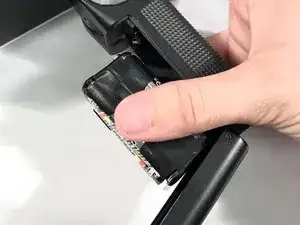
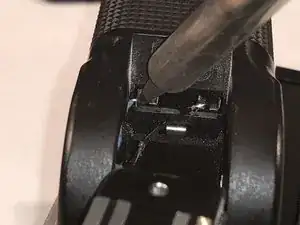
In Step 6, you will remove the handle itself. This will require you to desolder the wire connections in the handle. To attach a new handle, you will need to re-solder these connections back into place.
Make sure your camera is fully powered off before you begin.
Tools
-
-
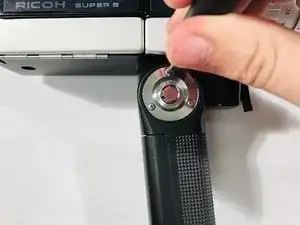
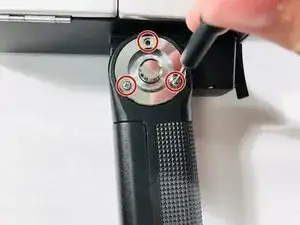
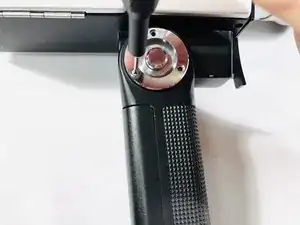
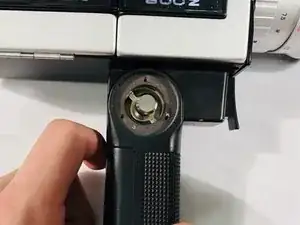
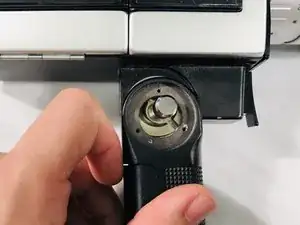
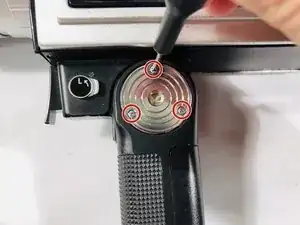
Using the Phillips #000 screwdriver, remove the three screws on the round plate on the right side of the camera handle. This is the side with the handle lock release button.
-
-
-
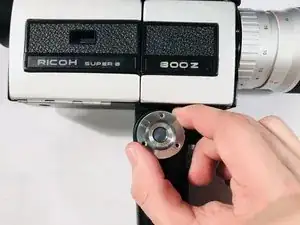
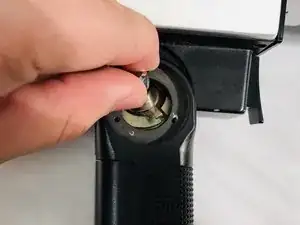
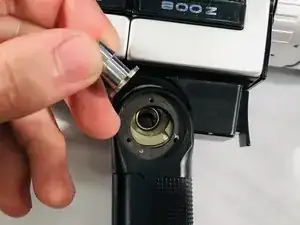
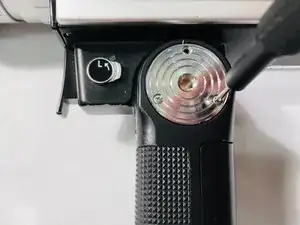
Remove the round metal plate.
-
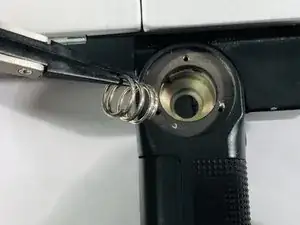
Then, shift the handle so you have clearance to pass one of the legs of the button through the opening.
-
-
-
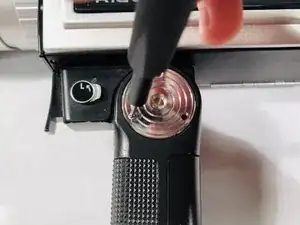
Flip the camera to the other side and remove the screws from the other round metal plate with a Phillips #000 screwdriver.
-
-
-
Pull the handle slowly away from the camera and shift the handle to allow access to the wire connections.
-
Desolder these wires carefully and you can now remove the handle.
-
To reassemble your device, follow these instructions in reverse order.
