Introduction
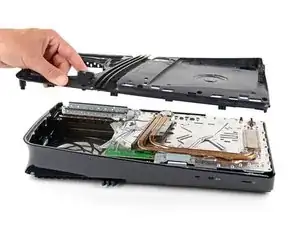
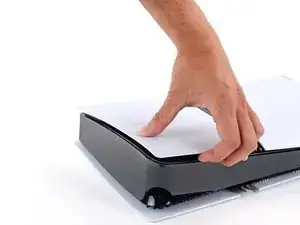
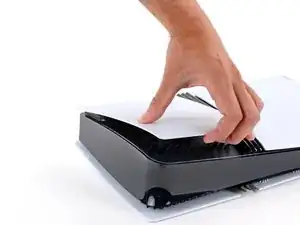
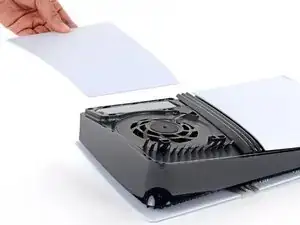
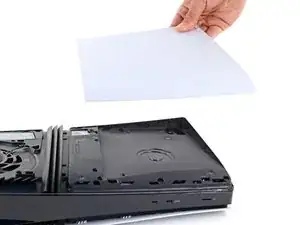
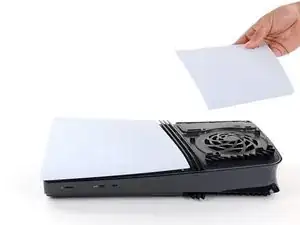
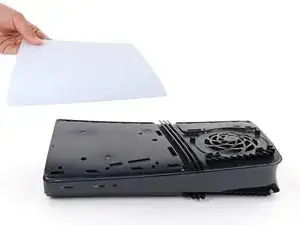
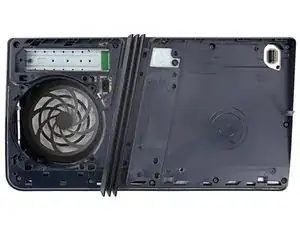
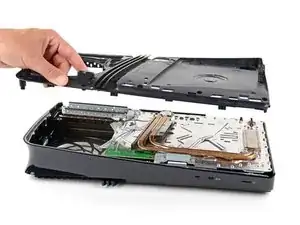
This guide shows how to remove the right‑side inner shell.
Tools
Parts
-
-
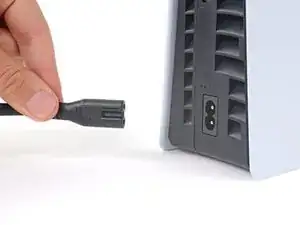
Shut down your PlayStation and unplug all cables and accessories.
-
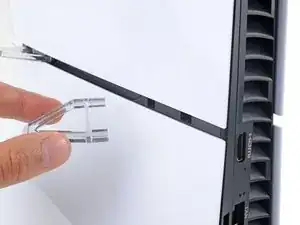
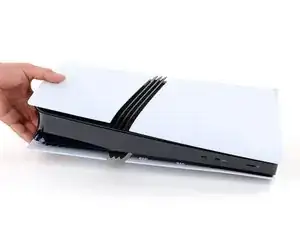
Remove any stands supporting your console and lay it down so the right side is facing up.
-
-
-
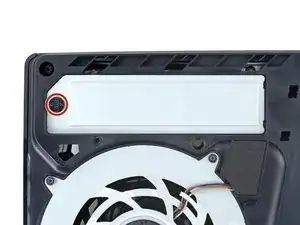
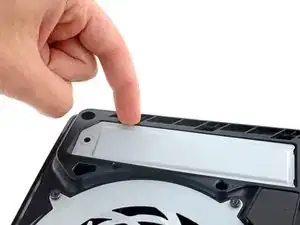
Use a Phillips screwdriver to remove the 17.1 mm‑long screw securing the expansion slot cover.
-
-
-
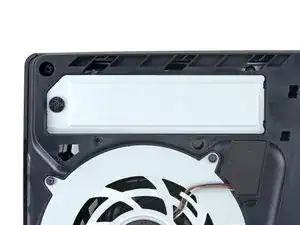
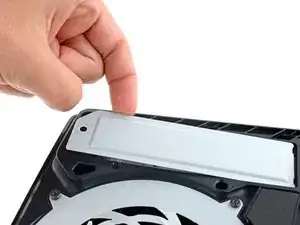
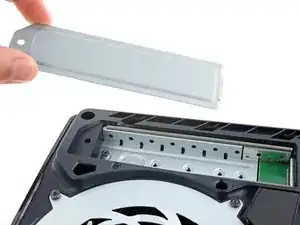
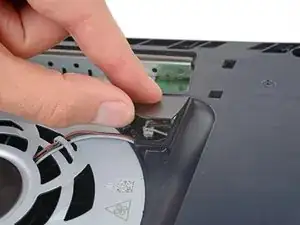
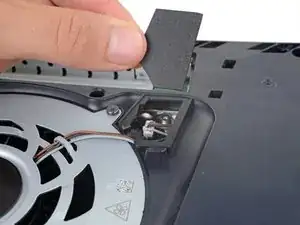
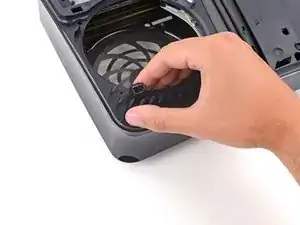
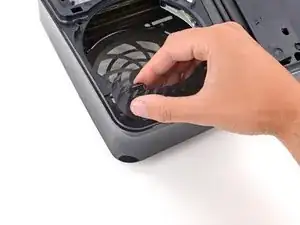
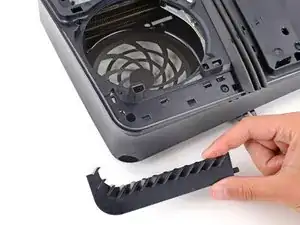
Use your fingers to lift the expansion slot cover near the notch by the screw hole and remove it.
-
-
-
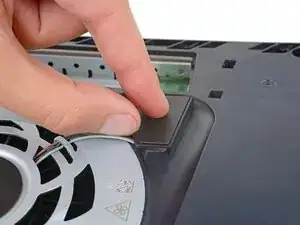
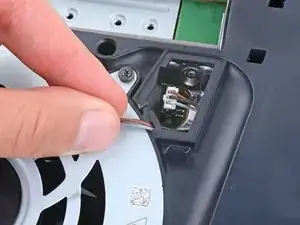
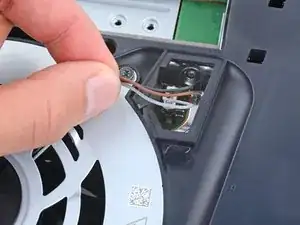
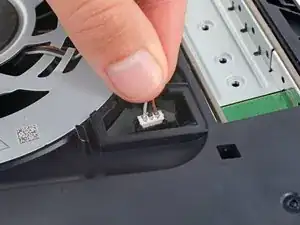
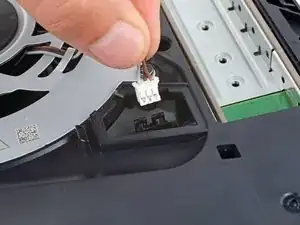
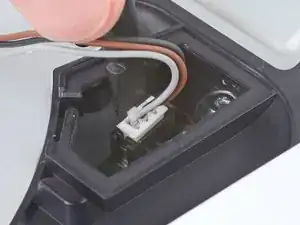
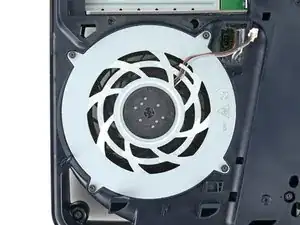
Firmly grip the fan cables' white connector head and pull it straight up and out of its socket.
-
-
-
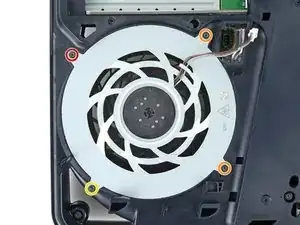
Use a T8 Torx Security screwdriver to remove the four screws securing the fan:
-
One 31.7 mm‑long screw
-
Two 21.5 mm‑long screws
-
One 11.5 mm‑long screw
-
-
-
Use your fingers to grab the fan by its vents and lift it straight up to remove it.
-
Insert the fan so its cables are near their connector.
-
-
-
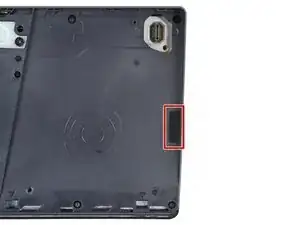
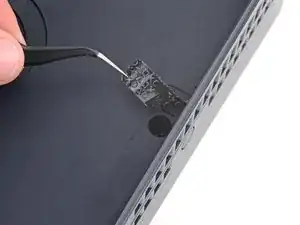
A tamper-evident sticker hides one of the right‑side inner shell screws.
-
Use tweezers to peel up the sticker until you can access the screw underneath.
-
-
-
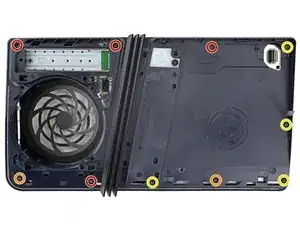
Use a T8 Torx Security screwdriver to remove the 10 screws securing the right‑side inner shell:
-
Four 18.8 mm‑long screws
-
Two 18.6 mm‑long screws
-
Four 31.7 mm‑long screws
-
