Introduction
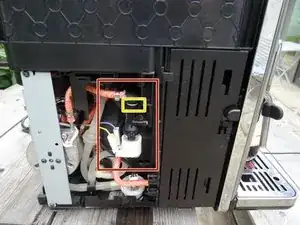
The function valve is located on the left side of the device on the water tank. There may be a leak, then water will drip out on the left side in the middle of the machine. The replacement is quite easy.
These instructions may also help with other Saeco models and with coffee makers from Philips and Gaggia—they are all made by the same manufacturer and have a very similar design.
-
-
Remove all accessory parts like the water reservoir, the brewing assembly as well as the drip try.
-
Remove all coffee beans from the bean container
-
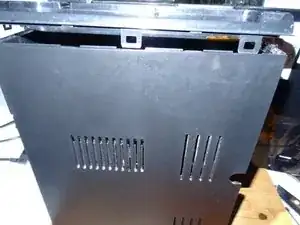
Remove the two T10 Torx screws from the bottom of the rear cover.
-
-
-
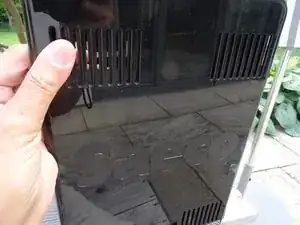
Pull the back cover approximately 1 cm (3/8inch) out from the bottom and push it in an upward direction.
-
-
-
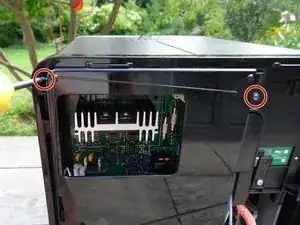
Remove the five T10 Torx screws as marked
-
the back frame consist of 3 pieces. Lift the top part out first, then each one of the side pieces
-
-
-
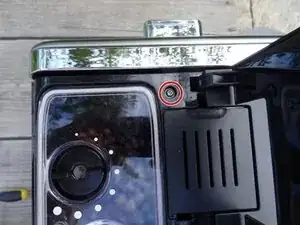
Lift the bean compartment lid and loosen the Torx T10 screw.
-
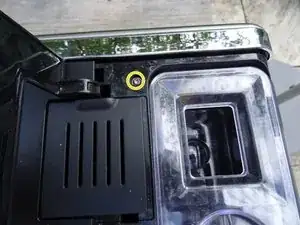
Open the water compartment lid and loosen the Torx T10 screw.
-
The lid is locked into place several times. Carefully loosen the catches and lift off the lid.
-
-
-
Open the front access door.
-
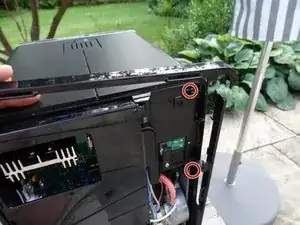
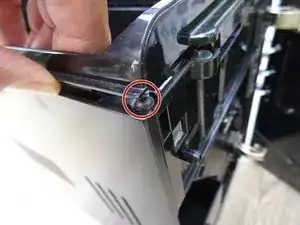
Lift the top cover by about 2 cm until you can just reach the screw in the top right.
-
Remove the T10 Torx screw
-
-
-
Lift the top cover slightly upwards. It requires a fair amount of force to push the side cover upwards by about 5 mm until the hooks are released and then lift it out.
-
-
-
Pull out the metal clip on the top connector.
-
Now carefully lift out the upper connection piece. Check the O-ring, replace it if possible.
-
The hose is attached with an Oetiker clamp. It must be destroyed to be removed. Replace it later with a suitable hose clip. Shorten the tube about 1 cm.
-
-
-
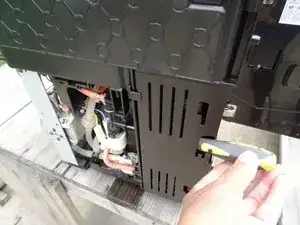
Rotate the machine so it is facing you with the door open.
-
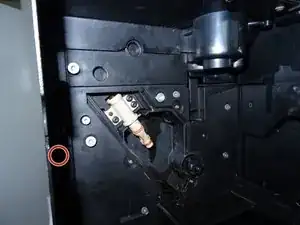
Remove the Phillips screw in the center left. Now you can reach the fastening screw on the function valve.
-
-
-
Insert a T10 Torx screwdriver through the screw hole you just opened and unscrew the fastening screw on the function valve.
-
Pull off the metal clip for the rear connection and carefully remove the valve.
-
Pull off the two flat plugs.
-
Loosen all hose connections, including those on the back.
-
The valve is now free to be removed
-


Follow the steps in reverse order to reassemble your device.