Introduction

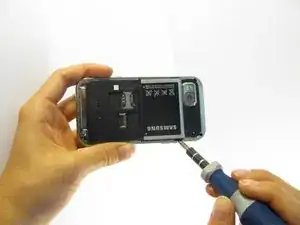
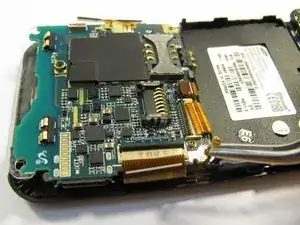
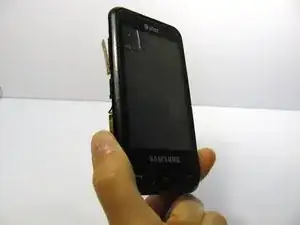
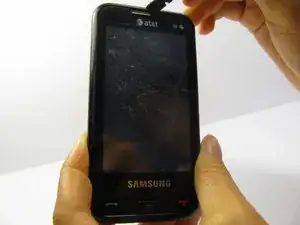
You will need to find a clean area to work in and have the necessary tools. Follow this guide to gain access to your cellphone's microphone module.

    • Remove the back battery cover.

  1. DFVssrCsaalAmneL
    • Using a nylon spudger, remove the phone's battery.

  2. TwnBImxVHmGkTgel
    • Remove six (4.28 x 1.25)mm screws using the Phillips #00 screwdriver.

  3. RRsRo2iNI43NWHNY
    RRsRo2iNI43NWHNY
    p3CxvlR2V3bsgrqG
    • Use a nylon spudger to gently pry the silver plastic back plate from the body of the phone.

  4. ntis6DaKILpRJg3O
    • It is very easy to rip motherboard cables and damage fragile motherboard clips. Be careful when you are removing every component.

    • Pull the antenna plug out of its socket.

  5. rJy6SoYMbHqUutLZ
    rJy6SoYMbHqUutLZ
    oCqEXrkWOcjTgDDy
    PtsudUFkutw2IvRl
    • Pop the two black hinged-release levers toward their ribbons, then slide the ribbons out.

  6. 4AJFfCnUNbEQMDQs
    • Pop the red hinged-release lever away from its ribbon. Then pull it out.

  7. EYvIrJuPY2Bk1dKf
    • Peel the button sensor on the side of the motherboard off of the case.

  8. 6SJGqYHOWK4FKOSL
    6SJGqYHOWK4FKOSL
    Swtmsfo1Z1LxAgfH
    1PQAwJgXEdBsbrJD
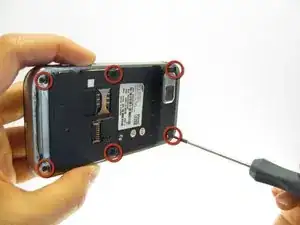
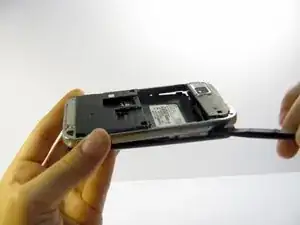
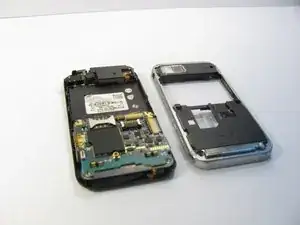
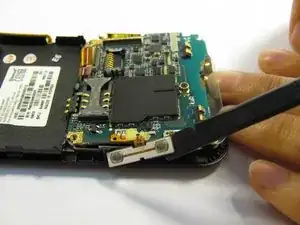
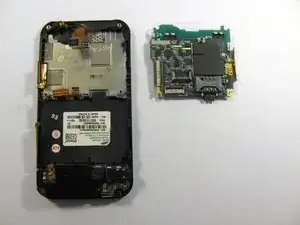
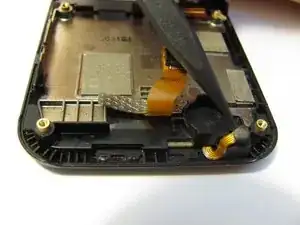
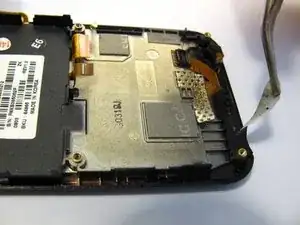
    • Slightly pull up one side of the motherboard.

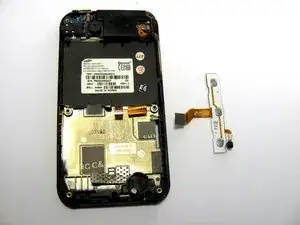
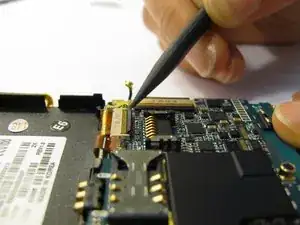
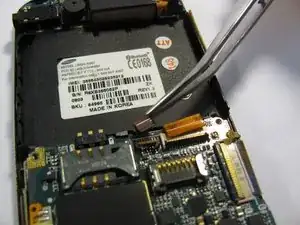
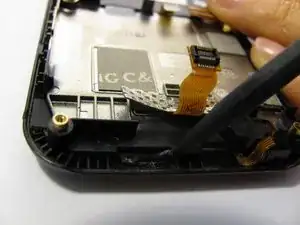
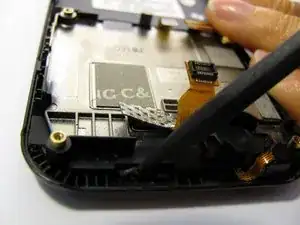
    • Pull the button/microphone plug out of its socket.

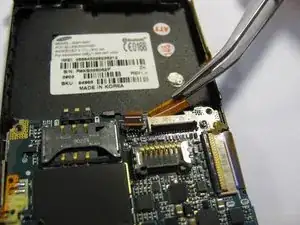
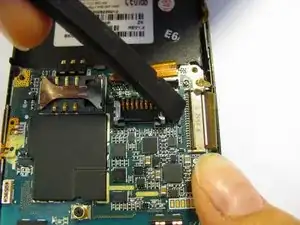
    • Pop the red hinged-release lever away from its ribbon, then slide the ribbon out.

  9. CjntDJeUScHl2GKV
    • You have successfully removed the motherboard from the phone.

  10. bRYGKswU3Xp3NqRP
    • Flip the phone over so you are looking at the front screen of the phone.

  11. XKkimRQnhsNXar1Z
    XKkimRQnhsNXar1Z
    pXKLuFVRCFVVklKo
    qrQPvSGi2XrHJNVS
    • Use a small tool to pry the digitizer and screen (together) from the frame of the phone.

    • This may take some time and careful work because it is glued down to the frame.

    • Be careful when you pull the lower part of this piece away from the phone frame because there is a ribbon attached to the digitizer that you don't want to break. There is also a ribbon on the side of the screen to be aware of.

  12. WlUbe1GiHJoiecSS
    WlUbe1GiHJoiecSS
    dnPcbfaYBTtXZYmJ
    QgctKg2svyhOD2ai
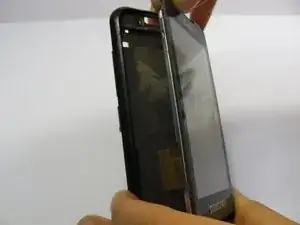
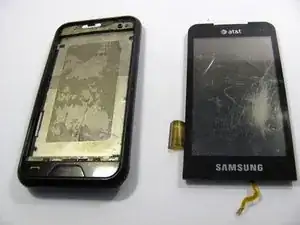
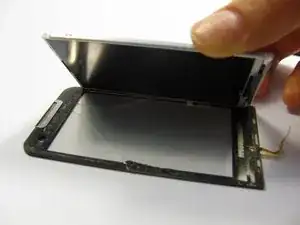
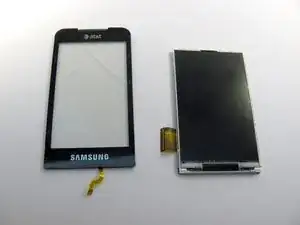
    • Next, carefully pull the digitizer away from the screen.

    • At this point you can replace either the screen or the digitizer.

    • Cleaning the screen with a glass cleaning cloth before reassembling will remove any smudges or fingerprints from disassembling the device.

  13. dykUIoYLxmDWmViS
    • Pop the microphone up and out of its small housing.

  14. uIJUpAgVBWyLEObG
    • Peel up the black tape on the bottom of the back case.

  15. vYlRpTNYMvv3o3fE
    • Use the spudger to release the front buttons from the phones frame.

    • Don't try and pull the front buttons completely away from the phone. There are clips that still are holding them to the phone.

  16. qKa2T4uTjNDugAZA
    qKa2T4uTjNDugAZA
    1RZLAARuZTFgHmw2
    hBYQDjdg53LReymk
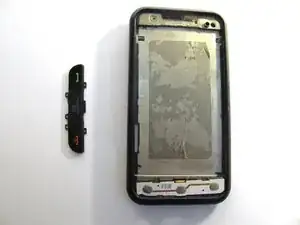
    • Use the spudger to remove three plastic lasso hooks that are holding the front buttons to the case.

    • The front button plastic assembly should come right off.

  17. WCHsmR1O5miGbtQy
    • Use tweezers to release the button logic board away from the phone's casing.

    • Do not try and completely remove the component. There are logic ribbons that need to be guided through the phone's back casing.

  18. b6SUplHCYvSYDX1T
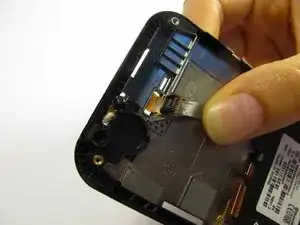
    • You should be able to see two cables connected to the front button board.

    • Carefully slide these two cables through their respective holes in the body of the camera.

  19. kZQS1aes24VPbdC1
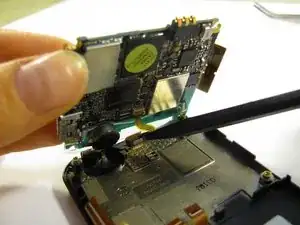
    • The front button board should slide out. At this time you can replace the button/microphone component.

Conclusion

To reassemble your device, follow these instructions in reverse order.

Michelle Haddock

Member since: 20/04/11

45 Reputation

0 comments