Introduction
Before removing the headphone jack and earpiece, check the device's troubleshooting page. Make sure your headphones are not causing your sound problems before replacing the phone's internally connected headphone jack.
-
-
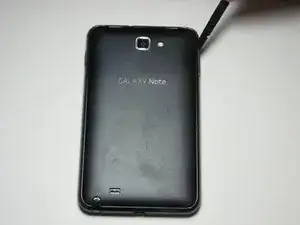
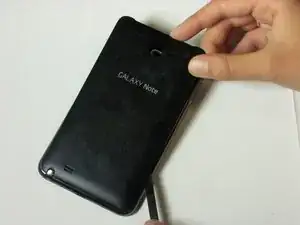
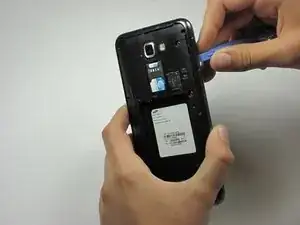
Make sure the screen is face-down and the camera is opposite you.
-
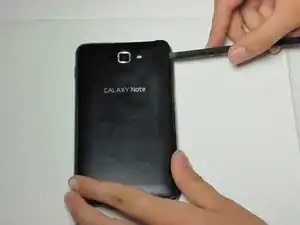
Insert the flat end of a spudger into the phone's top right rectangular slot.
-
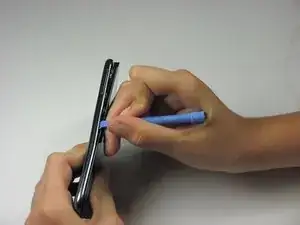
Use the spudger as a lever to pry open the back of the phone.
-
-
-
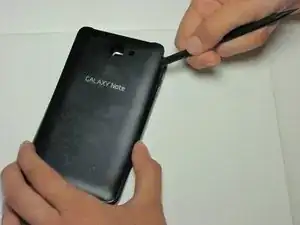
With the spudger still inserted, carefully slide the spudger down the side of the phone.
-
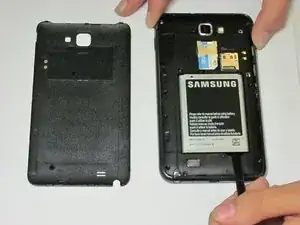
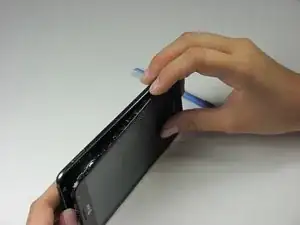
Gently peel off the back cover with your hand.
-
-
-
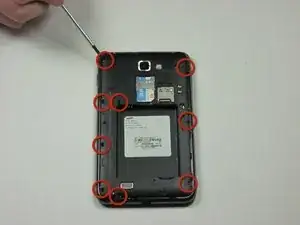
Pry all the way around the sides with a plastic pry tool and gently pop off the midframe.
-
If the cover does not come off easily, continue to pry along the phone's perimeter.
-
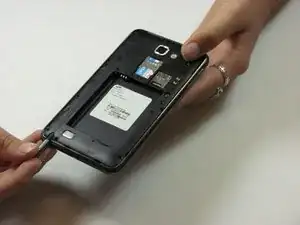
Separate the midframe from the phone. The midframe should now pull off easily.
-
-
-
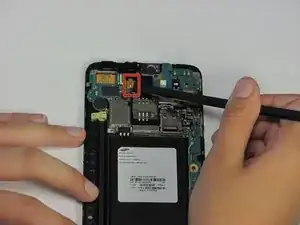
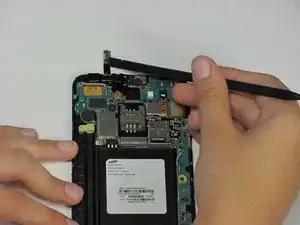
Use the spudger to pry up the long, green ribbon next to the yellow one you just pried up.
-
Push the green ribbon back to access the black bracket underneath it.
-
-
-
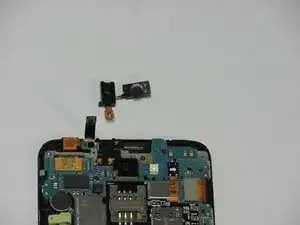
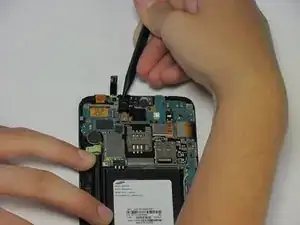
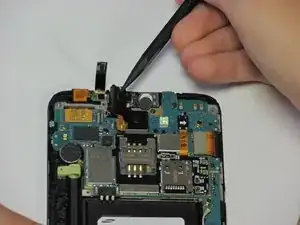
Flip the spudger around and insert the pointy end into the headphone jack.
-
Lift the headphone jack directly upwards using the spudger as a lever. This will also remove the connected speaker.
-

To reassemble your device, follow these instructions in reverse order.