Introduction
In this guide you will learn how to remove the entire back side of the laptop in order to access and replace a damaged or broken internal fan.
-
-
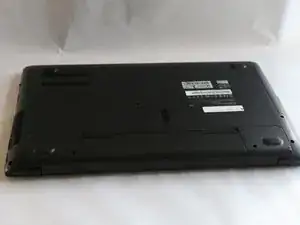
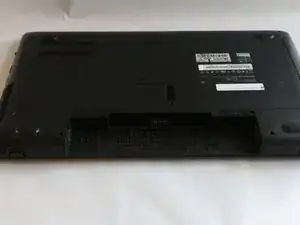
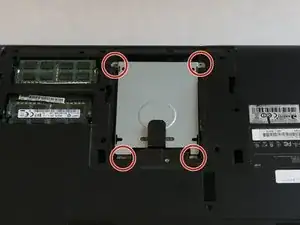
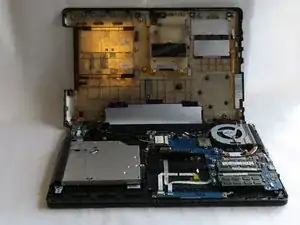
Begin with the laptop lying to its back revealing its underside.
-
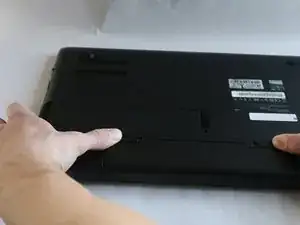
Locate the two latches on the bottom of the laptop. Slide the latches inward until a faint click is heard.
-
-
-
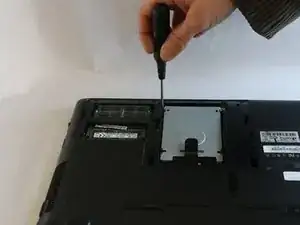
Unscrew the 4mm screw, and slide the cover off away from the computer to reveal the housing for the hard drive and RAM boards.
-
-
-
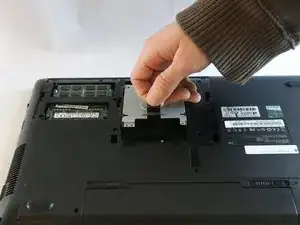
Lift the hard drive cover by pulling upwards on the removal handle.
-
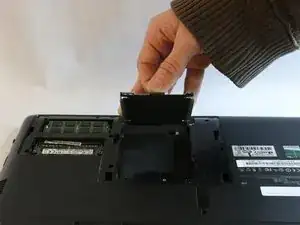
You can now remove the hard drive from the laptops housing freeing up space to replace your damaged or broken hard drive with a new hard drive.
-
-
-
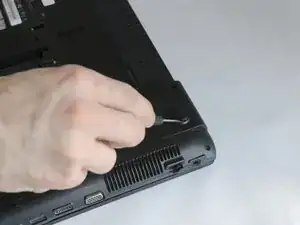
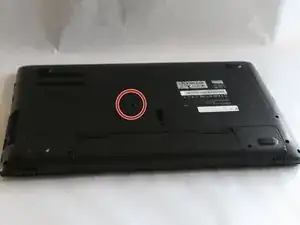
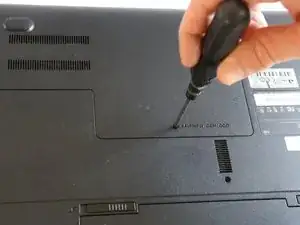
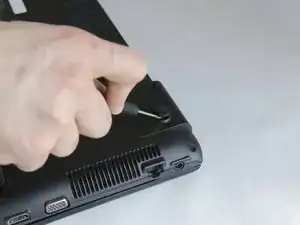
Remove the grip pad at the top right corner of the laptop using a Phillips screwdriver. Pop the grip pad from its place to reveal a 4 mm screw.
-
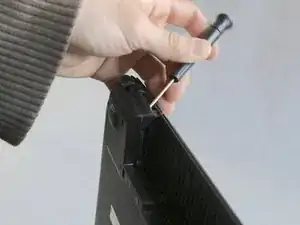
Remove all seventeen 4 mm screws.
-
-
-
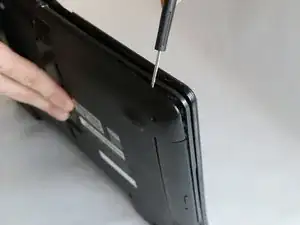
Use an opening tool to pop the back panel of the laptop off. Start at the corners and slide the opening tool along the edges of the laptop.
-
-
-
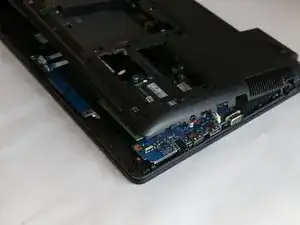
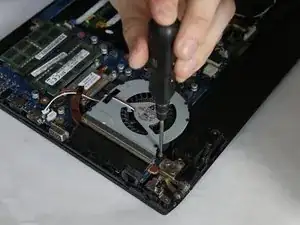
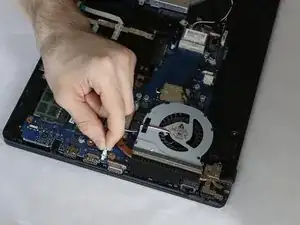
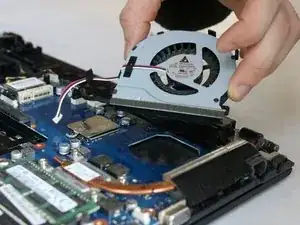
Unclip the white cable connecting the fan to the motherboard.
-
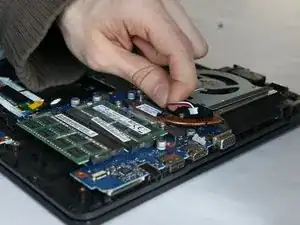
Carefully remove the fan from the laptop.
-


To reassemble your device, follow these instructions in reverse order.