Introduction

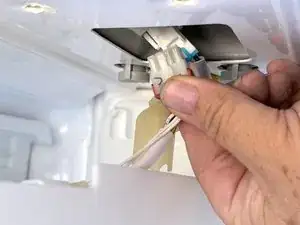
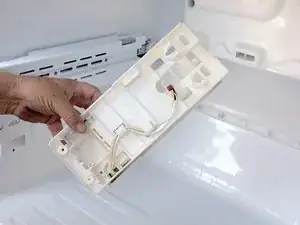
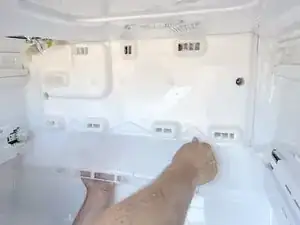
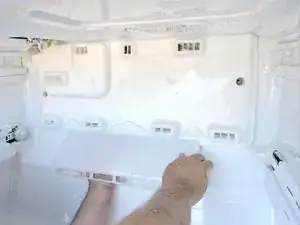
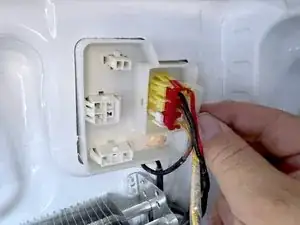
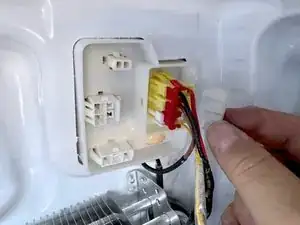
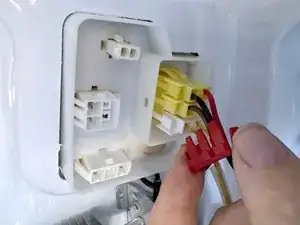
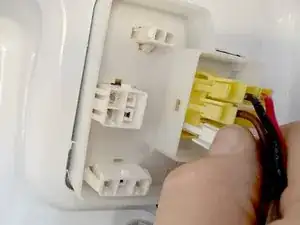
Use this guide to replace the defrost thermistor on your older Samsung French door refrigerator.

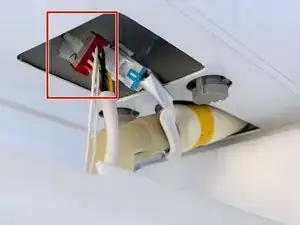
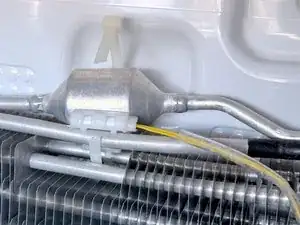
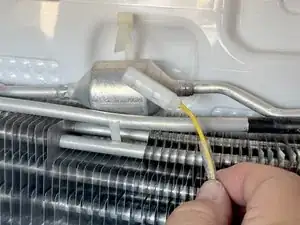
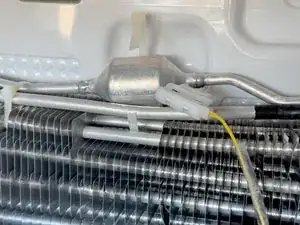
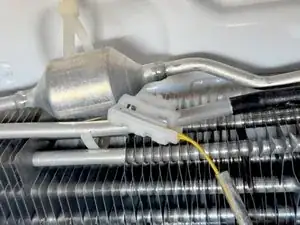
The Defrost Thermistor is clipped to the evaporator tubing. It monitors the temperature during the defrost cycle, allowing the main control board to cycle the defrost heater on and off to melt the ice buildup without overheating components.

If the defrost thermistor fails, you may have error codes on your display (if it fails by a short circuit or an open circuit). If the thermistor goes out of specification, you may not have codes, but may find that your freezer is not defrosting well, or possibly that it is causing the freezer contents to thaw.

This guide requires a multimeter for testing the thermistor—if you’re new to using one, check out our video tutorial on multimeters. You might also want to take a look at this guide on using a multimeter, as well.

This guide will work for many Samsung refrigerator models. The photos in this guide are from a Samsung RFG298HDRS refrigerator. If you have a different model, you may encounter some minor disassembly differences, but the overall repair process will be the same.

  1. SaOfLbkeAxgmho5g
    • Unplug your refrigerator before you begin your repair.

    • If you are testing or repairing the following items, you may also need to shut off and disconnect the water supply:

    • Condenser fan motor

    • Compressor motor and thermal overload device

    • Water supply valve assembly

  2. vAeEjnKWJmKiaSLh
    vAeEjnKWJmKiaSLh
    jJD6R3IZCMXaREVE
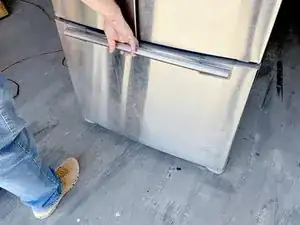
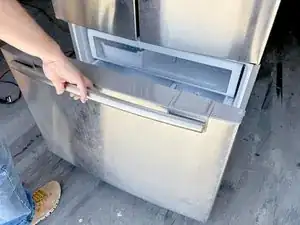
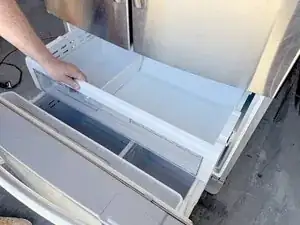
    • Open the freezer drawer.

  3. i1y4E1iChFswDEtO
    i1y4E1iChFswDEtO
    Eb56MQbmsrtVIheL
    WoJjBq42gHggIQKS
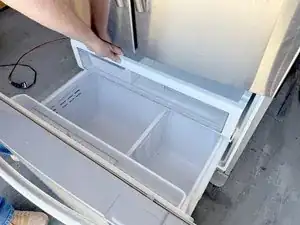
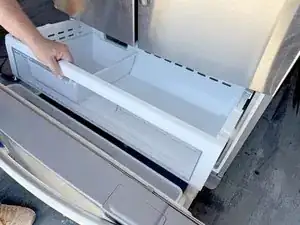
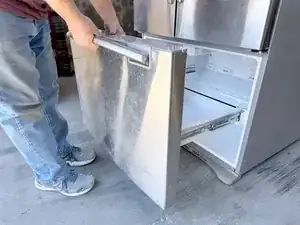
    • Pull out the upper freezer drawer.

    • Lift the front edge of the drawer.

    • Remove the drawer by lifting it up and out of the freezer compartment.

  4. XVAaafUjyZY3KNC2
    XVAaafUjyZY3KNC2
    kqWNxpGsZ4FxP6pr
    rEViTXoNAFxXLBsS
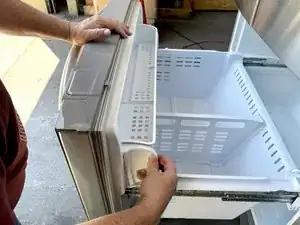
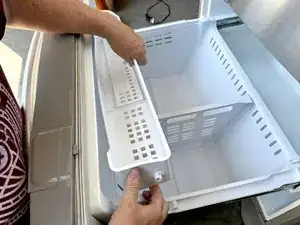
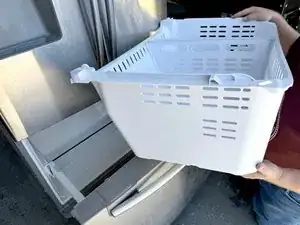
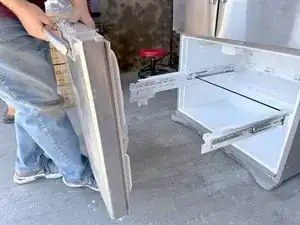
    • Unclip the basket hinge retainer by tilting the rear edge up and remove it from the drawer rail.

    • Release the small drawer basket and lift it up and out.

  5. XDDu2F3awuFIsQd5
    • Lift the drawer basket out of the drawer frame and remove it.

  6. aJXVeAlsiGpeH6yK
    aJXVeAlsiGpeH6yK
    Yjp34gQGf4lQYZCe
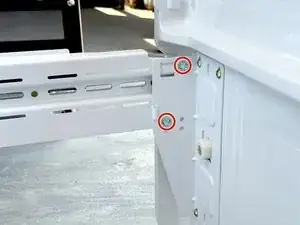
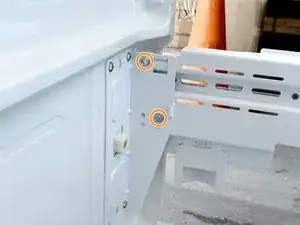
    • Use a 3/8" socket wrench, box wrench, or open end wrench to remove the bolts securing the drawer front to the right drawer slide.

    • Repeat the process for the left drawer slide.

  7. AUFqGfNQBYb4RFnS
    AUFqGfNQBYb4RFnS
    pKDCmrnLeYbBoPlg
    ClMDLOTV1AQnjHjN
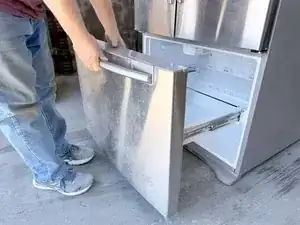
    • Lift the drawer front upwards to free it from the drawer slides.

    • Remove the drawer front.

  8. dcbpQZXMoqgqYfYi
    dcbpQZXMoqgqYfYi
    rhP3mAhkK3BEuYrj
    f5GfTrMuYIgNnF1L
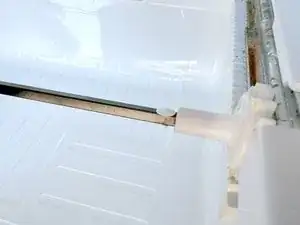
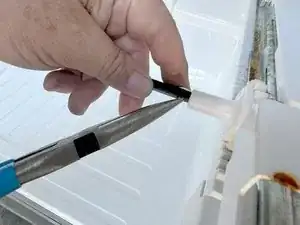
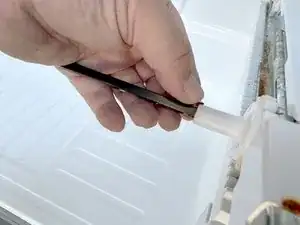
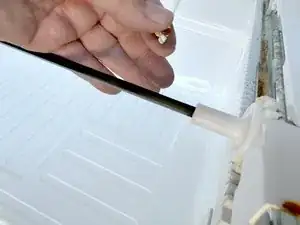
    • Rotate the slide connector rod until you can access the retaining pin.

    • Use a pair of long nose pliers to squeeze the retaining pin shank to release it.

  9. bXoiYxFbiivGLkRZ
    bXoiYxFbiivGLkRZ
    u3qHjcNp6NSuO3IC
    • Pull the retaining pin out of the hole.

    • Slide the connecting rod to the right to free the left end of the rod.

    • Remove the rod by lifting it upward and sliding it back to the left.

  10. ZFPtRMywJLyCLlOv
    ZFPtRMywJLyCLlOv
    gpoPEF1SwDYHIdXo
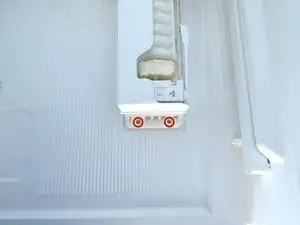
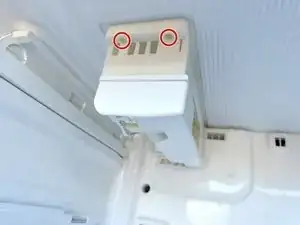
    • Use a #2 Phillips driver to remove the retaining screws.

    • Two views of the same screws are shown for clarity. There are not four screws.

  11. YKgDtJKoWPdKHUf6
    YKgDtJKoWPdKHUf6
    1GZtZaehDZFMADPY
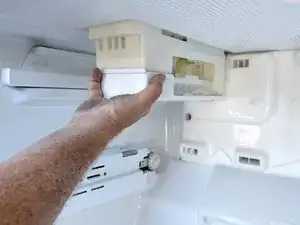
    • Pull the icemaker forward parallel to the top of the freezer.

    • This will release the icemaker from the freezer top.

    • Reposition the icemaker and hold it in one hand to prepare to disconnect it.

  12. JYVlfGdxmBYL5fjQ
    JYVlfGdxmBYL5fjQ
    YlyQa1lnnUBAChsO
    evTenfwF5RDAsJpL
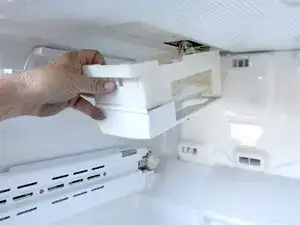
    • Grasp the icemaker connector (the one to the front) and squeeze the release tab.

    • Pull the connector out from the socket.

  13. rwNJPSQP2GQcJIr5
    rwNJPSQP2GQcJIr5
    ZSJGbtlrViGxpp44
    • Remove the ice maker.

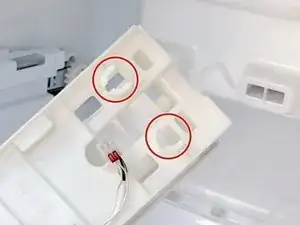
    • This view shows the slots that the mounting studs on the freezer top for reference when reassembling.

  14. fYqBKVClN5YUcQ2o
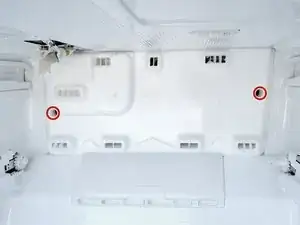
    • Use a #2 Phillips driver to remove the screws securing the evaporator cover.

  15. KBmBLovBseFXxvwt
    KBmBLovBseFXxvwt
    xlVBffMUknUSdNjN
    DkHL3ZXMlRqwiGQR
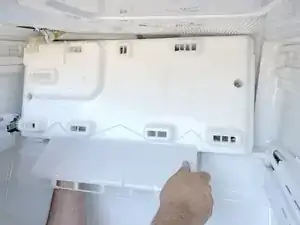
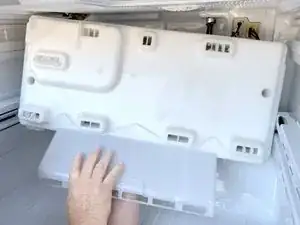
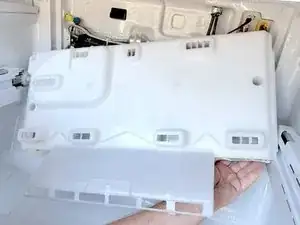
    • Lift the evaporator cover from the bottom edge and tilt the edge toward you.

  16. fOgmRmooZeXNtbXb
    fOgmRmooZeXNtbXb
    WKaSMGVLUkk5hRvg
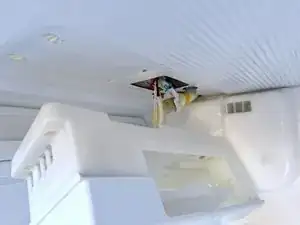
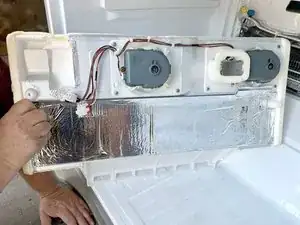
    • Reposition the evaporator cover to allow access to the connections to the right rear.

    • Don't try to remove the cover yet, as you need to first disconnect the electrical connections to it in the upper right rear of the freezer compartment.

  17. 1K25UBDRnqFDua1V
    1K25UBDRnqFDua1V
    NwyDHbnL1jYXU4mM
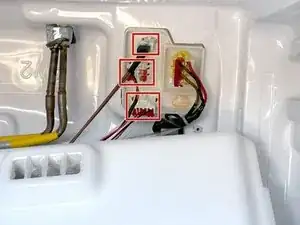
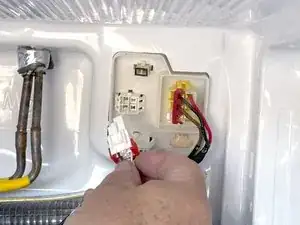
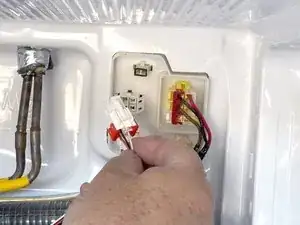
    • Disconnect the connectors by squeezing the release tab on the connector and pulling them free of the sockets.

    • Support the cover from below so there is not tension on the connections.

  18. SS4UtZqP1BTxs3od
    SS4UtZqP1BTxs3od
    6VXPkUCxUJ4NwoIr
    4nUjmWuutfnoGdBo
    • Finish disconnecting the connections while supporting the cover from below.

  19. NS2VkIRYFIYtD1fN
    • Remove the evaporator cover.

  20. oxJBYJDcOwFKwUtq
    • The red rectangle shows the defrost thermistor location.

  21. ocwKJZuVIFLZ1OWW
    ocwKJZuVIFLZ1OWW
    Z1ufXmIQ5m2KEHCQ
    kIZHWmVruqxlit6D
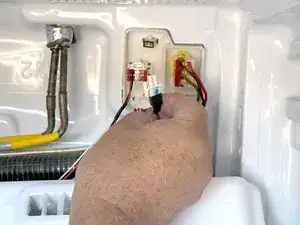
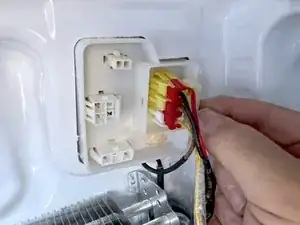
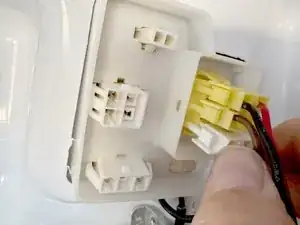
    • Remove the light-colored connector clip. There are two locking tabs at each end of the clip (top and bottom) that you can lift with a fingernail.

  22. 2A6Z3FVagEQsYh2k
    2A6Z3FVagEQsYh2k
    VM6YEEraFKUQHNv2
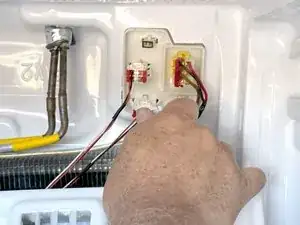
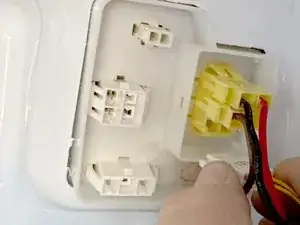
    • Remove the red or second connector clip as described in the previous step (it may be another color).

  23. u42JMKRUWEw5uBnb
    u42JMKRUWEw5uBnb
    aBqOxqc5TielDgYm
    KEYVYpB2wi6YAhUF
    • Squeeze the locking tab and pull the white connector out.

    • The thermistor will usually have twinned wires, often yellow and usually smaller than the other wires in the connector cluster.

  24. nd1URmZkcJa6V2Jf
    nd1URmZkcJa6V2Jf
    xEu1XiHxcuWCGRfN
    URmxN1O2EM1CXasN
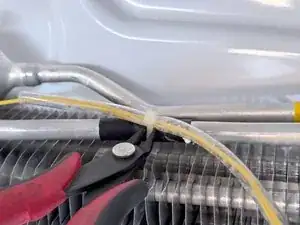
    • Cut the cable ties securing the defrost thermistor wires and the defrost thermistor.

  25. UCANUDtQcfT15mib
    UCANUDtQcfT15mib
    HtlVnfcgBrCIvrG6
    FO6jOKiUfLTLZRyK
    • Unclip the defrost thermistor and remove it.

  26. OLOkRNThMaM1Z1iE
    OLOkRNThMaM1Z1iE
    5OwLuCFllNXVsGJk
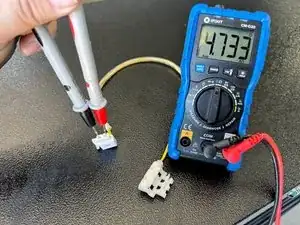
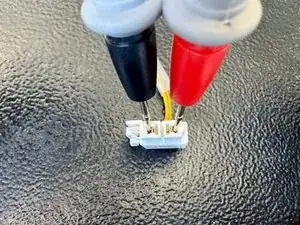
    • Use a multimeter set to the Ω setting to test the defrost thermistor.

    • Insert the probes into the connector as shown.

    • The thermistor on a Samsung refrigerator should read around 5,000 (5k) Ω at room temperature. This device was tested at a higher-than-normal temperature, so the resistance is a bit lower (4.7kΩ shown).

Conclusion

To reassemble your device, follow these instructions in reverse order.

Take your e-waste to an R2 or e-Stewards certified recycler.

Repair didn’t go as planned? Ask our Answers Community for help.
Bill Gilbert

Member since: 30/06/22

37443 Reputation

0 comments