Introduction
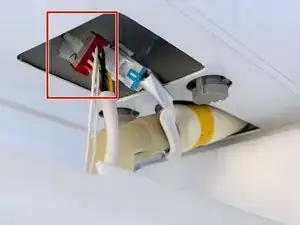
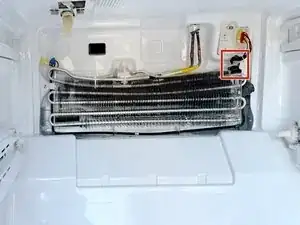
The high limit thermostat is located on a bracket right next to the evaporator coils in the freezer behind the evaporator cover.
The thermostat serves as a line of defense in the event that the defrost element will not shut off. If the temperature gets too high, it opens and shuts off the defrost heating element.
If this unit fails open (the usual problem) the defrost element will not function and the defrost cycle will not work. This thermostat is intended to open and stay open so the part must be replaced if it fails. The opening temperature is high enough that testing for function is not recommended since it only functions once.
This guide requires a multimeter—if you’re new to using one, check out our video tutorial on multimeters. You might also want to take a look at this guide on using a multimeter, as well.
This guide was created using a Samsung model RFG298HDRS French door refrigerator manufactured in 2013. Other older Samsung French door units with dual evaporators should be similar.
-
-
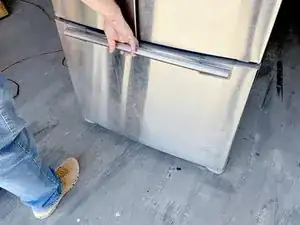
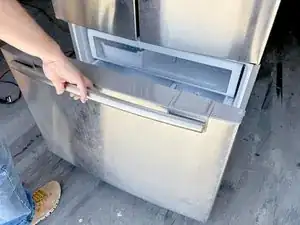
Unplug your refrigerator before you begin your repair.
-
Condenser fan motor
-
Compressor motor and thermal overload device
-
Water supply valve assembly
-
-
-
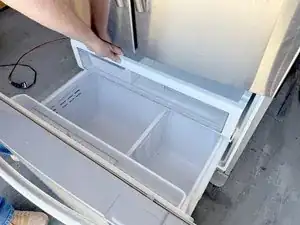
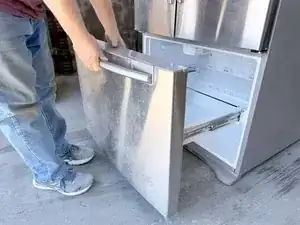
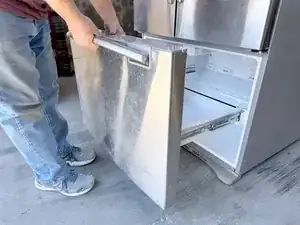
Pull out the upper freezer drawer.
-
Lift the front edge of the drawer.
-
Remove the drawer by lifting it up and out of the freezer compartment.
-
-
-
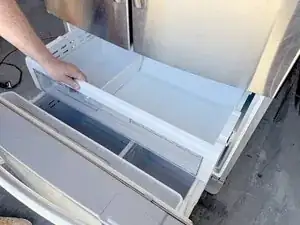
Unclip the basket hinge retainer by tilting the rear edge up and remove it from the drawer rail.
-
Release the small drawer basket and lift it up and out.
-
-
-
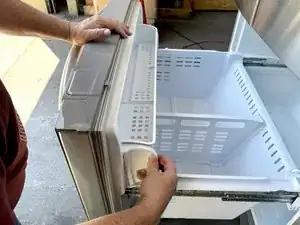
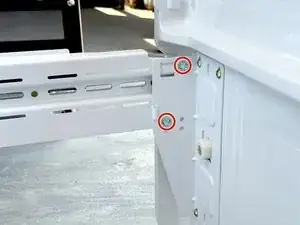
Use a 3/8" socket wrench, box wrench, or open end wrench to remove the bolts securing the drawer front to the right drawer slide.
-
Repeat the process for the left drawer slide.
-
-
-
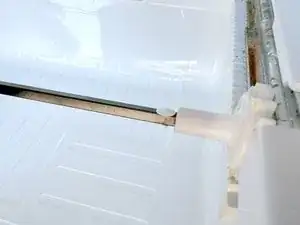
Rotate the slide connector rod until you can access the retaining pin.
-
Use a pair of long nose pliers to squeeze the retaining pin shank to release it.
-
-
-
Pull the retaining pin out of the hole.
-
Slide the connecting rod to the right to free the left end of the rod.
-
Remove the rod by lifting it upward and sliding it back to the left.
-
-
-
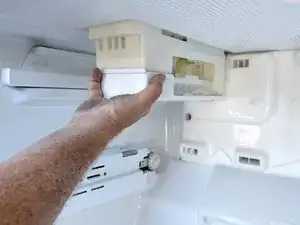
Pull the icemaker forward parallel to the top of the freezer.
-
Reposition the icemaker and hold it in one hand to prepare to disconnect it.
-
-
-
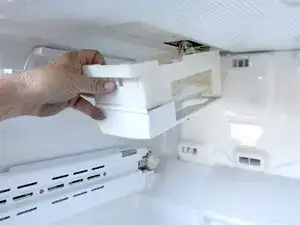
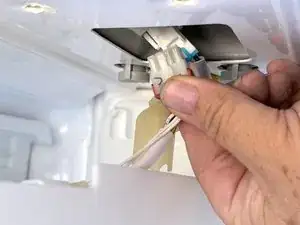
Grasp the icemaker connector (the one to the front) and squeeze the release tab.
-
Pull the connector out from the socket.
-
-
-
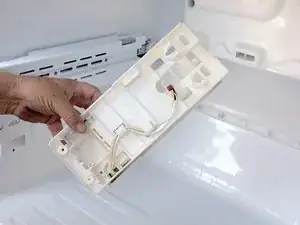
Remove the ice maker.
-
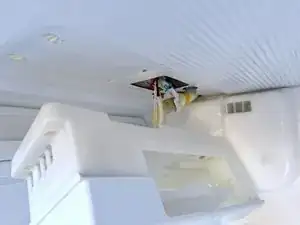
This view shows the slots that the mounting studs on the freezer top for reference when reassembling.
-
-
-
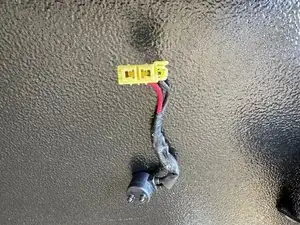
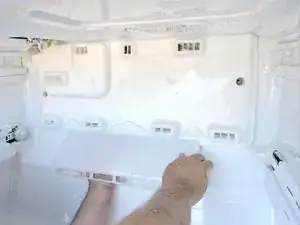
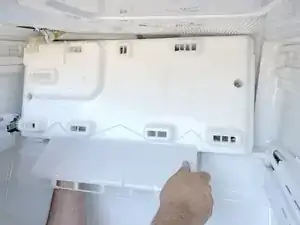
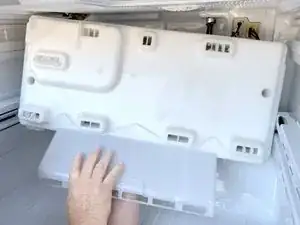
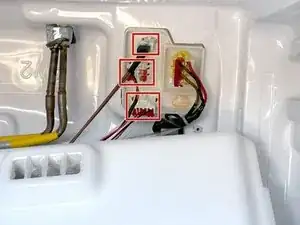
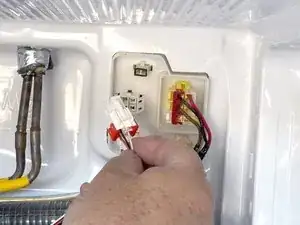
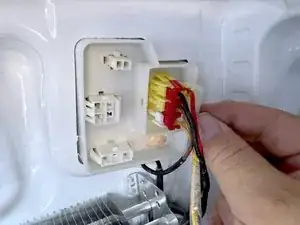
Disconnect the connectors by squeezing the release tab on the connector and pulling them free of the sockets.
-
-
-
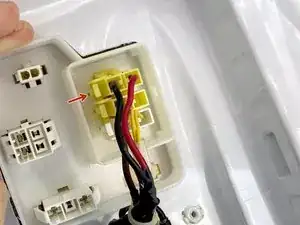
Remove the light colored connector clip. There are two locking tabs at each end of the clip (top and bottom) that you can lift with a fingernail.
-
-
-
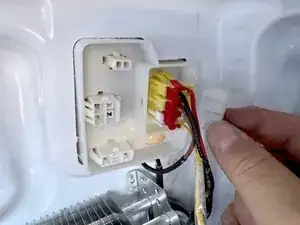
Remove the red or second connector clip as described in the previous step (it may be another color).
-
-
-
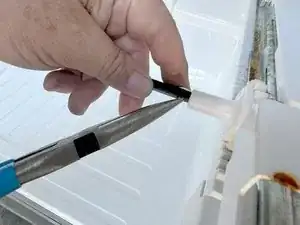
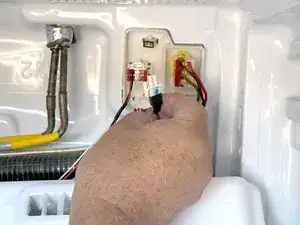
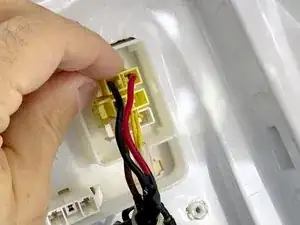
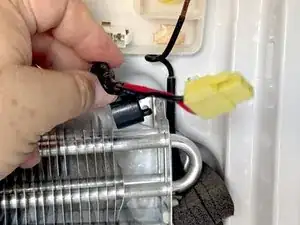
Push the locking tab in to release the connector.
-
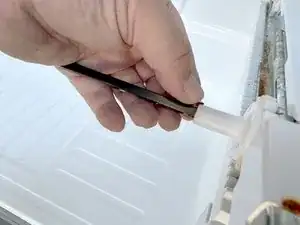
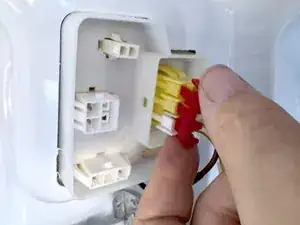
Use flush cutters to cut the cable tie holding the wiring bundle together.
-
-
-
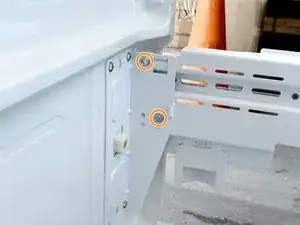
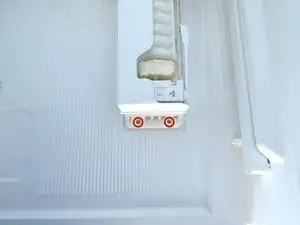
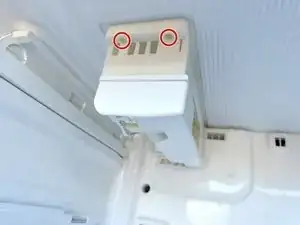
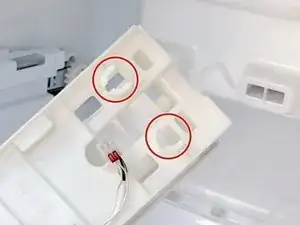
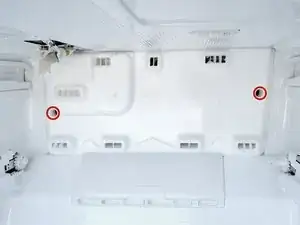
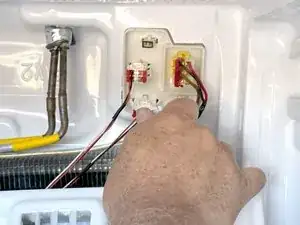
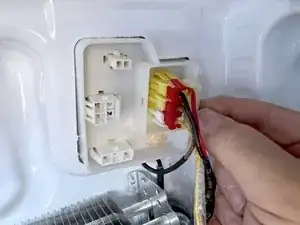
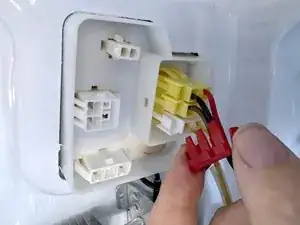
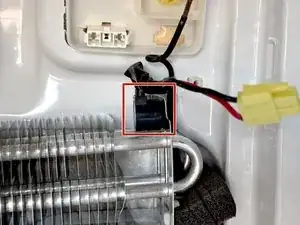
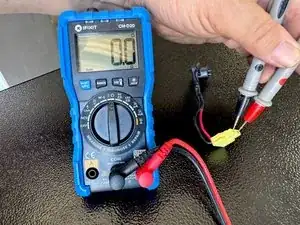
Red circles showing the connector location for testing.
-
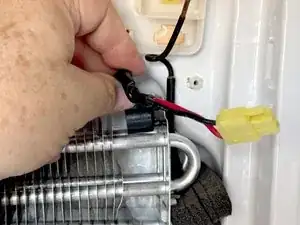
Test the resistance of the thermostat with a multimeter set to the Ω setting.
-


To reassemble your device, follow these instructions in reverse order.
Take your e-waste to an R2 or e-Stewards certified recycler.
Repair didn’t go as planned? Ask our Answers Community for help.