Introduction
Use this guide to replace your condensate drain tube and duckbill valve.
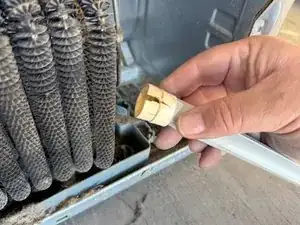
The condensate drain tube and duckbill valve carry condensate (melted ice from the evaporators) into the drain tray under the refrigerator. There will usually be a tube for each evaporator (In this case two evaporators, consequently two tubes.)
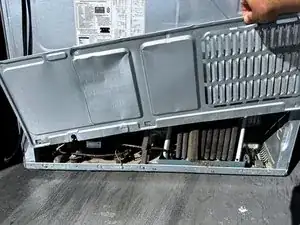
These parts are located behind the cover on the lower rear of the exterior of your refrigerator.
When these tubes fail, you may experience leakage from under your refrigerator. If the duckbill valve fails or the tube or valve is clogged, you may experience ice buildup in your freezer or refrigerator. Frequently this will result in sheets of ice on the bottom of the freezer as the condensate cannot get through the plugged or failed valve. It may also result in water puddles on the bottom of your refrigerator.
This guide will work for with many refrigerator models. The photos in this guide are from a Samsung RFG298HDRS refrigerator. If you have a different model, you may encounter some minor disassembly differences, but the overall repair process will be the same.
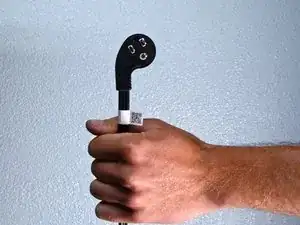
Tools
-
-
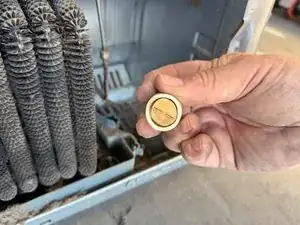
Unplug your refrigerator before you begin your repair.
-
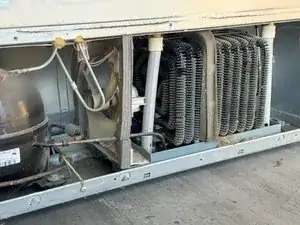
Condenser fan motor
-
Compressor motor and thermal overload device
-
Water supply valve assembly
-
-
-
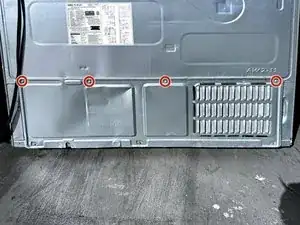
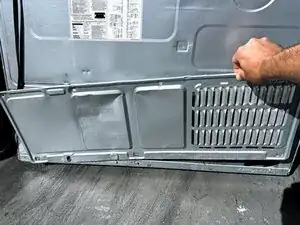
Lift the rear panel upward and outward to free the panel the from the tabs at the lower edge.
-
Remove the panel.
-
-
-
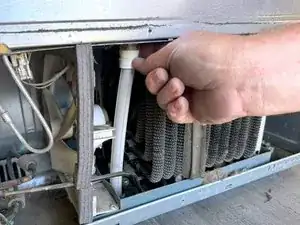
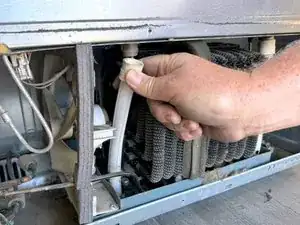
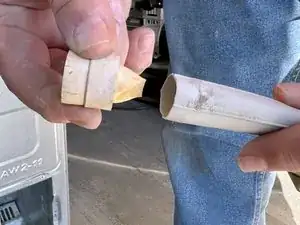
Push down on the top of the tube to disconnect it from the drain tube fitting.
-
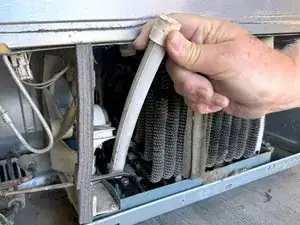
Remove the tube.
-
-
-
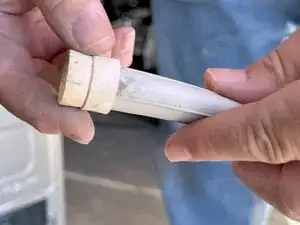
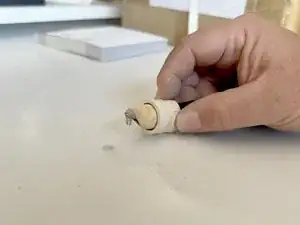
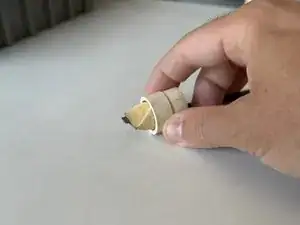
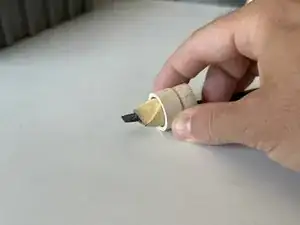
Inspect the duckbill valve for debris trapped in the valve.
-
Inspect the valve for cracking and brittleness
-
Inspect the valve lips for flexibility,
-
Replace the valve if any part is cracked, stiff or brittle.
-

To reassemble your device, follow these instructions in reverse order.
Repair didn’t go as planned? Ask our Answers Community for help.