
Introduction
Use this guide to replace the freezer drawer on your Samsung older French door refrigerator.
The freezer drawer serves as the access point to the freezer compartment.
If it fails the freezer will not be able to readily maintain temperature. Common failures include failed seals and failed interior skin.
This guide was created using a Samsung model RFG298HDRS French door refrigerator manufactured in 2013. Other older Samsung French door units with dual evaporators should be similar.
-
-
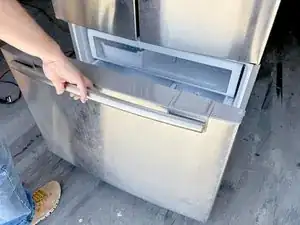
Pull out the upper freezer drawer.
-
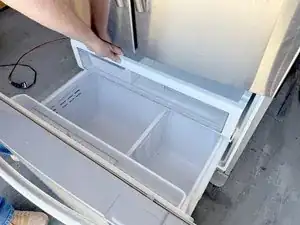
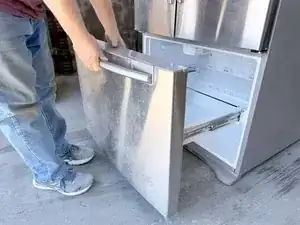
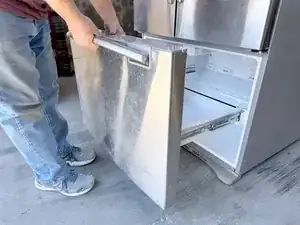
Lift the front edge of the drawer.
-
Remove the drawer by lifting it up and out of the freezer compartment.
-
-
-
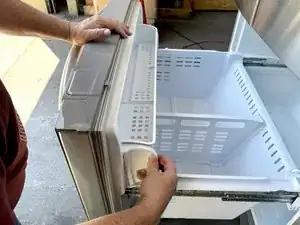
Unclip the basket hinge retainer by tilting the rear edge up and remove it from the drawer rail.
-
Release the small drawer basket and lift it up and out.
-
-
-
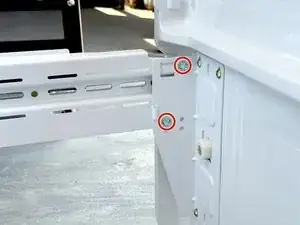
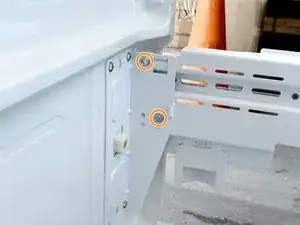
Use a 3/8" socket wrench, box wrench, or open end wrench to remove the bolts securing the drawer front to the right drawer slide.
-
Repeat the process for the left drawer slide.
-
-
-
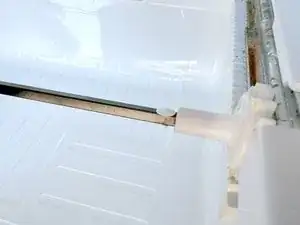
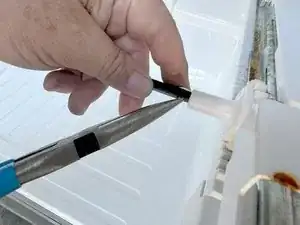
Rotate the slide connector rod until you can access the retaining pin.
-
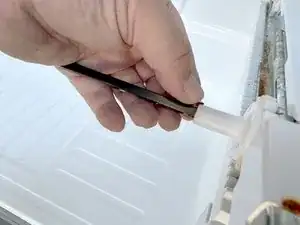
Use a pair of long nose pliers to squeeze the retaining pin shank to release it.
-
-
-
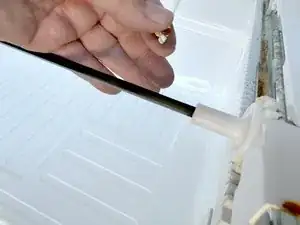
Pull the retaining pin out of the hole.
-
Slide the connecting rod to the right to free the left end of the rod.
-
Remove the rod by lifting it upward and sliding it back to the left.
-


To reassemble your device, follow these instructions in reverse order.
Take your e-waste to an R2 or e-Stewards certified recycler.
Repair didn’t go as planned? Ask our Answers Community for help.