Introduction

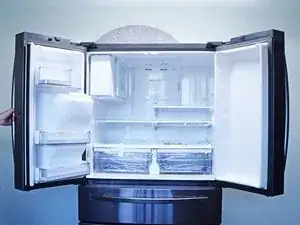
Use this guide to replace the fresh food evaporator fan on your older Samsung French door refrigerator.

The evaporator fan circulates air through the cold evaporator coils. The cold air then circulates in the refrigerator compartment.

If the fresh food evaporator fan doesn't run, either because the motor fails or from ice buildup near the blades, the fresh food compartment will not be able to stay cold.

This guide was created using a Samsung model RFG298HDRS French door refrigerator manufactured in 2013. Other older Samsung French door units with dual evaporators should be similar.

  1. SaOfLbkeAxgmho5g
    • Unplug your refrigerator before you begin your repair.

    • If you are testing or repairing the following items, you may also need to shut off and disconnect the water supply:

    • Condenser fan motor

    • Compressor motor and thermal overload device

    • Water supply valve assembly

  2. O2XGt1FbR2wqssVR
    O2XGt1FbR2wqssVR
    L5gfkBAXIADyme3l
    • Open both French doors for the refrigerator compartment.

  3. FTYaqJeu6cNsOttx
    FTYaqJeu6cNsOttx
    AuvEY5xByomxacdM
    KPoFmCHhDbkSVKWK
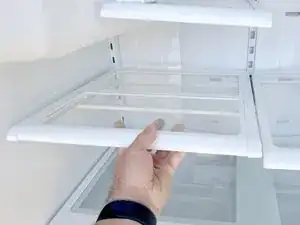
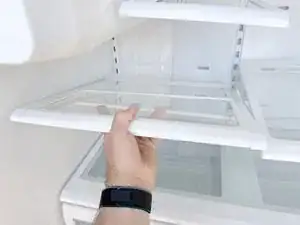
    • Lift the front edge of the shelf to release it from the shelf mounts.

    • Lift the whole shelf and bring it toward the front of the refrigerator.

  4. 4XYaOVckGgWkIVUW
    4XYaOVckGgWkIVUW
    W5Vp5a4K1WPIYUxO
    qZxarSRx5lLOAkAh
    • Pull out the crisper drawers to the stop.

    • Lift the front edge of the drawer and pull it the rest of the way out.

  5. day6XjBynPJYM2s1
    • Use a #2 Phillips driver to remove the screw securing the bracket to the shelf mount.

  6. dFVOtqEEZjQLqlwq
    dFVOtqEEZjQLqlwq
    qBs1ZK2ENnxheFgH
    qgkCIPK4uVNGiR1o
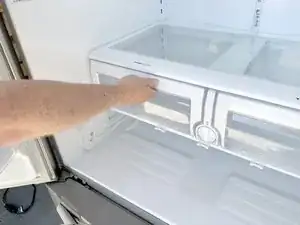
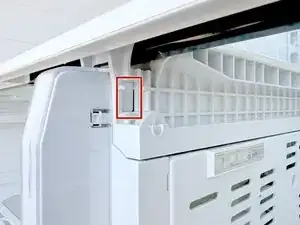
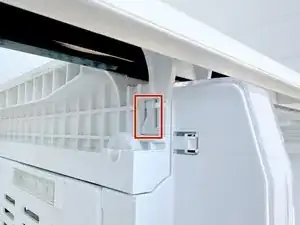
    • Unlock the lower shelf by pressing in the locking tabs located on each side of the shelf right next to the crisper drawer wheels.

    • Maintain a slight upward pressure on the shelf with your hands during this process so the tabs don't click back into place.

  7. TvNNvOllkr1RsAxU
    TvNNvOllkr1RsAxU
    gBBDwQJJeYlAFWVG
    ZbUWKlTBki2pAYKX
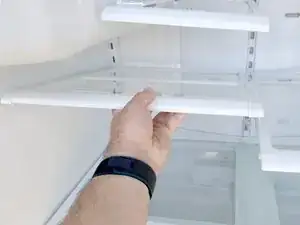
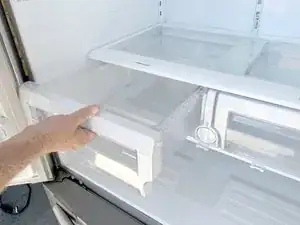
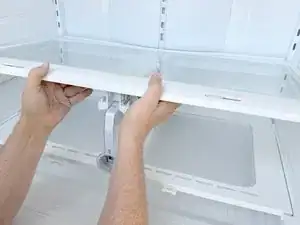
    • Use both hands to lift the front of the shelf up.

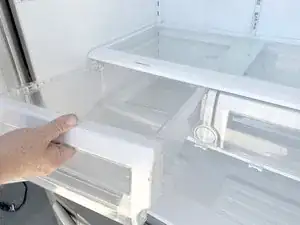
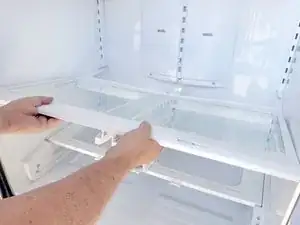
    • Pull the shelf towards you once it is lifted up enough to clear the retainers at the side shelf supports.

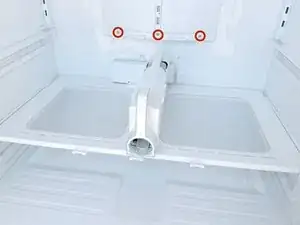
    • You should now be able to see some of the screws which hold the rear panel in place.

  8. Tr1G4udrMFCFw1Ch
    Tr1G4udrMFCFw1Ch
    VtI5DgVO3ljStG5b
    KKDfsIXuysyWHvNH
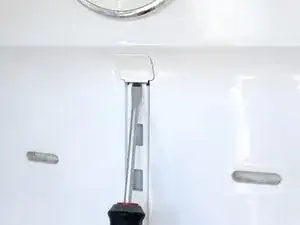
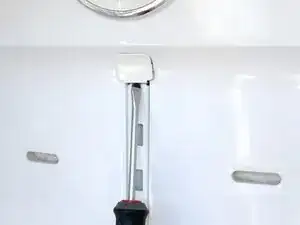
    • Use a screwdriver or spudger to insert into the bottom of the screw cover, then pry upward to loosen and remove it.. Remove the cover and set it aside.

  9. vWduIW3dOcwwP231
    vWduIW3dOcwwP231
    6DcuRVk6qptDj2XT
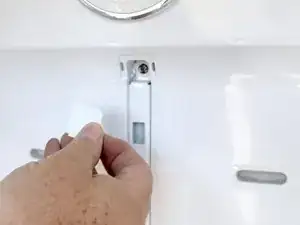
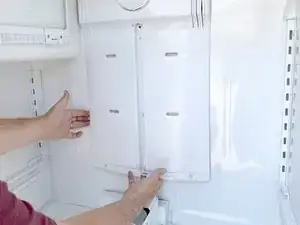
    • Use a #2 Phillips driver to remove the screws securing the evaporator cover to the rear wall of the fresh food compartment.

  10. 2NSvToLItIrH1fQj
    2NSvToLItIrH1fQj
    dgpp2x1loWHDrUhs
    FdVmXMTuLfp6T6DC
    • Grasp the lower edge of the evaporator cover and pull it forward.

    • Don't force the reposition of the evaporator cover. The cover is mainly foamed plastic, and can be broken if handled carelessly.

    • If it doesn't want to release, check for ice buildup which may show up in the small vents.

  11. aalsqj5vgIMjCk4f
    aalsqj5vgIMjCk4f
    6TypfF4KCqmvI51F
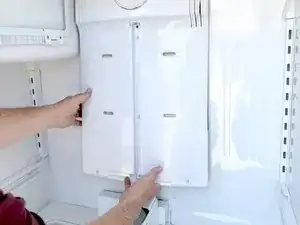
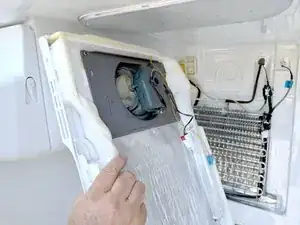
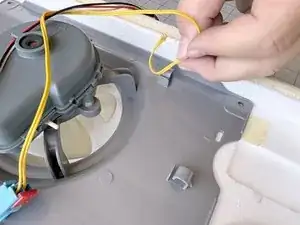
    • Once the lower edge is free pull the right edge free.

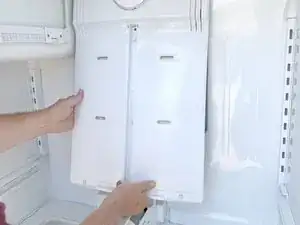
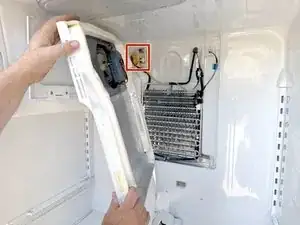
    • Rotate the evaporator cover so it faces the left side of the fresh food compartment.

  12. nMclKq4VMWyNKpYV
    nMclKq4VMWyNKpYV
    QaLCMdUATHQR2sSc
    2Sfl33lWCUpNiHOZ
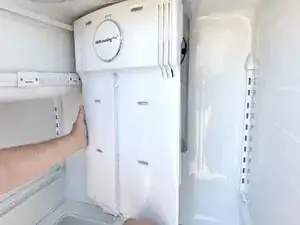
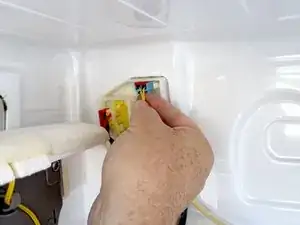
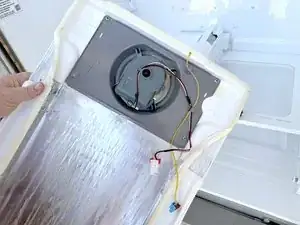
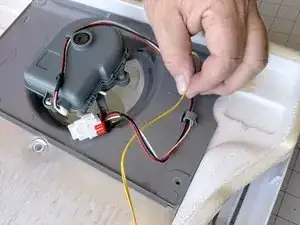
    • Access the connectors on the left rear wall of the fresh food compartment.

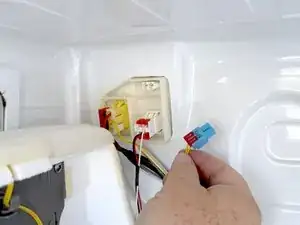
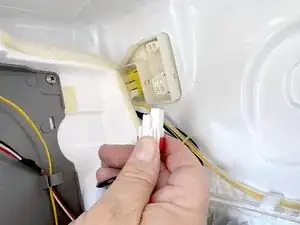
    • Disconnect the wires that lead to the evaporator cover, by squeezing the locking tab on each connector and pulling the connector toward you.

  13. jpX4nnIQ6uiFUFCG
    • Finish disconnecting the evaporator cover.

  14. dgc1stWxlZgEhZcY
    dgc1stWxlZgEhZcY
    YVAXcwePvLmZPtYh
    • Remove the evaporator cover from the fresh food compartment.

  15. XXjYPKIqiKCGlRjB
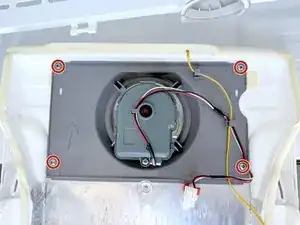
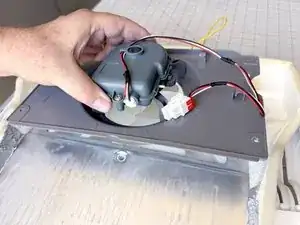
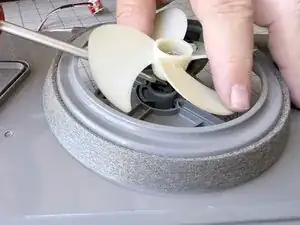
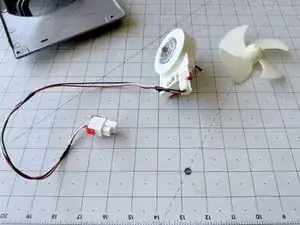
    • Use a #2 Phillips driver to remove the screws securing the fresh food evaporator fan assembly to the evaporator cover.

  16. MZBlwD6msDLNByFC
    MZBlwD6msDLNByFC
    vxVmbHMAe3BPFkLa
    ACMY5KOSIyBk4qsC
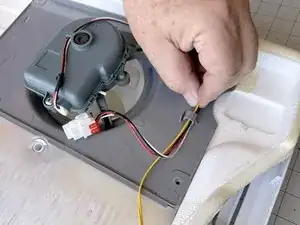
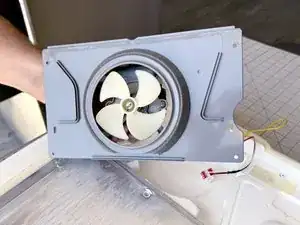
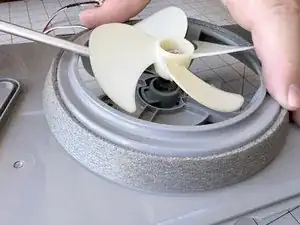
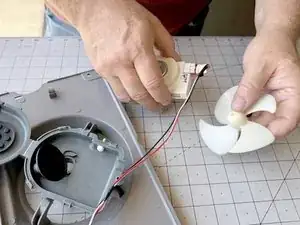
    • Unclip the thermistor wires and the wires to the evaporator fan from the evaporator fan assembly.

  17. QogWNJGSICWMBCQj
    QogWNJGSICWMBCQj
    4WFEc5UY1DxOagk5
    QwrZNWXHdWcbJ1Nf
    • Lift the evaporator fan assembly to separate it from the evaporator cover.

  18. ZVXXWEnhnBnUWpZO
    ZVXXWEnhnBnUWpZO
    VN1ROjjnJTCRf61c
    • Use a 1/4" flathead screwdriver to pry off the fan blades from the fan motor shaft.

    • They are just held in place by a friction fit and will slide straight off. Try to pry as close to the fan shaft as possible; avoid prying on the fan blades.

  19. QvC1oBLVHsyYKZcF
    QvC1oBLVHsyYKZcF
    3HqIDLOK1KUOqoOM
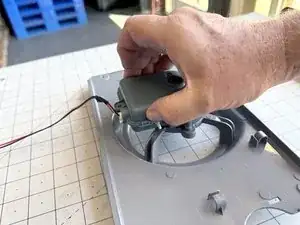
    • Squeeze the fan motor cover at the locking tabs located on the side of the cover to release it.

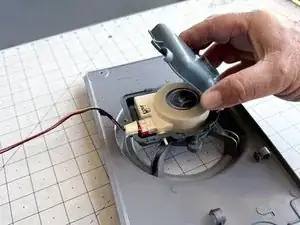
    • Open the fan motor cover.

  20. mKcZaCYLtudXF2iZ
    mKcZaCYLtudXF2iZ
    xkPkAguVHDepcbGG
    QLxQIDBrh25KYQHa
    • Lift the fan motor out of the fan motor cover on the evaporator fan assembly.

    • Save the fan blades to install on the replacement motor.

Conclusion

To reassemble your device, follow these instructions in reverse order.

Take your e-waste to an R2 or e-Stewards certified recycler.

Repair didn’t go as planned? Ask our Answers Community for help.

Bill Gilbert

Member since: 30/06/22

37443 Reputation

0 comments