Introduction

Follow this guide to remove and replace the icemaker assembly in your older Samsung refrigerator.

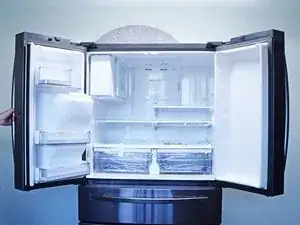
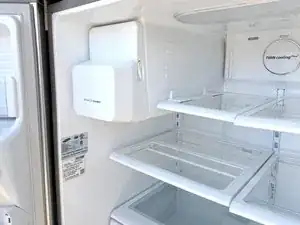
This guide will work for older (2013) French-door Samsung refrigerators where the icemaker is in the refrigerator compartment. If your icemaker is in the freezer drawer, follow this guide instead.

If your ice maker is frozen, follow this guide to defrost it.

Note: Even if you've followed instructions to defrost your refrigerator, you may need a steamer to aid in removing any leftover ice build up. You should use the steamer whenever necessary throughout the repair to melt any iced over areas.

This guide is based on a model RFG298HDRS refrigerator. If you have a different model, you may encounter some minor disassembly differences, but the overall repair process will be the same.

  1. SaOfLbkeAxgmho5g
    • Unplug your refrigerator before you begin your repair.

    • If you are testing or repairing the following items, you may also need to shut off and disconnect the water supply:

    • Condenser fan motor

    • Compressor motor and thermal overload device

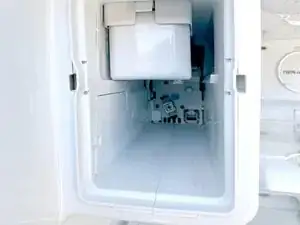
    • Water supply valve assembly

  2. O2XGt1FbR2wqssVR
    O2XGt1FbR2wqssVR
    L5gfkBAXIADyme3l
    • Open both French doors for the refrigerator compartment.

  3. tCMETrUjASX3SSFo
    tCMETrUjASX3SSFo
    2TCbwMtBAqcUbAeu
    WBMwxuiRoQLMhw3u
    • The ice bucket should be located in the upper left side of your refrigerator.

    • Pull the release lever forward to unlatch the ice bucket.

  4. qHZnAEskFoONZjVf
    qHZnAEskFoONZjVf
    f5dOrGX1fTO3GHyu
    DfrscAAxuIOfvD6K
    • Pull the ice bucket out of the ice maker room.

    • If your ice bucket is frozen shut, follow this guide to defrost the ice bucket.

    • Check for cracks or fractures in the ice bucket and auger assembly.

    • Check the gasket on the back of the faceplate of the ice bucket and auger assembly. If the gasket's ripped, cracked, rolled or has become too rigid, the bucket won't seal properly, and may ice up. Replace the bucket as needed.

    • Check the sealing rim around the edge of the ice room opening for ice or cracking.

  5. lRPb3GlcZpLbGacd
    • Remove the screw securing the cable cover.

  6. MPWV5aFIwAtQiJtA
    MPWV5aFIwAtQiJtA
    DyTDxj1wUk1JPFwI
    2JxaWFt3AfkSRsw6
    • Use your fingers to pull the front edge of cable cover out from the side of the ice room.

    • You may need a spudger or small flat blade screwdriver to help start this procedure.

  7. XS61UwjAMPQ4qnIB
    XS61UwjAMPQ4qnIB
    SeTbZWWdkLhclwum
    wiwn6lRqpGCviJHU
    • Slide the cable cover out toward the front of the ice room by pulling the front edge.

    • Make sure to slide the cover out to the front and don't try to pull it sideways as you might break the tabs which secure the rear of the cover.

    • During reassembly, take your time and make sure to slide this part in until it goes back flush. Take care not to break the tabs. Check that the screw holes align and all the tabs show in the pockets on the cover and the entire edge of the cover is flush.

  8. anDl443KRBshxhVk
    • Locate the ice maker and ice auger motor connectors.

  9. RDAErLn5qypQDxLG
    RDAErLn5qypQDxLG
    mRU3MIWOWGQPjCNV
    mDw3BV2VRHRnTDSh
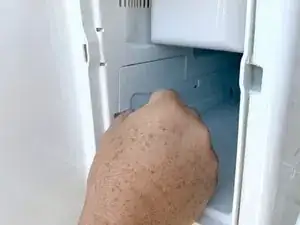
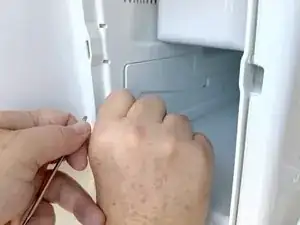
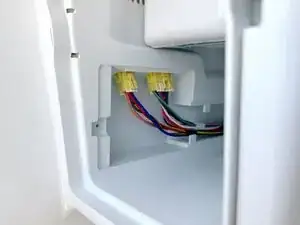
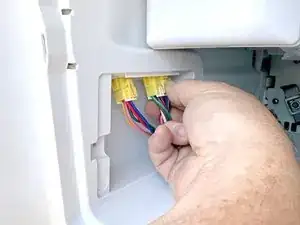
    • Squeeze the locking tab to release the connector and pull it to disconnect.

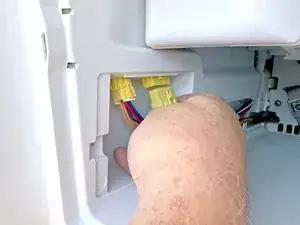
    • Repeat this for the other connector.

    • Disconnecting both cables will ease removal of the icemaker cable from the cable guide.

  10. 3yosu1TCAELfkcZB
    3yosu1TCAELfkcZB
    qd4R3Pvu3WPpZvUF
    3AQTwnrXajvWnKdE
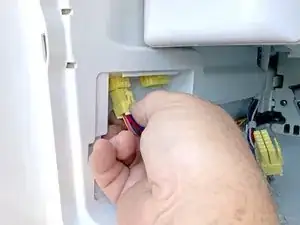
    • Remove both cables from the cable guide channel.

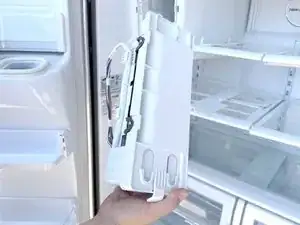
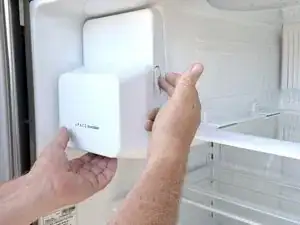
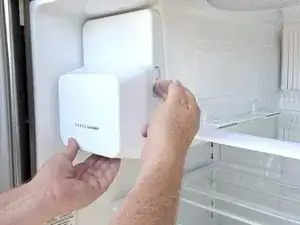
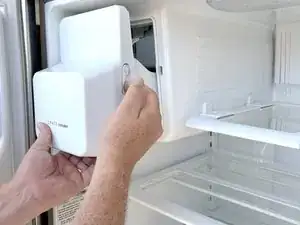
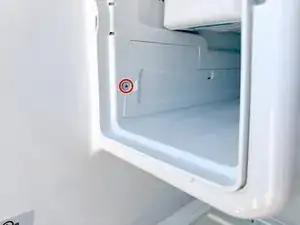
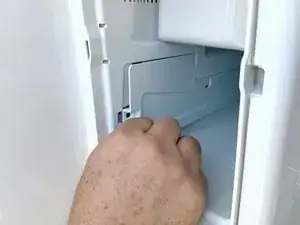
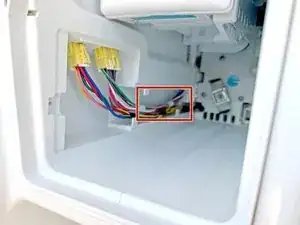
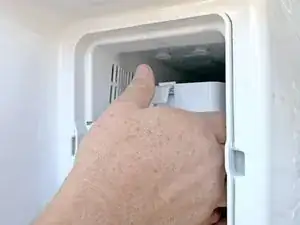
    • Depress the locking tab at the top of the ice maker.

    • You should hear a click when the tab releases. This may take some force.

  11. 1b6gdB3vOHHMWoCm
    1b6gdB3vOHHMWoCm
    WyNOTUeLJXLfnDYk
    2e2G4HVJEMwTVYyp
    • Pull the icemaker toward you.

    • It should drop down as you pull it toward you off the mounting bosses. This should occur after it moves about 2-3cm (3/4-1").

    • Lower and remove the icemaker from the ice room.

    • During reassembly, hold the icemaker so it is level and flush to the top of the ice room.

    • Then push it back into the ice room so that the bosses near the front of the ice room engage the oval slots on the ice maker, and the rear lip of the icemaker engages the rim at the rear of the ice room.

Conclusion

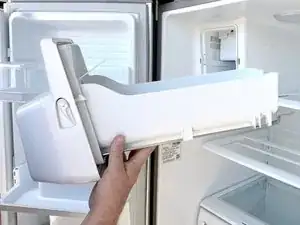
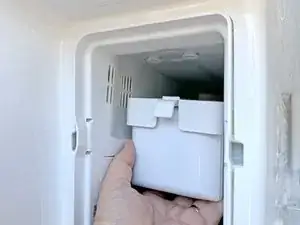
To reassemble your device, follow these instructions in reverse order.

Be sure to dry any moisture that remains in the ice room before reassembly to prevent repair failure.

Take your e-waste to an R2 or e-Stewards certified recycler.

Repair didn’t go as planned? Ask our Answers Community for help.

Bill Gilbert

Member since: 30/06/22

37443 Reputation

0 comments